July 15, 2026
What is Orbitvu's AI Masking, and how does it work?
Meet Orbitvu's AI Masking: automatically remove the background from product photos in high resolution, right inside your Orbitvu Station workflow - no design skills needed.
Learn how to shoot flat lay fashion photos in 2026: setup, lighting, camera settings, post-production, and marketplace-ready exports.
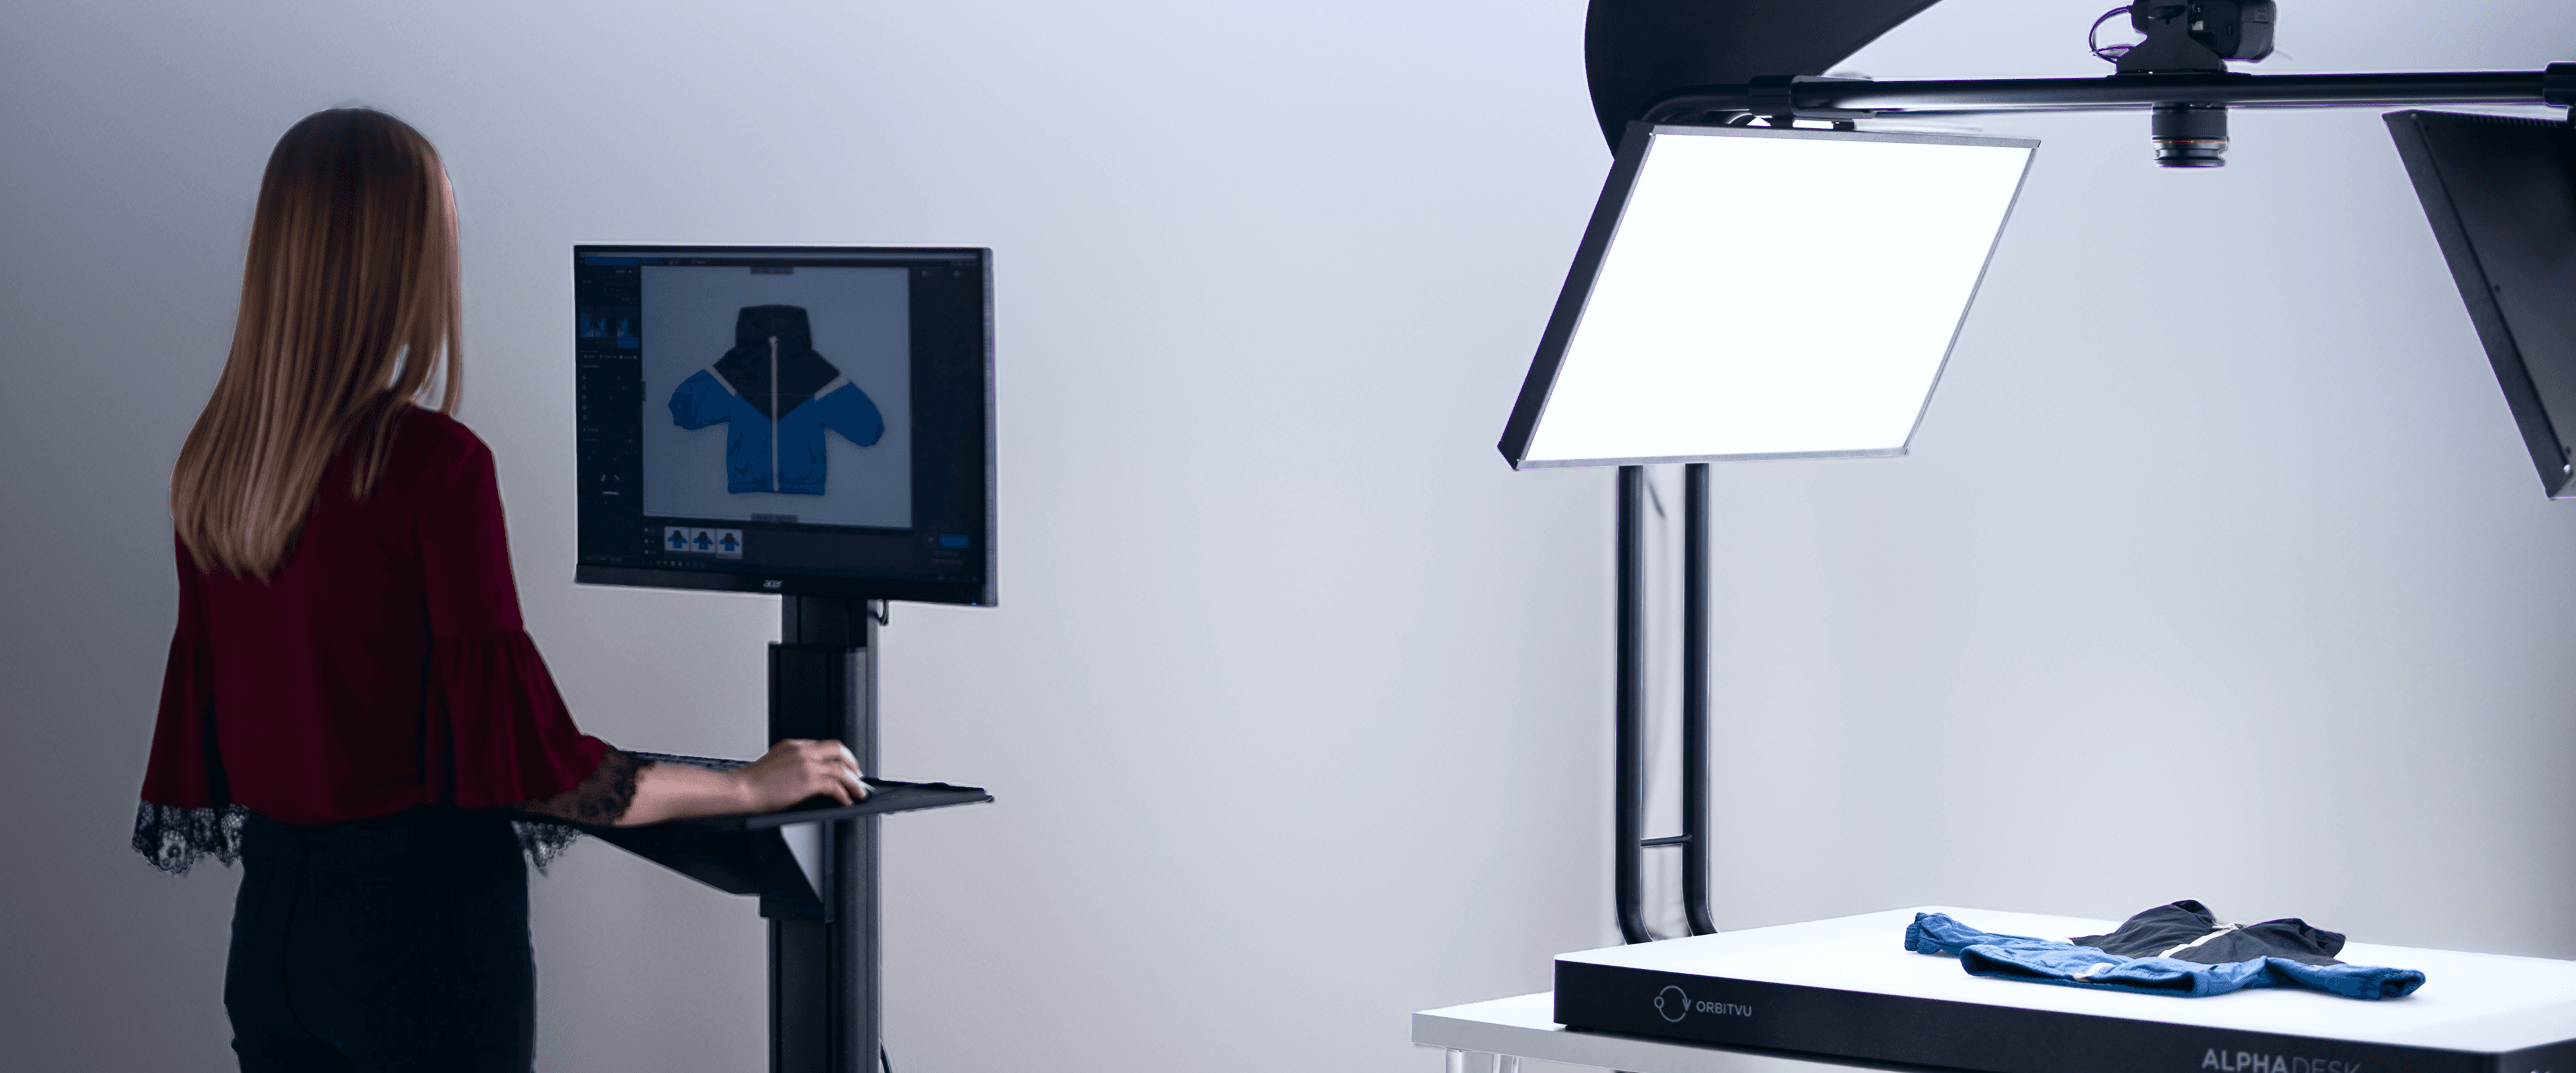
Table of contents
Flat lay clothing photography is the standard method for capturing garments, accessories, and beauty items for e-commerce - products are laid on a flat surface and photographed from directly above. This guide to automated product photography covers everything you need to produce professional flat lay images: garment preparation, lighting setup, camera settings, background removal, and export for every major marketplace.
Flat lay clothing photography is a shooting technique where a garment or product is arranged on a flat horizontal surface and photographed from directly above. It captures the full shape, color, and texture of an item in a single frame - which is why most major online marketplaces require it for fashion, beauty, accessories, homeware, and food.

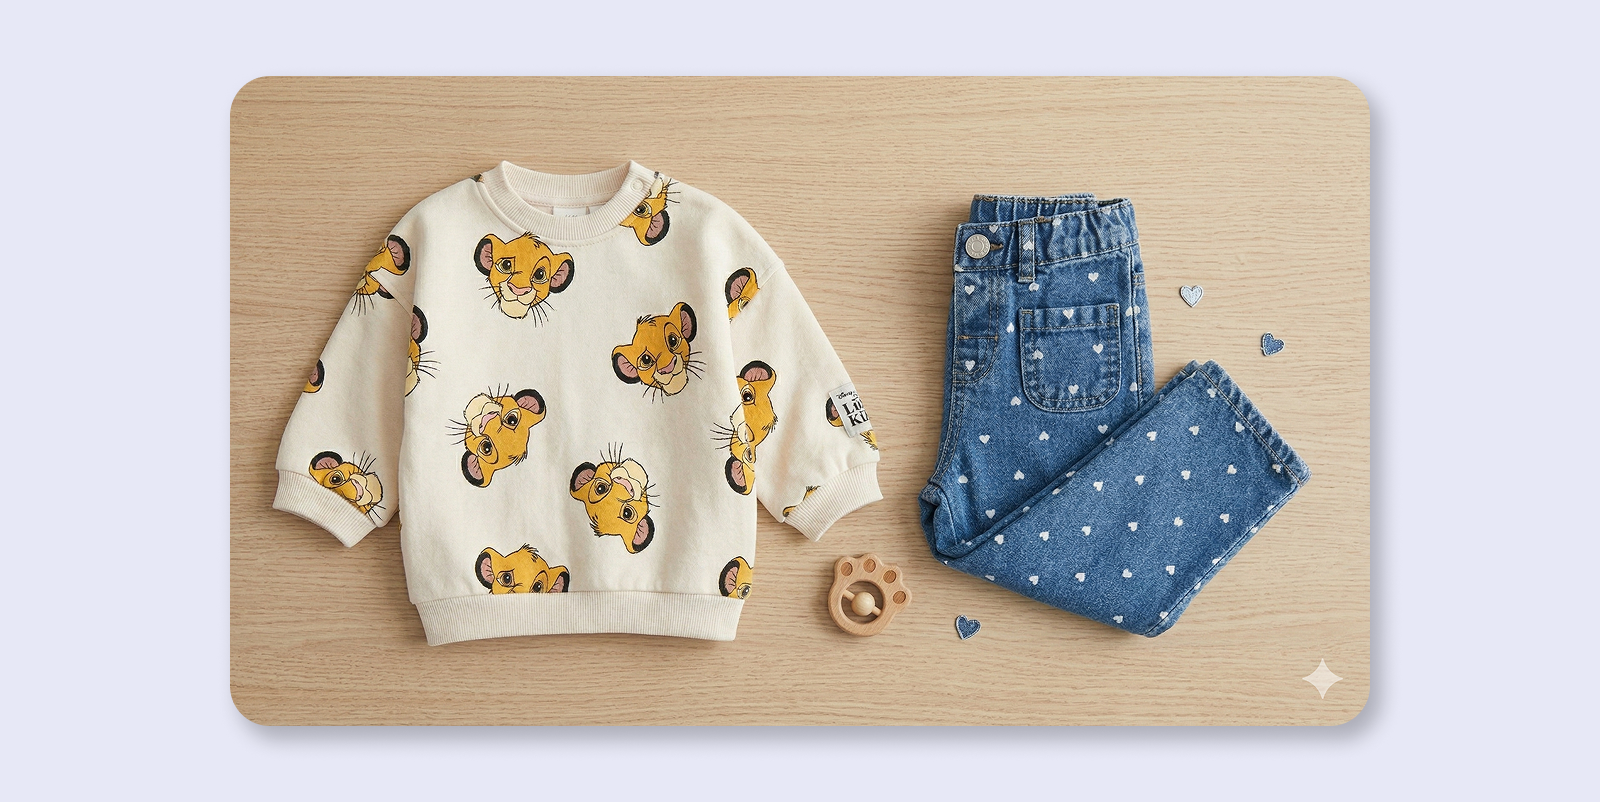
A packshot is a clean, white-background product photo optimized for accuracy - the standard for e-commerce listings. A still life flat lay uses textured backgrounds, props, and creative composition to tell a brand story and create an emotional connection. Most successful e-commerce brands use both: packshots for product detail pages and marketplace compliance, still life for social media and lifestyle marketing.
Try knolling too - aligning objects along parallel lines or 90-degree angles to create a clean, geometric look.
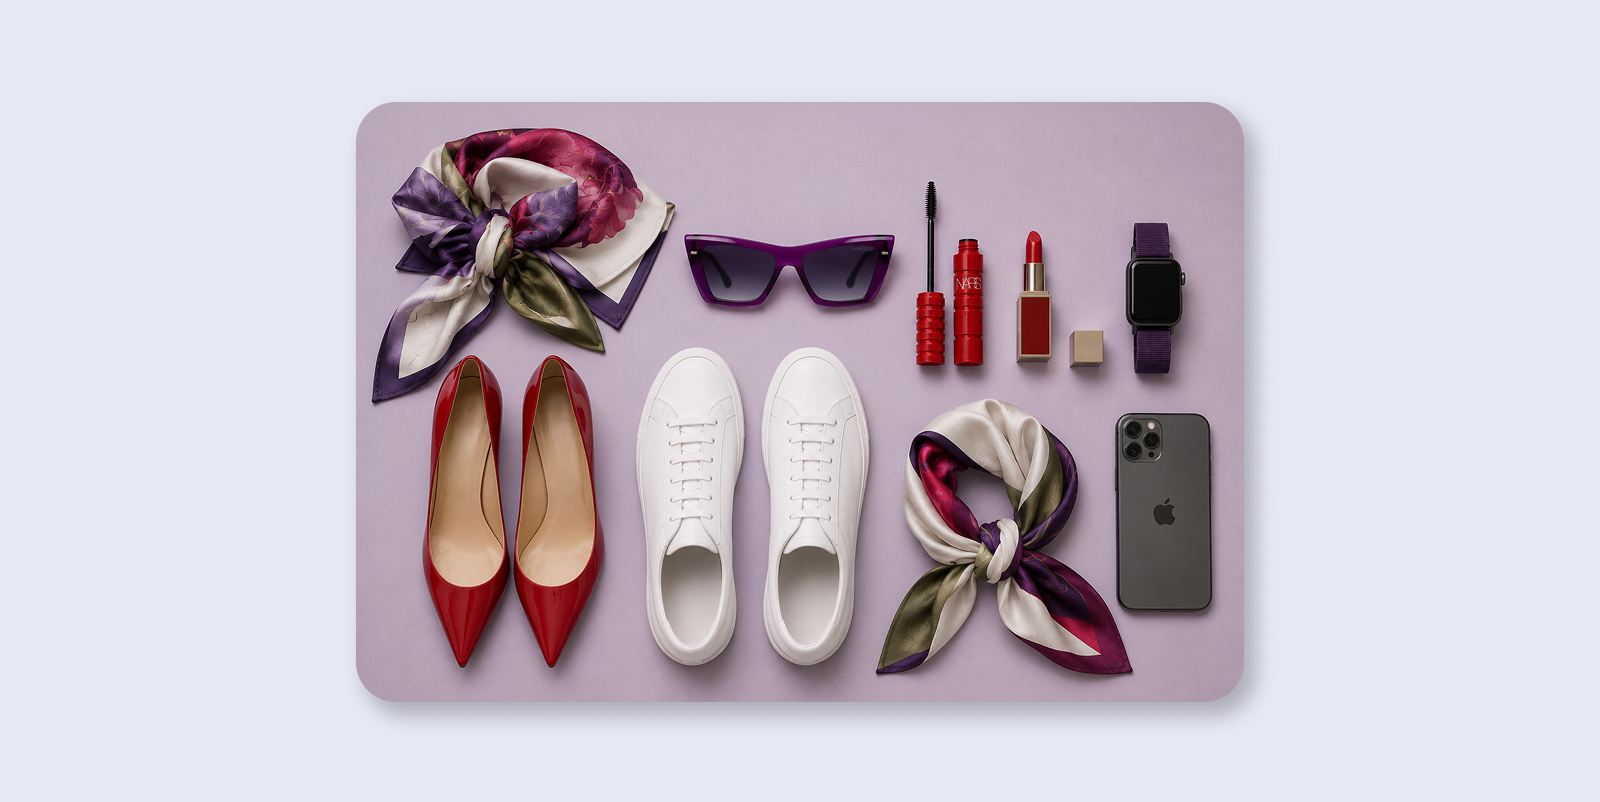
The modern shift: once you needed many physical props and backgrounds for each setup. Today, you can capture a clean flat lay and then use generative AI backgrounds to place the cutout into digital scenes. Keep the natural shadow during capture for the best result.
A flat lay setup needs three things: a flat surface, an overhead camera position, and consistent lighting. The four most common options are:
| Factor | Manual (tripod) | Automated (Orbitvu Alphatable) |
|---|---|---|
| Background removal | Manual editing required | Automatic (IQ Mask) |
| Consistency across SKUs | variable | high |
| Natural shadow preservation | manual | automatic |
| Best for | low-volume, creative shoots | high-volume e-commerce |
Preparation has direct impact on the final image quality.
An ideal packshot can document the product clearly. Still life frames add emotional context and help stop the scroll.
The best lighting for flat lay clothing photography is diffused artificial light at around 5500 K, applied from the side at an angle. Side lighting (raking light) reveals fabric texture through soft micro-shadows.
Tip: never put your key light directly in line with the camera. Offset it to the side or slightly above product plane.
Use ISO 100-200, aperture f/8-f/11, and focal length 35 mm or higher. Set white balance manually with a grey card.
| Setting | Recommended value | Purpose |
|---|---|---|
| ISO | 100-200 | Prevents image grain/noise |
| Aperture | f/8-f/11 | Ensures the full garment is in focus (maximum sharpness range of most lenses) |
| Focal length | 35 - 105 mm | Prevents edge distortion |
| White balance | Set via grey card | Ensures accurate colour reproduction |
With a fixed mount, you gain:
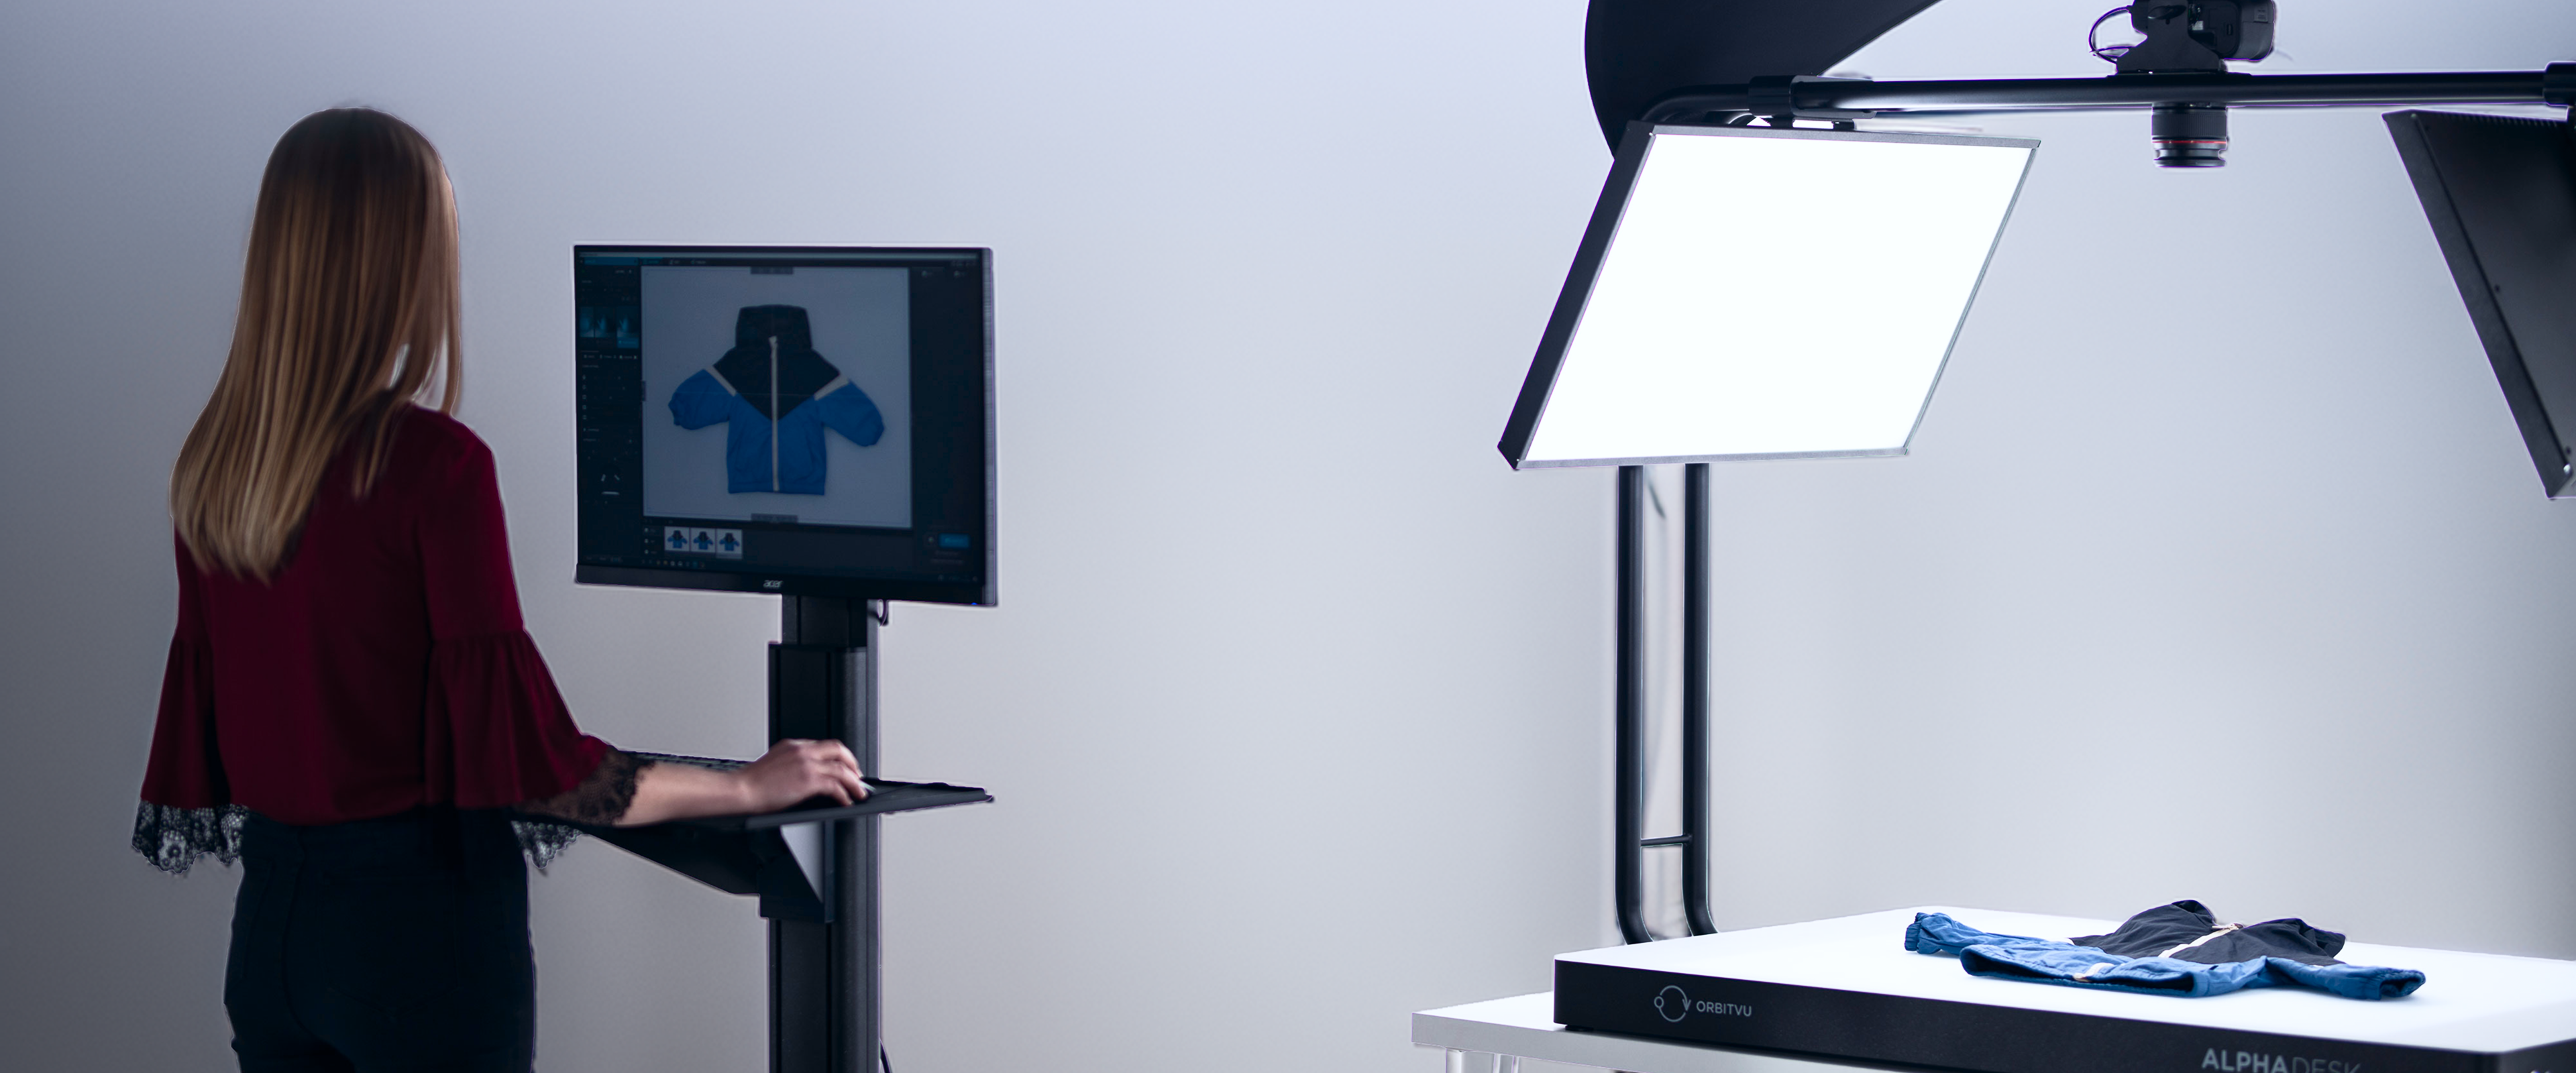
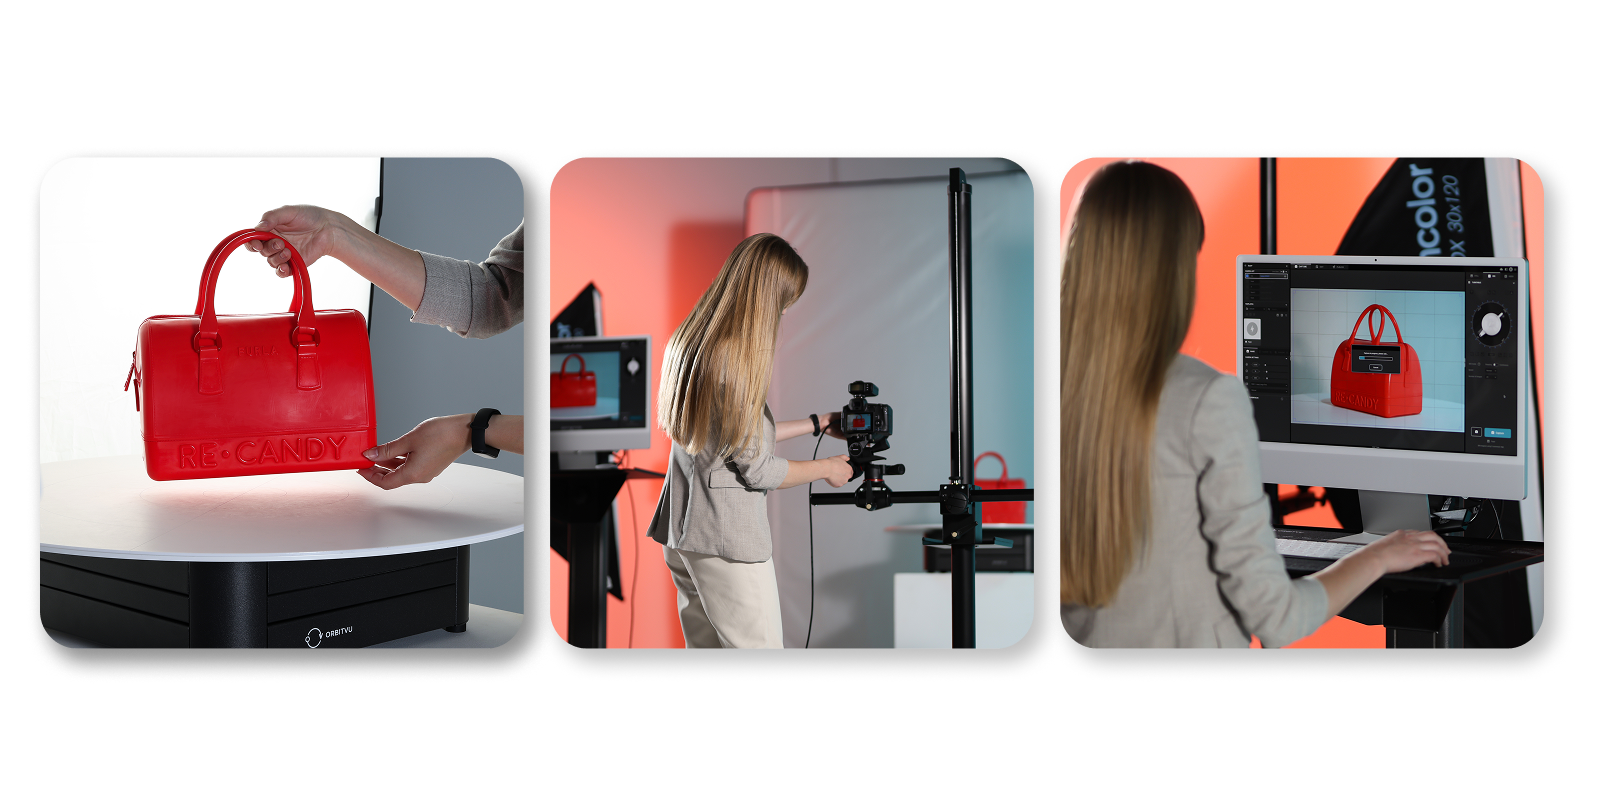
Tethered shooting can further improve quality control by showing each frame full-size on a larger screen immediately.
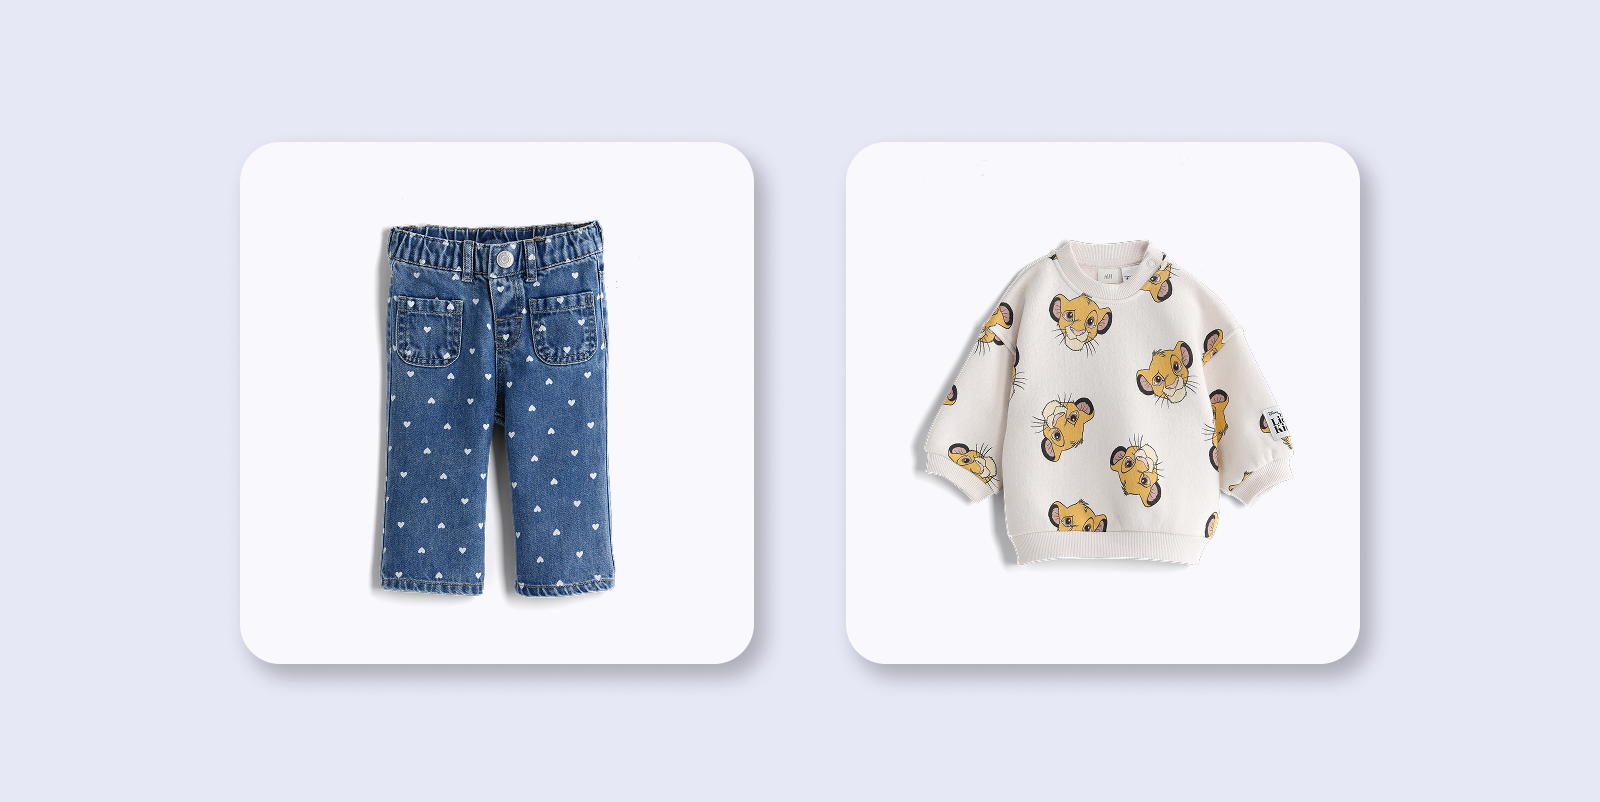
The most important post-production step for flat lay packshots is background removal - even if you shoot on white.
IQ Mask removes background during capture, preserving smooth edges and natural shadow while keeping workflow fast.
Over-clean edits make products look like they float. Keeping natural shadow adds depth and improves perceived quality.
Balance realism and visual impact. Avoid oversaturation that misrepresents the product.
Flat lay photography is practical, fast, and reliable for e-commerce. For best conversion results, combine flat lay with on-model photography to add fit and proportion context.
Whether you start with a tripod or move to Orbitvu Alphatable, the goal stays the same: consistency, quality, and speed.
At minimum: camera or smartphone, tripod with overhead extension arm, white surface, and stable lighting. For higher volumes, automated systems reduce effort significantly.
For marketplaces, pure white (RGB 255,255,255). For lifestyle/social, textured or colored backgrounds can add character.
ISO 100-200, f/8-f/11, focal length 35 mm+, manual white balance via grey card.
Either manual masking in Photoshop or automated workflows (for example IQ Mask in Orbitvu workflows).
Flat lay is a subset of product photography defined by overhead capture. Other methods include ghost mannequin, 360, and on-model imaging.
Yes for casual content. For consistent e-commerce output, fixed camera setups with manual controls work better.
Yes. Flat lay provides clear product detail; model shots provide fit and proportion context.
Most platforms need at least 1000 px on the longest edge, while many stores recommend larger files for zoom quality.
Knolling is arranging items in parallel lines and right angles for a clean, geometric composition.
Tethered shooting sends images directly to a larger screen for immediate review and easier remote triggering.
July 15, 2026
Meet Orbitvu's AI Masking: automatically remove the background from product photos in high resolution, right inside your Orbitvu Station workflow - no design skills needed.
July 14, 2026
Meet Orbitvu's AI Retoucher: automatically remove reflections, correct colors, and clean up imperfections right inside your Orbitvu Station workflow.
July 10, 2026
Learn how to create a fashion lookbook from planning to publishing, and see how to speed up production with in-house automation.