June 10, 2021
Packshot photography: a quick guide for 2026
What a packshot is, where it's used, and how to shoot one - camera settings, lighting, angles, tricky packaging, and the image specs marketplaces ask for.

Jewelry photography is one of the hardest categories in product photography - small objects, reflective surfaces, and shallow depth of field. These 10 practical tips cover product prep, lighting, camera settings, and post-production to take your images from amateur to pro.

Table of contents
Jewelry photography is one of the hardest categories in product photography. Small objects, reflective surfaces, shallow depth of field, and demanding customers combine into a shot that punishes shortcuts. This guide covers 10 practical tips – from product prep and lighting to camera settings and post-production – that separate amateur jewelry photos from professional ones.
You will find answers to the questions every jewelry photographer runs into:
Before you set off, understand the difference between traditional and automated photography, and how each shapes your approach to jewelry.
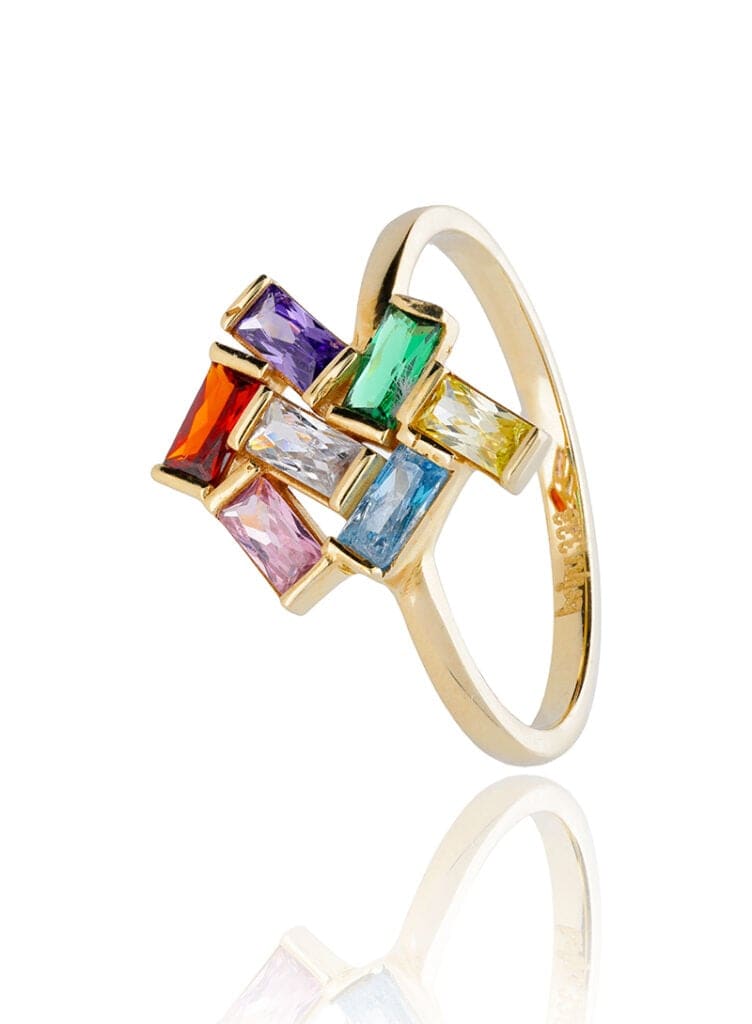
Traditional jewelry photography relies on a manually assembled studio – lights, tripod, camera settings, and hours of editing – to produce each shot. Automated jewelry photography uses a pre-configured studio (a lightbox with built-in lighting, a rotating stage, and control software) to capture, focus-stack, and remove the background in one workflow. Traditional gives you full manual control on hero shots. Automated gives you speed, consistency, and lower cost per image at catalog scale.
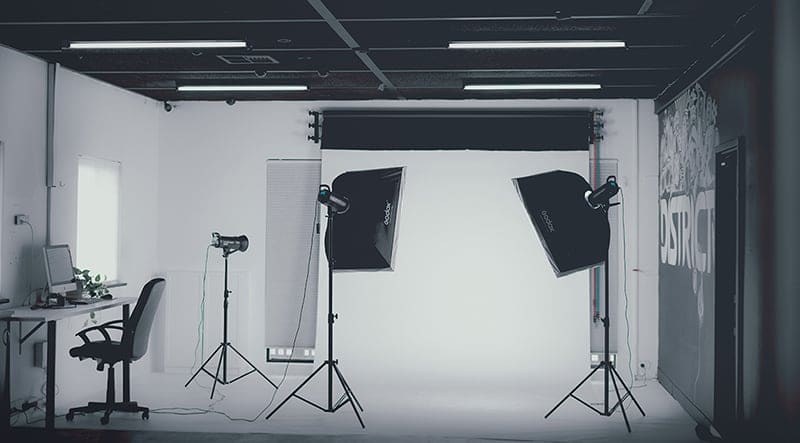
The traditional path is to assemble a studio setup, organize the session, then engage in advanced post-production to get maximum product sharpness and a pure white background. Traditional production requires precise knowledge of lighting manipulation and a solid grip on the interplay between the camera settings and the studio setup. In most cases, you also spend hours in photo editing software dealing with shallow depth of field and background cutting.
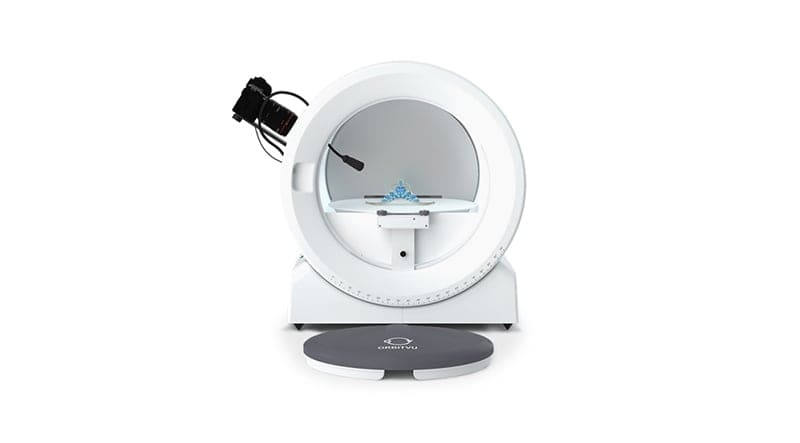
The automated approach uses a pre-set photo studio with a streamlined capture-to-publish workflow. Devices from leading manufacturers provide templated lighting and a rotating stage, paired with control software that handles the basics of post-production. The background is removed automatically through masking, and the super-focus option handles depth of field. The key advantage for e-commerce is not just speed – it is that every ring, pendant, and pair of earrings comes out with the same lighting, the same framing, and the same color, from image one to image ten thousand.
Traditional vs automated – side by side:
| Factor | Traditional studio | Automated studio |
|---|---|---|
| Lighting setup | Manual, per shot | Pre-set, repeatable |
| Focus stacking | Manual, in Photoshop | Programmed, software-assembled |
| Background removal | Manual masking in post | Automatic (AI masking) |
| Time per product | Hours (including edit) | Minutes |
| Consistency across a set | Depends on the operator | Built into the workflow |
| Best for | One-of-a-kind hero shots | Catalog-scale e-commerce |
The choice comes down to scale. If you shoot 20 hero pieces a season for a lookbook, traditional is the right tool. If you shoot 200 SKUs a week for a marketplace, automated wins on every metric that matters – throughput, cost per image, and consistency across the catalog.
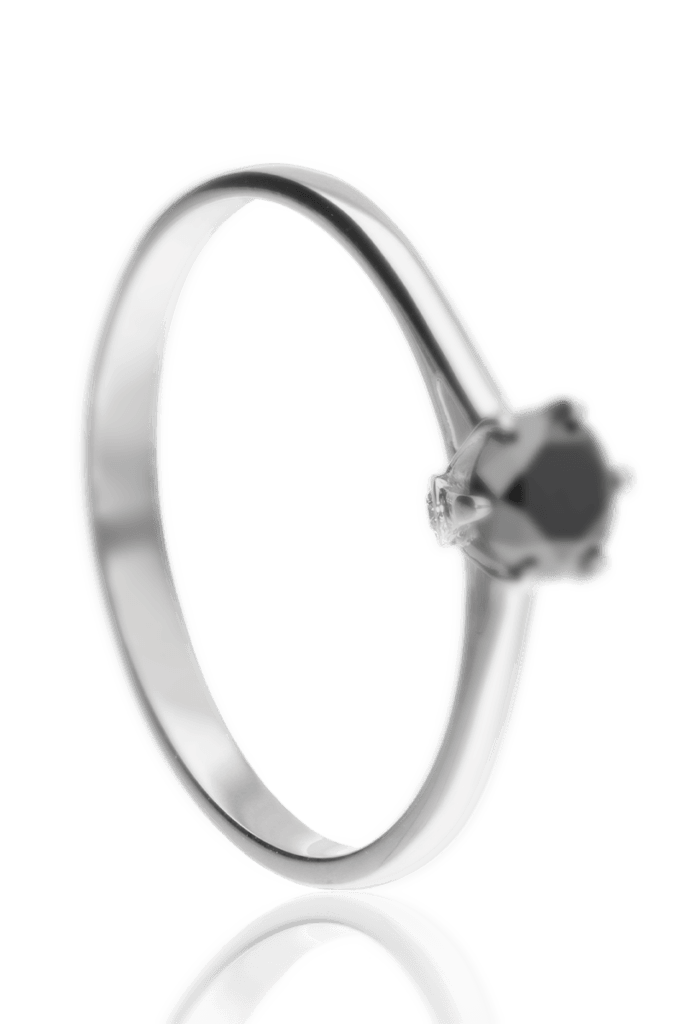
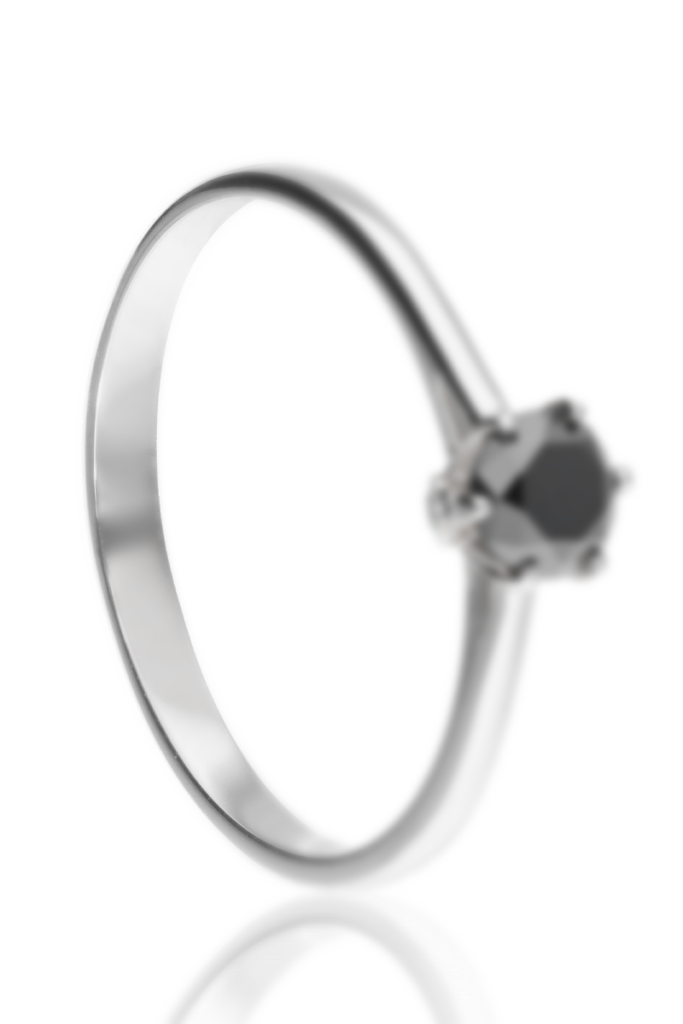
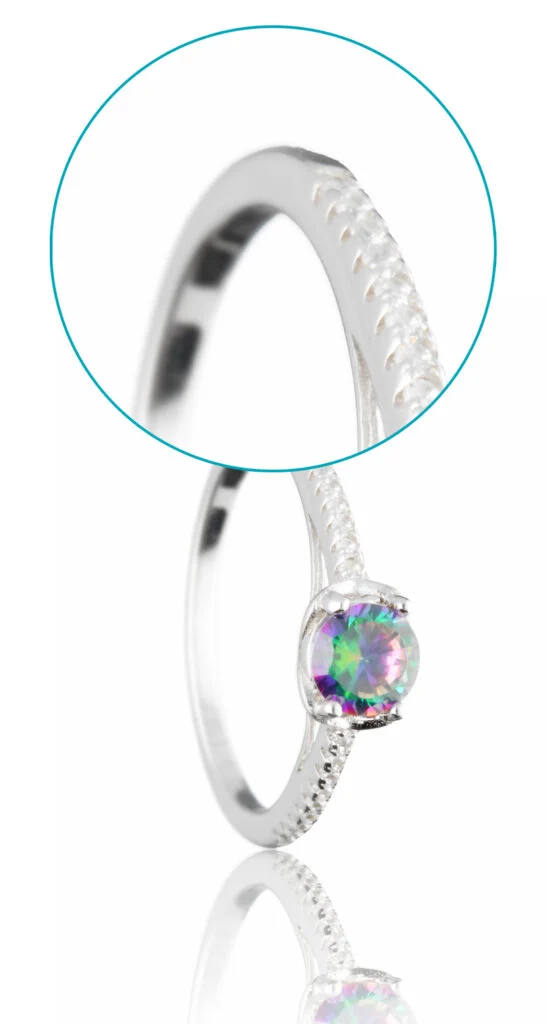
At macro distances, depth of field collapses. A ring can be sharp at the front and blurry at the back inside the same frame. Focus stacking is the standard fix.
Quick answer: Shoot several photos of the same jewelry piece with the focus point moving through the object in small steps (from front to back). Then combine them in software so the sharp areas from each frame merge into one fully sharp image. This is called focus stacking, and it is the standard fix for the shallow depth of field you get in macro jewelry photography – which can drop below 1 mm at 1:1 magnification.
Shooting a small product at close distance causes the resulting photograph to lose depth of field. In other words, the ring or bracelet is not sharp across its full extension. This is the defining problem of jewelry photography, and it is solved by the focus-stacking technique applied in post-processing.
First, several photos are shot consecutively with changing focus, so they cover the whole item in stages. A tripod is necessary to keep the camera position steady. Next, the photos are combined in photo-editing software by an operator to produce one clear and sharp image.
For a typical ring, expect 8 to 15 frames in the stack. A necklace laid flat may need 20 to 40. The correct number depends on the depth of the object, the magnification, and the aperture – the deeper the object and the higher the magnification, the more frames you need.
It takes precision, skill, and time – but it delivers the sharpness and clarity needed for e-commerce jewelry photography. Pros speed this up with motorized focus rails (like the StackShot) or in-camera focus bracketing on newer bodies. Both remove the manual steps between frames.
Automated systems handle this differently. The differently focused photos are captured automatically (the user controls the number of steps), and they are assembled in the control software by an intelligent process that produces ready-to-use images – no manual stacking, no operator handling the Photoshop stage.
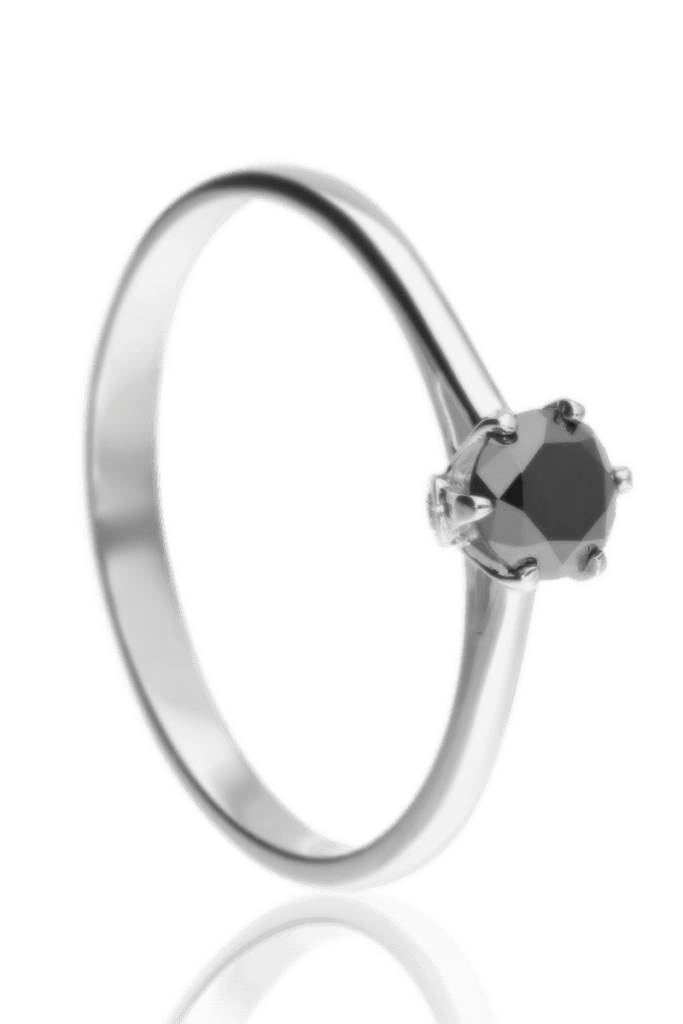
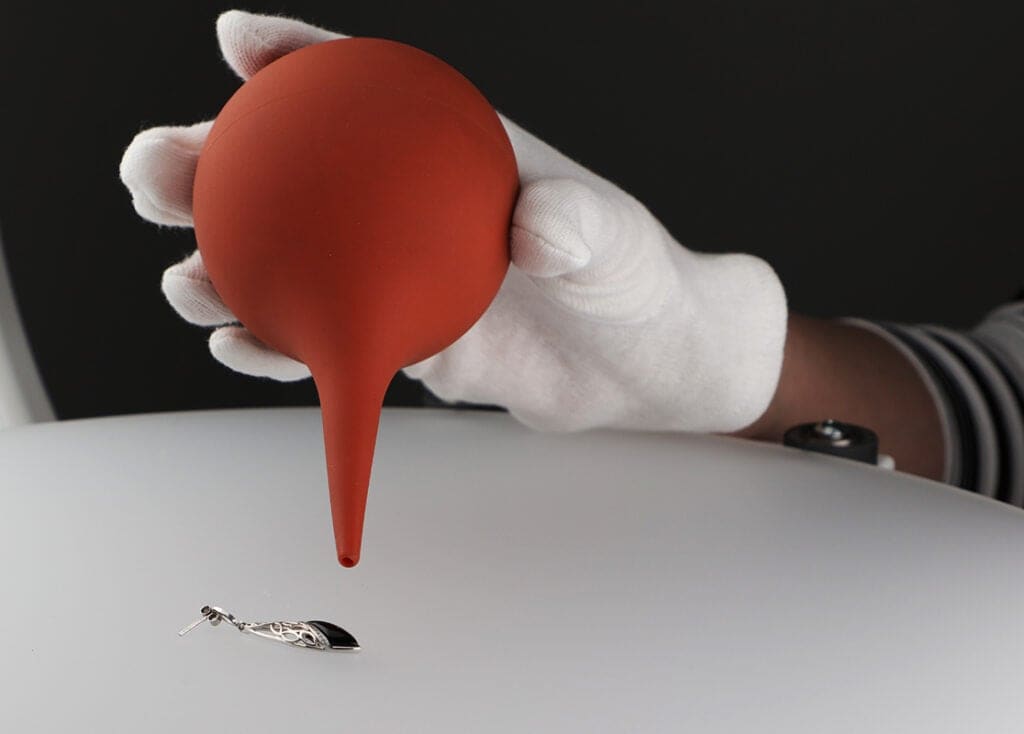
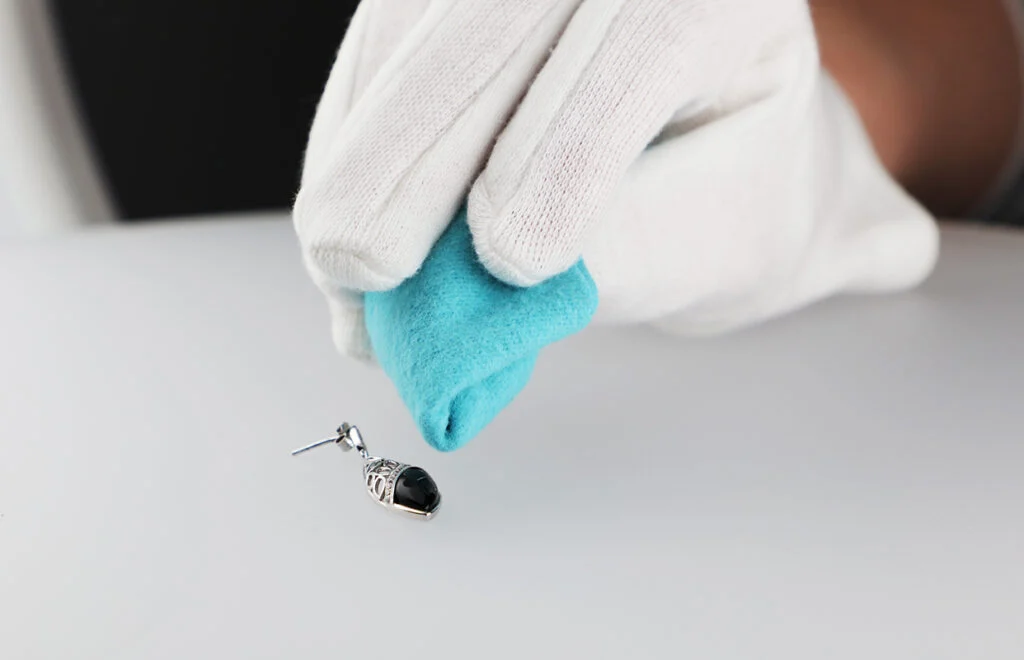
Every shortcoming of the product becomes visible when shot at close distance. Tiny scratches, fingerprints, and lint become prominent in the final photograph, and they are painful to remove in post. Preparation is the cheapest quality upgrade in your entire workflow.
Quick answer: Clean the piece with the manufacturer's recommended cleaner, handle it with cotton gloves, polish it with a microfiber towel, and remove dust with compressed air right before you shoot. Anything you skip here shows up magnified in the final image.
Follow four steps to achieve the cleanest product possible:
In e-commerce, jewelry is presented on a uniform background – colored or white. The background must stay neutral and never draw focus from the item. Its whole job is to expose the detail on the piece.
Quick answer: Use a neutral, uniform background – typically white – and let the product carry the attention. You have two practical options: shoot on a backlit white surface and get a clean white directly in-camera, or shoot on any neutral background and cut the product out in post. For reflective and glossy jewelry, cutting the product in post gives more predictable results.
Two methods work. First, backlit white Plexiglass (built into studio shooting tables) or white paper backdrops can deliver a clean white directly in-camera. The trade-off: direct white background photography risks contrast loss on the item, because backlight falls into the lens and produces a foggy impression around the edges of the product – the overexposure effect. It also washes out very dark stones like onyx or black spinel, where you need the background to contrast against, not compete with, the piece.
Second, you can shoot on any neutral background and cut the product in post-processing. You can then place it onto pure RGB (255, 255, 255) white, or any color you like, without losing contrast on the surface. For jewelry – full of glossy surfaces and reflective gems – this method is generally more reliable.
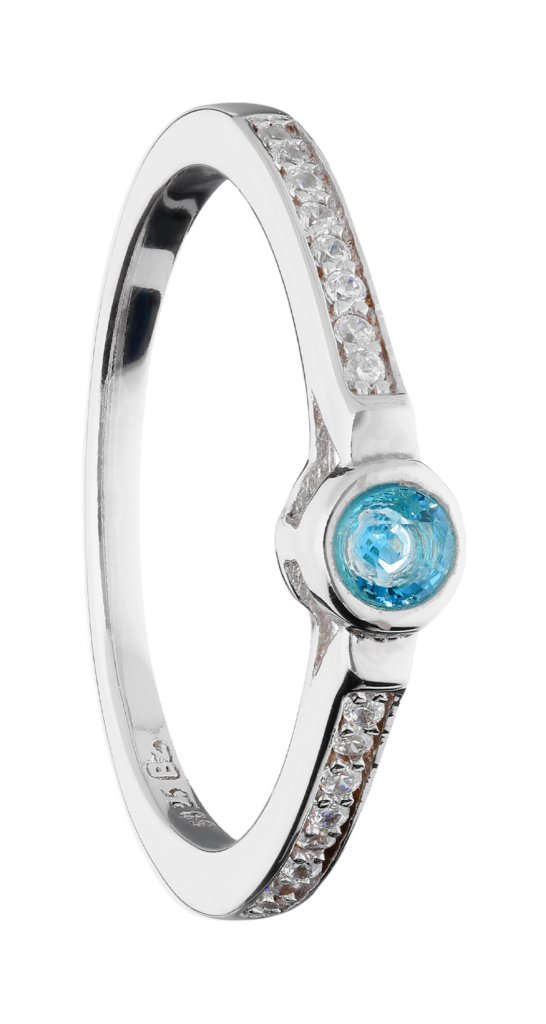
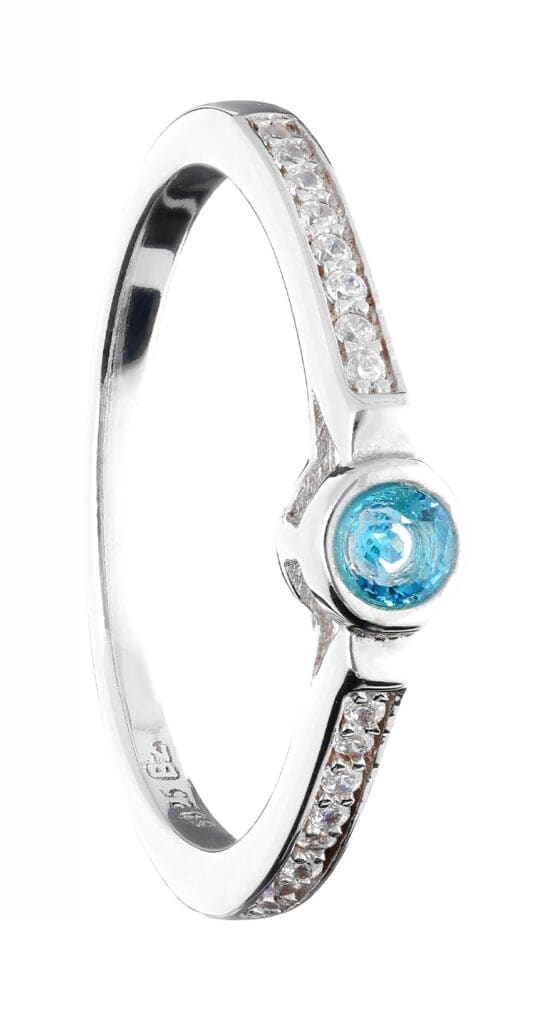
This is where automated systems have the upper hand: automatic background removal based on intelligent masking. Orbitvu's AI Masking, for example, removes the background from product photos in high resolution inside the same workflow that captured them – no design skills required, no per-image manual work.
The gear list for jewelry is short but strict. A wrong lens or an unstable mount costs more time in post than the right gear costs to buy.
Quick answer: Yes. Use a true macro lens with a magnification ratio of at least 1:1, in the 90–105 mm focal-length range. Pair it with a tripod or stable mount, a cable release, and keep any in-lens or in-body stabilization turned off during the shoot.
Most of the equipment challenges of jewelry photography come down to the lens and the sensor. Four decisions matter most.
1. Macro lens
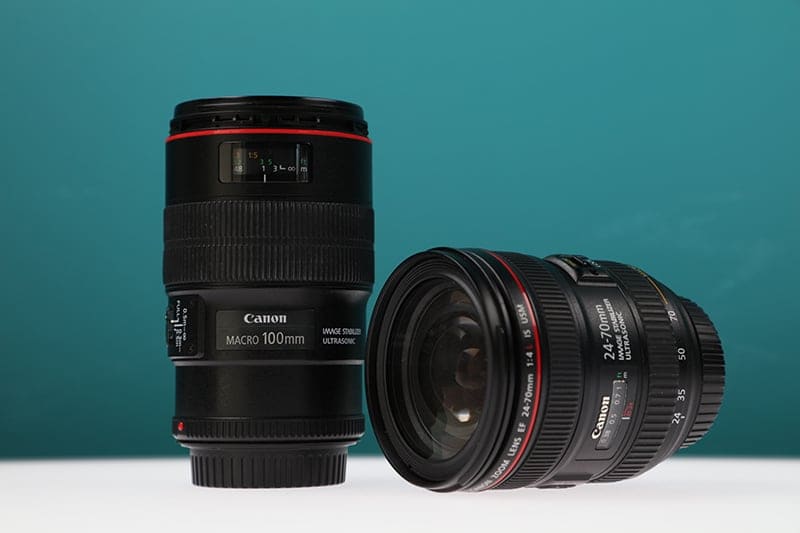
Use a macro lens. The parameter to check is the magnification ratio – it should start at 1:1 (life-size on the sensor) and go higher for very small pieces. Focal length matters too: 90–105 mm is the sweet spot for jewelry. Shorter macros (60 mm) force you too close to the piece, where the lens can cast a shadow on the product and the working distance makes lighting awkward. Longer macros (180 mm+) give beautiful compression but demand a larger studio footprint.
We covered lens selection in more detail in our Best lens for product photography guide.
2. Full-frame vs APS-C sensor
The camera's sensor size is closely tied to the lens choice. The two most common sizes are Full Frame and APS-C.
At the same aperture and field of view, an APS-C sensor renders more depth of field than Full Frame. Depth of field is critical when shooting small objects, so a full-frame camera makes you more reliant on focus stacking. APS-C's crop factor also gives you a tighter frame on the same 1:1 macro lens at the same working distance – useful for very small pieces like a diamond stud, a signet, or a charm.
3. Tripod
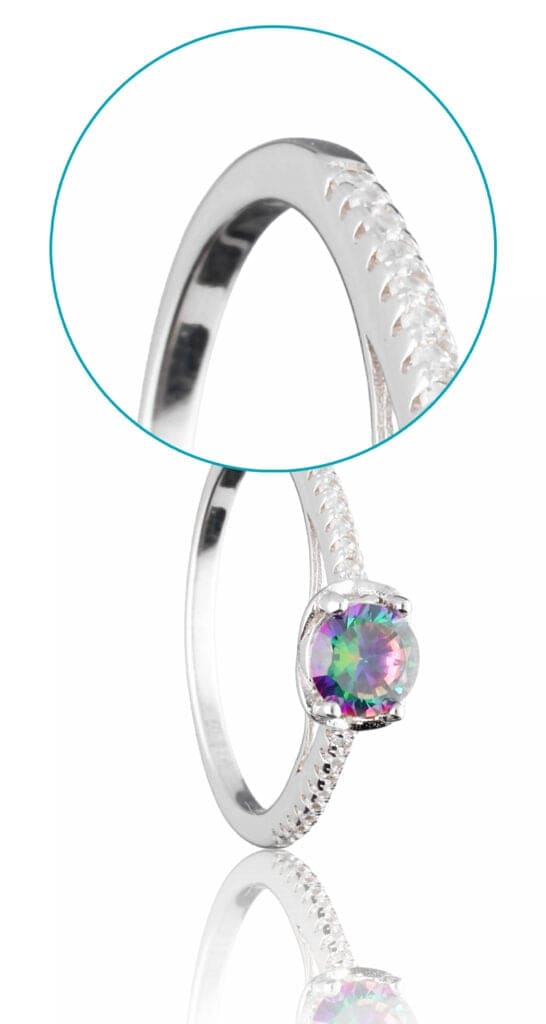
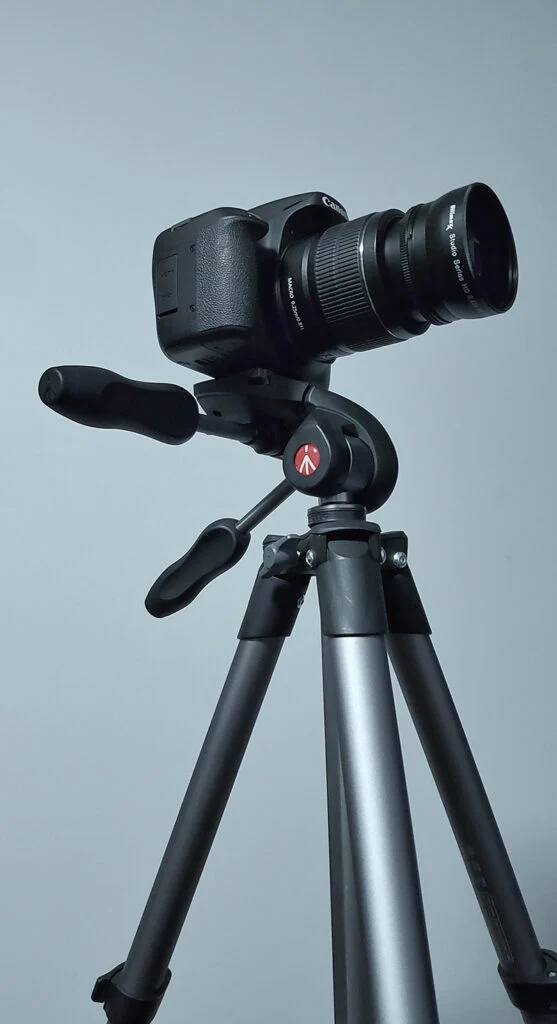
A tripod is essential in a traditional studio setting. It lets you choose a higher f-stop and a lower ISO, giving you more depth of field and less noise. It is also non-negotiable for focus stacking – the field of view must be identical across all consecutive shots, and handheld shots cannot deliver that.
Attach a cable release or use a two-second self-timer to keep the setup immobile at the moment of the shot. Micro-vibrations from pressing the shutter button by hand can shift the focus point and undermine the tripod's whole purpose.
4. Stabilization OFF
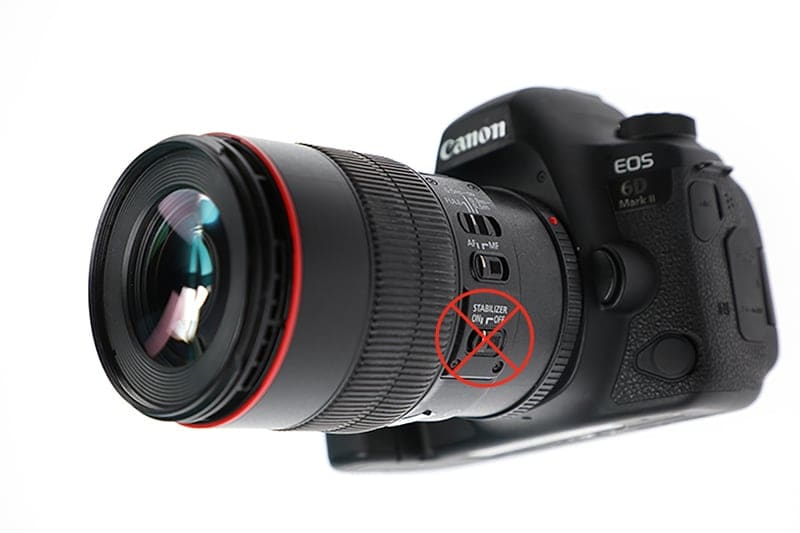
For built-in lens or camera stabilization, the rule is OFF at all times.
If the camera detects micro-vibrations, it may activate stabilization and slightly shift the autofocus point between frames. That breaks focus stacking, which needs a constant focus point across the stack. Turn it off before you start the session, not after you notice soft frames.
Jewelry rewards a specific combination: sharp mid-range aperture, low ISO, tripod-friendly shutter speed, and RAW capture. Get these right in-camera and post-production stays light.
Quick answer:
| Setting | Recommended value | Why |
|---|---|---|
| Aperture | f/11 to f/13 | Best sharpness in the mid-range of the lens |
| Shutter speed | 1/125 s or slower on tripod | Not critical – the tripod removes motion blur |
| ISO | 100 – 200 | Lowest possible; minimizes noise |
| White balance | 5500K (daylight) | Standard for product photography; consistent across shots |
| File format | RAW | Full post-production flexibility for color and exposure |
| Focus mode | Manual, with focus stacking | Consistent focus point across frames |
The recommended aperture for product photography sits in the mid-range of the lens – f/11 or f/13. That is where most macro lenses deliver their peak sharpness.
Shutter speed is not critical, because you are on a tripod. ISO stays at 100 or 200 – low ISO means low noise, and you have no reason to raise it under studio lighting.
You may be tempted to close the aperture further (f/22, f/32) to reach more depth of field. Do not. At close range on a small object, extreme apertures introduce diffraction that softens the whole image, and you still will not get the rear of the item in focus. Focus stacking – not aperture – is the right tool for depth of field in macro jewelry work.
Shoot RAW, not JPG. Jewelry rewards small color corrections in post – especially on gold, rose gold, and silver, which shift noticeably under different white balances – and RAW gives you the latitude to make those corrections without quality loss.
To go deeper on this topic, see our ultimate guide to camera settings.
Everything else in this guide serves the light. Get the light wrong and no amount of post-production saves the shot. Get it right and half of your work is already done.
Quick answer: The best light for jewelry is diffused, evenly balanced, and never too strong. Front and slight side angles work for most items, with an overhead source added when needed. Shoot inside a shadeless environment – a white-cloth tent or an automated studio – to prevent stray light from adding unwanted reflections. Use continuous LED lights with a high CRI rating (95 or above) for accurate color reproduction.
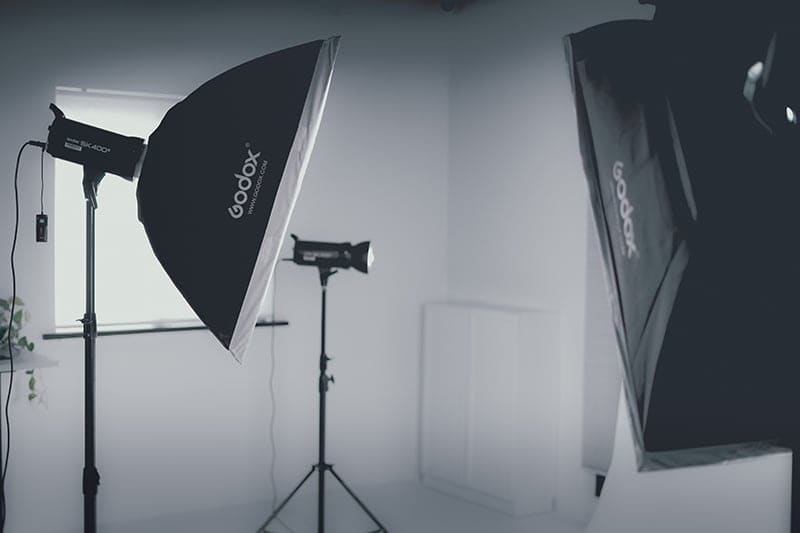
Shadeless environments – white-cloth tents or automated studios – keep stray light from creating unwanted reflections and shifting the color and exposure between shots. That consistency is what turns a full product set into one coherent shoot rather than a patchwork of near-matches.
Control the color temperature of every light source. Check the temperature on every lamp and make sure it stays the same across the whole set – 5500K (daylight) is the standard for product photography. Mixed color temperatures produce shots that need heavy post-production to fix, and the fix is never as clean as getting it right in-camera.
Two more color-critical points: use lamps with a CRI (Color Rendering Index) of 95 or above, and shoot a color reference chart (like an X-Rite ColorChecker) at the start of each session for reliable white balance in post. Gold, rose gold, and silver all shift under different light sources, and a color reference gives you a fixed anchor.
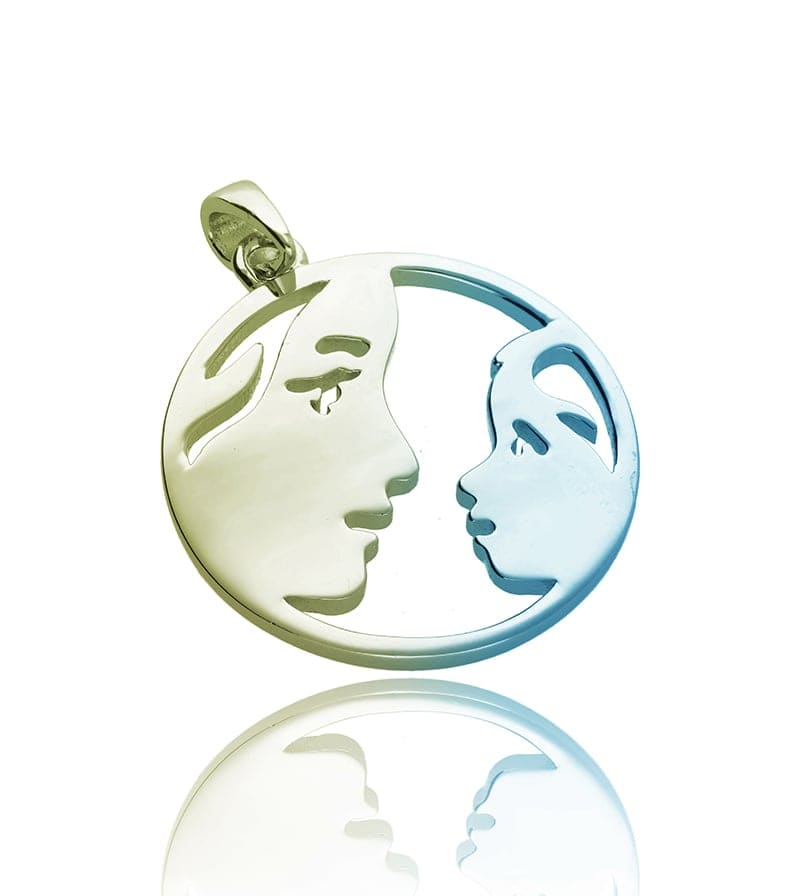
For jewelry, light diffusers on the light sources are essential. Diffused light treats shiny surfaces gently, reducing hot spots and overexposure. A pro technique worth learning is cross-polarization: place a polarizing filter on each light, and a polarizer on the lens rotated 90° to them. This kills most reflections on metal and glass surfaces – especially useful for high-polish rings and watch cases.
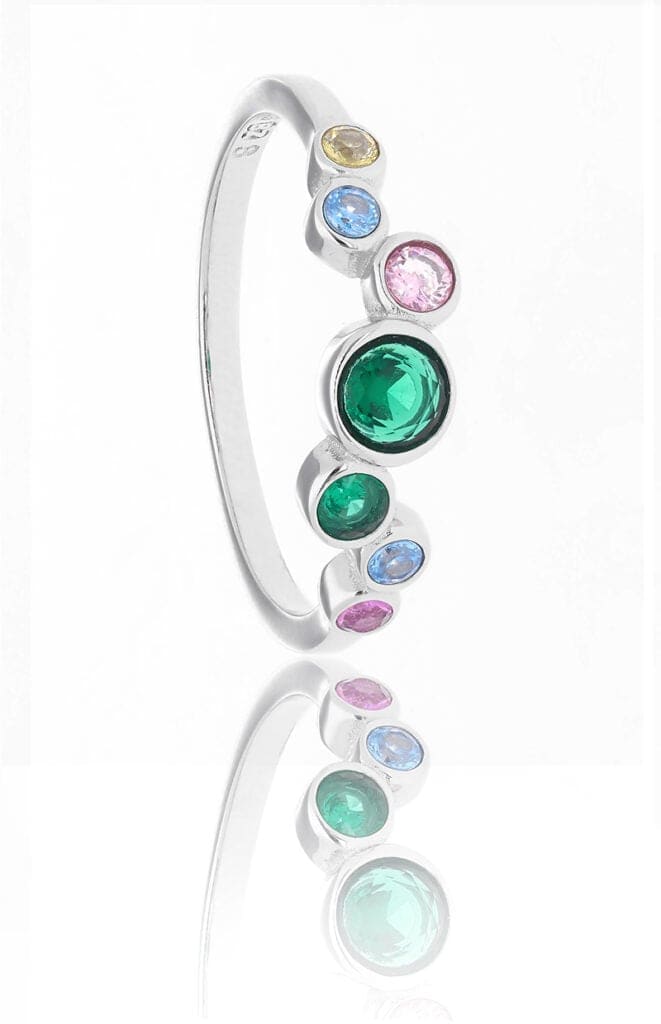
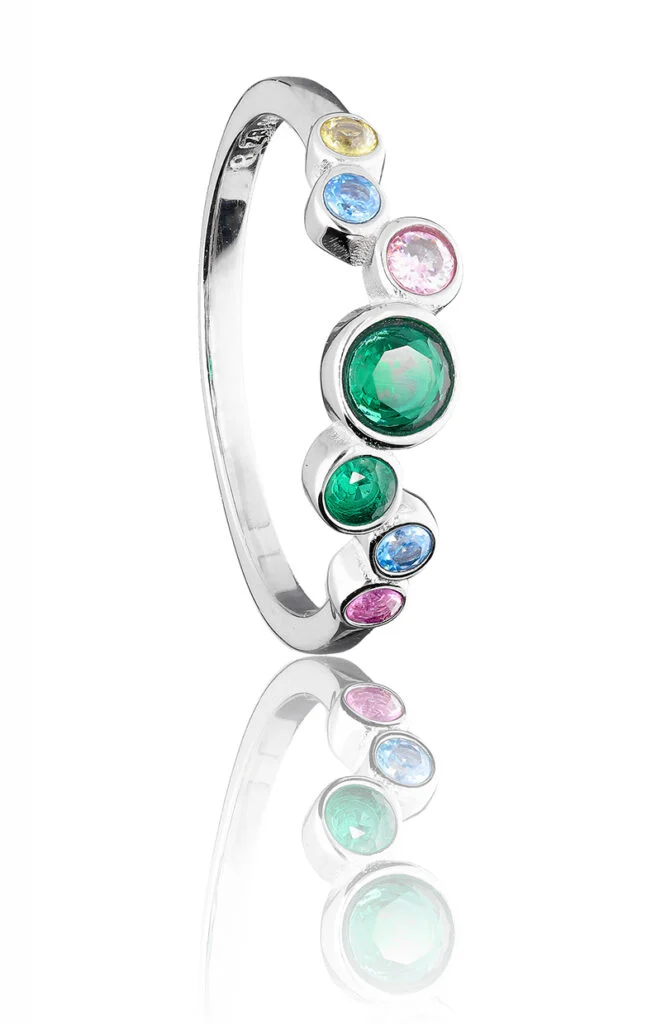
If you photograph gemstones, adding directional highlights that reveal internal structure is often exactly what you want. Snoot diffusers do this in a traditional studio. Automated studios like Alphashot Micro Pro v2 include additional directed spotlights that produce the same effect – without hand-adjusting equipment between shots.
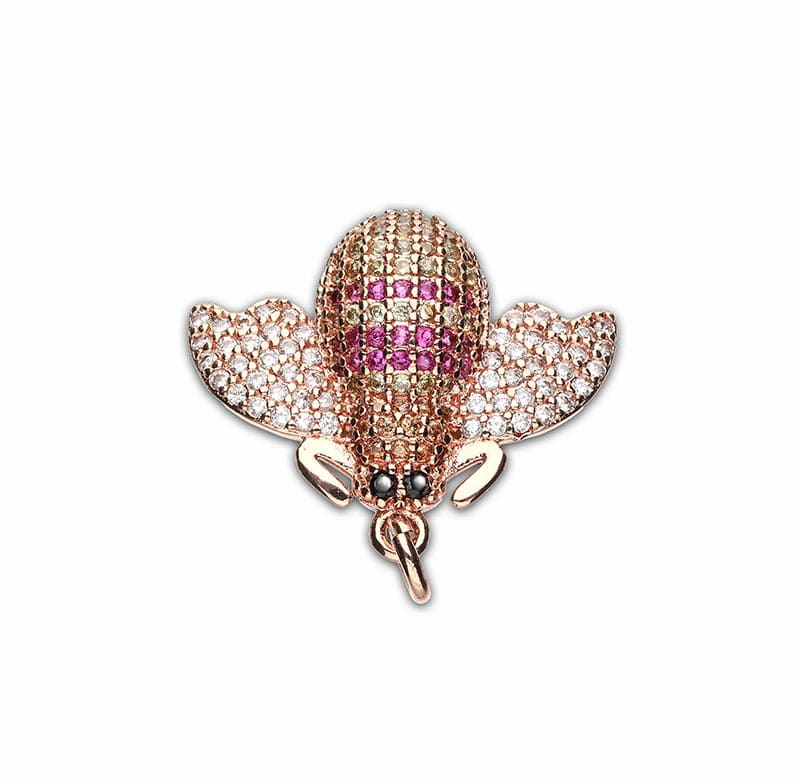
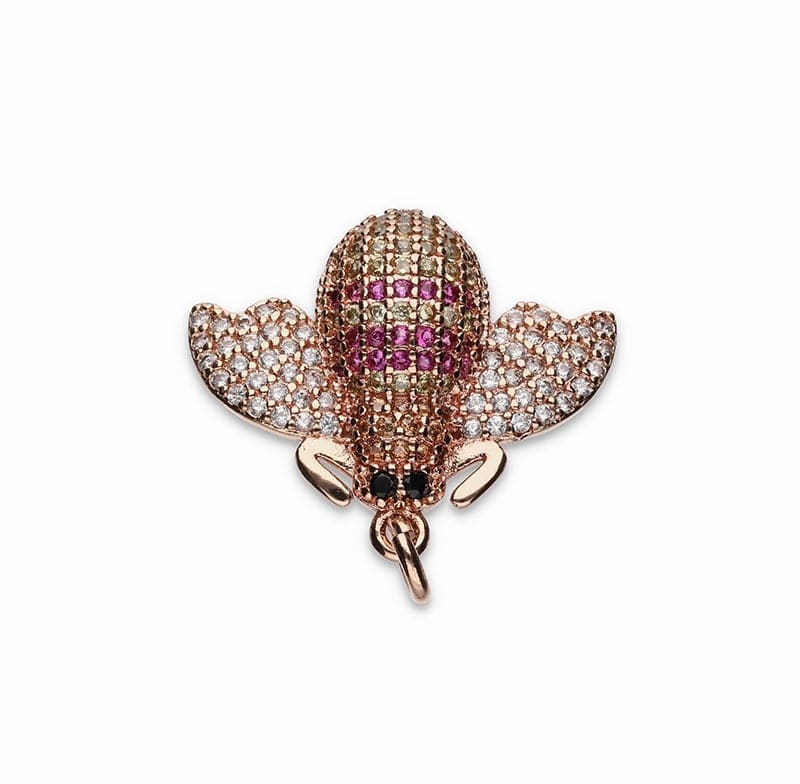
Post-production can either make a jewelry photo trustworthy or push it into fantasy. The decisions below keep it on the trustworthy side – and keep your return rate down.
Quick answer: Post-process only as much as it takes for the photo to represent the real product accurately. If the image starts to look like a 3D render, or if the product looks "better than reality," you have gone too far – and you have set up a return-rate problem for your e-commerce.
Before you apply post-processing, answer one question: how far can you push the improvement without losing faithfulness to the real product?
The answer is subjective, but five checks help you decide:
Does the item still look natural?
Photographs that give a false impression of the product increase your return rate. When the item looks like less than what the photo promised, cut back on the post-production. We covered this in detail in our guide to reducing returns.
Does it already resemble a 3D render?
Heavy surface polishing makes the item look like a software render, not a photograph. Stop your "repair" work when the image starts to look closer to a digital model than to a shot.
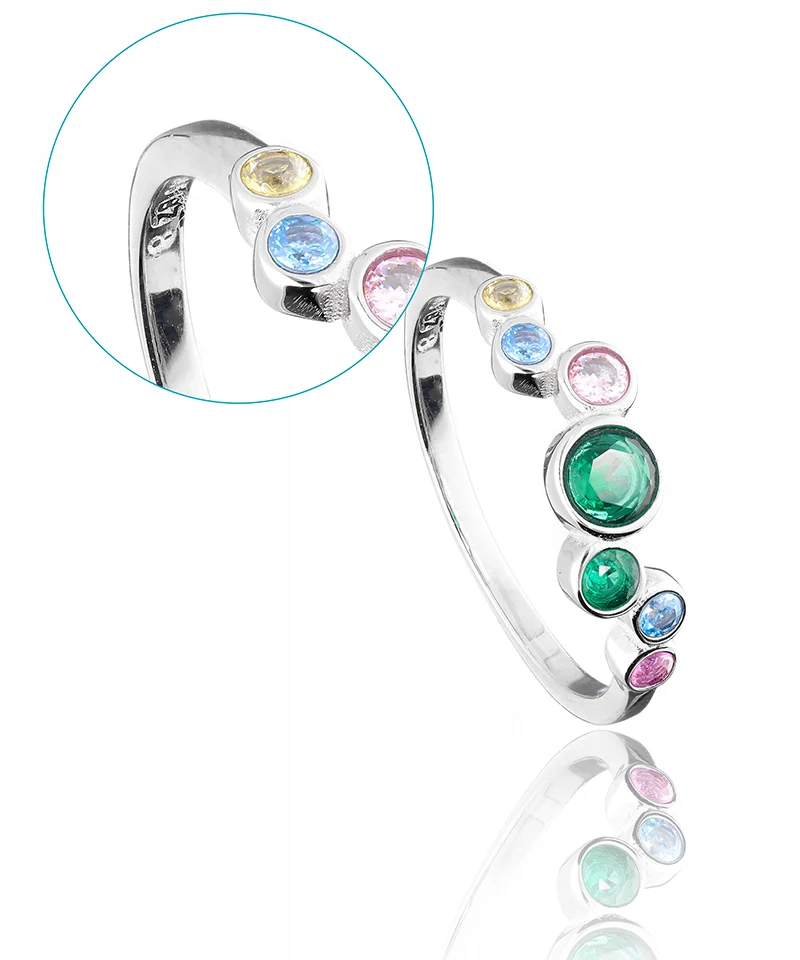
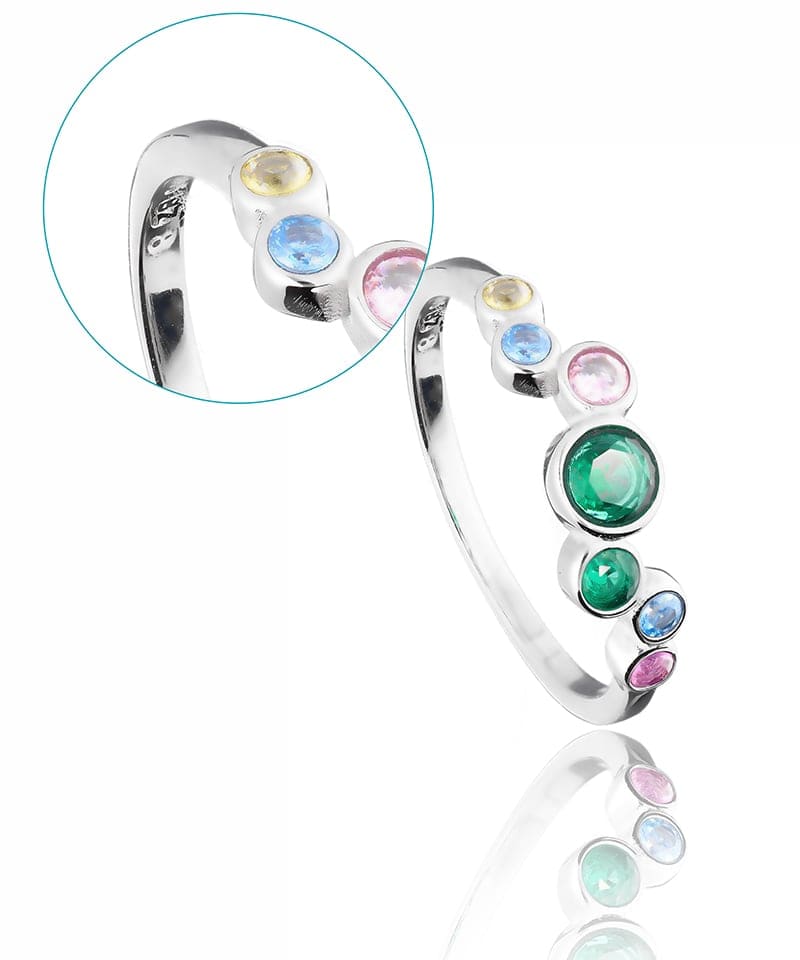
Is the sharpness at the right level?
Focus stacking is what gets you full sharpness on small pieces. Sharpness tools in post can help with minor corrections. Aim for the most detailed and informative image of the product – show every engraving, hallmark, and inscription. That detail is what customers zoom in to see.
Is the contrast satisfying?
Contrast manipulation – especially with "no-cutting" white background photography – risks losing color on the product. Reduce whitish fog on shiny surfaces where possible, and be careful not to draw the light areas of the item into overexposure.
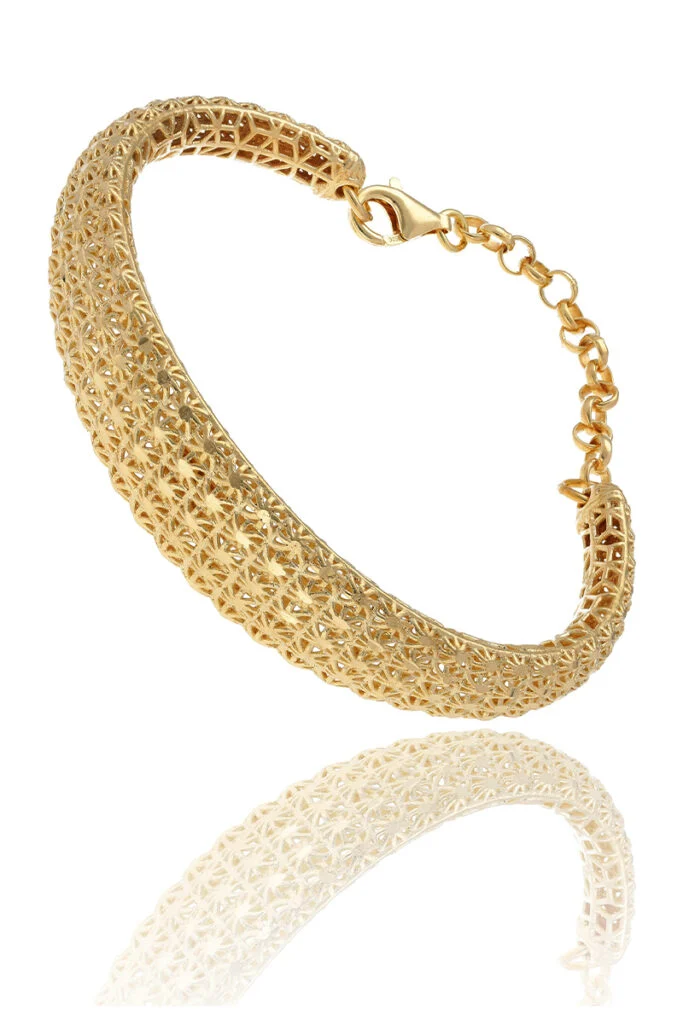
Is the color saturation exaggerated?
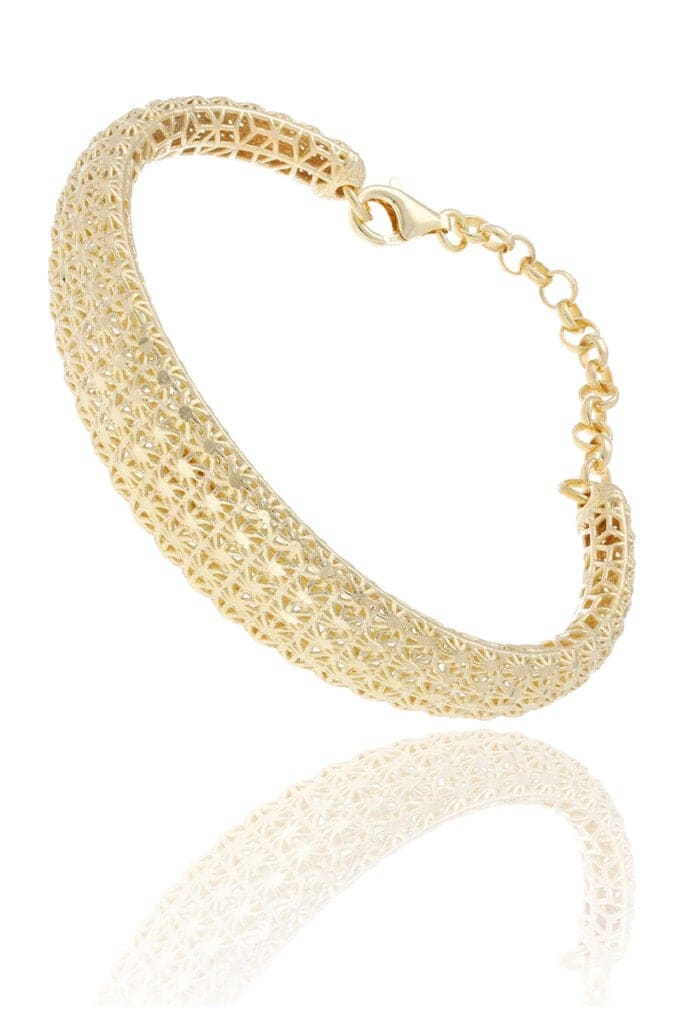
Highly saturated colors are common on social media, and customers may expect them. Your task is to meet that expectation while keeping the photo informative and true to the real product. Oversaturated gold looks orange; oversaturated silver goes blue. Both hurt trust.
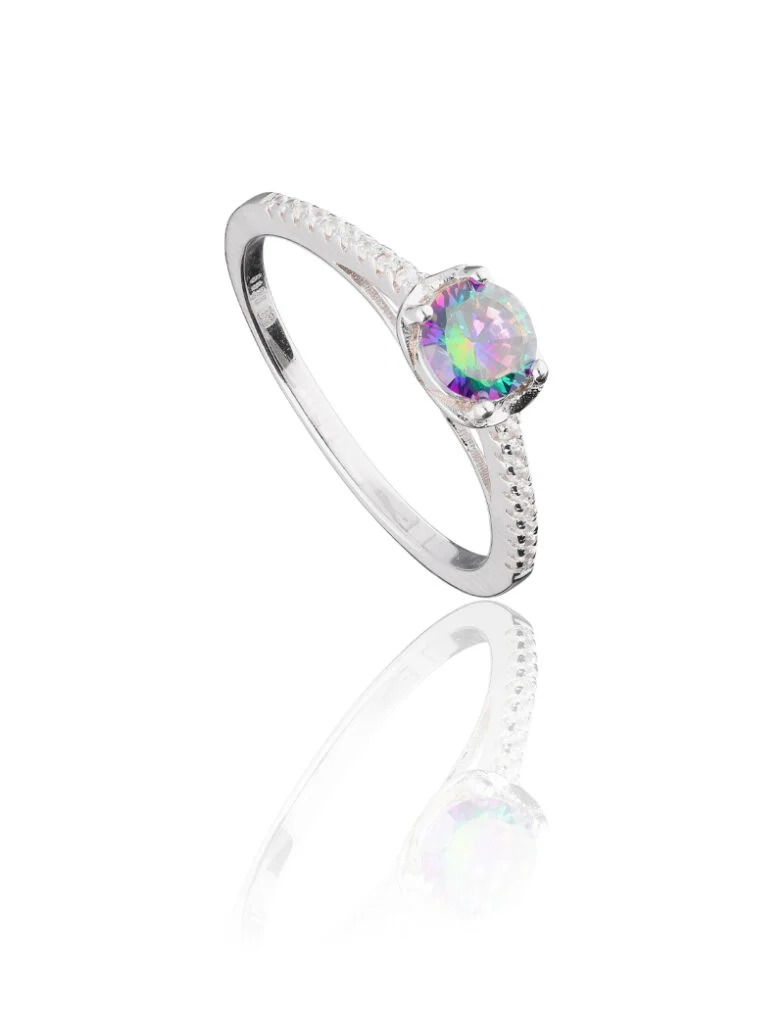
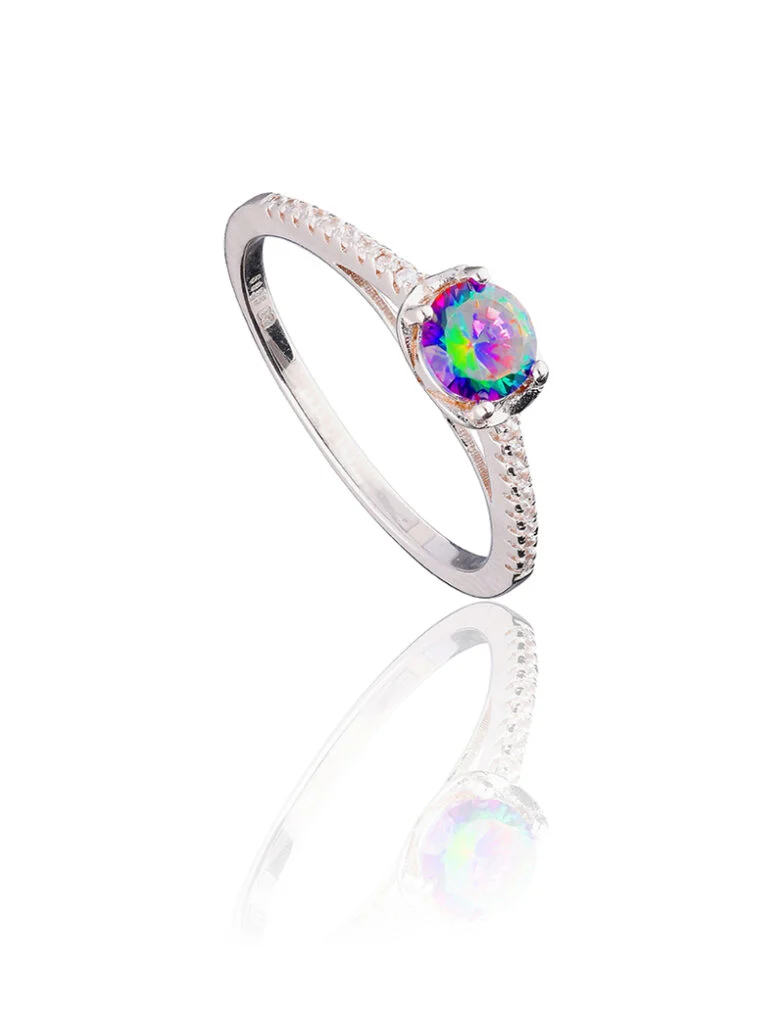
The simplest way to remove scratches on a surface intended to be smooth is the Photoshop filter at Filter > Noise > Dust & Scratches.
The drawback of this filter is that it slightly blurs the entire photo. A more precise alternative – though one that requires more Photoshop knowledge – is removing imperfections manually with correction tools. Manual work is more precise, but it consumes operator time.
Automated workflows solve this differently. Orbitvu's AI Retoucher removes reflections, corrects color, and cleans up imperfections inside the same workflow that captured the image – while keeping the product true to reality. The final call on retouch strength stays with the operator.
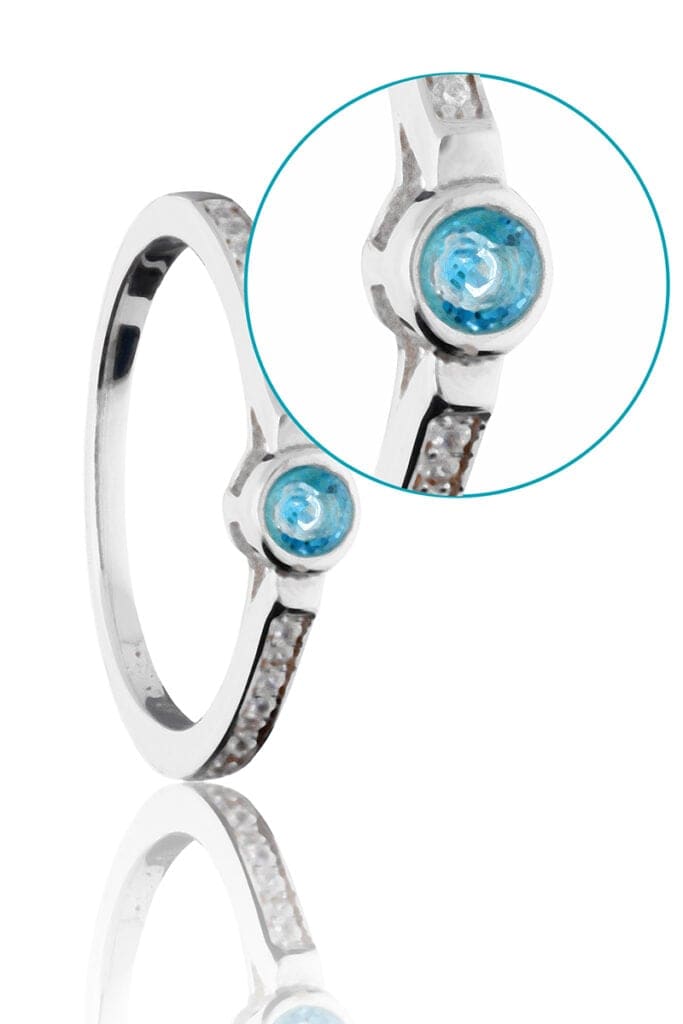
Jewelry photography is hard because the subjects are small, reflective, and unforgiving. The 10 tips above do not eliminate that difficulty – they give you a repeatable framework for working through it: clean the product, control the light, stack the focus, and stay honest in post-production.
Whether you shoot in a traditional studio or use an automated system like Alphashot Micro Pro v2, the goal is the same – a fully sharp, true-to-reality image that shows the product exactly as your customer will receive it.
Use the form to tell us what you are planning and what kind of product content workflow you need.
June 10, 2021
What a packshot is, where it's used, and how to shoot one - camera settings, lighting, angles, tricky packaging, and the image specs marketplaces ask for.
October 8, 2026
AI-generated product images are fast and cheap, but they can drift from the real product. Here is where generated images lose product truth, what makes AI in product photography trustworthy, and how Orbitvu uses AI around the real product, never instead of it.
May 24, 2021
Learn how to photograph models step by step: planning, posing, lighting, equipment, and post-production, for lookbook and e-commerce shoots.