
Table of contents
Preparing the Studio
Before you can start snapping away, you'll need to prep the studio space. Set up your essential studio equipment like the backdrop, props and cameras. Some other items you'll need for a functional large product photography setup include:
High-Resolution Camera
A high-resolution camera is the most essential equipment you can invest in when shooting large product images. High-resolution cameras have a high megapixel count. A 102-megapixel count offers an exceptional resolution and is perfect for print quality and product photography. However, a 61-megapixel camera can also capture quality images.
Whether you're shooting furniture and need to capture the fabric texture and the quality stitching, or household appliances and need to showcase its sleek surface, high-resolution cameras can pickup more detail due to the greater pixels per inch (PPI).
High-Contrast Backdrop
A solid-colored surface is often best when shooting large products as it provides a blank canvas to showcase your products. White offers a neutral color balance for most products, but a good general rule is to choose a background color with high contrast to your product. This way, you can capture crisp images even when the camera's flash is off.
A solid background also ensures images are simple, clean and easy to edit. While you can place your product against a wall, investing in an acrylic photo backdrop is wise. It will remove the crease where the wall meets the floor, ensuring the entire background is a solid color.
Overhead Lighting
The angle of your lighting can change everything from perspective to shadows. Overhead lighting is often the most natural and the best choice for large product photography. There are two main intensities for overhead lighting:
- Soft: Soft overhead lighting is the most suitable choice for large product photography lighting. This kind of lighting will create a stunning natural gradient that amplifies the image quality of large items.
- Harsh: Harsh white lighting creates deep shadows and stark highlights. These elements are generally not flattering for large items like furniture and appliances, but they can work if you're aiming for a look that's dramatic and impactful.
If you don't have access to professional studio equipment, you can use a speedlight and a stand. Simply place the stand behind the product to bounce the light off a white ceiling for a similar effect.
Large Light Sources
Using large light sources is very important when photographing larger products. Large lighting sources will evenly bath large products in a soft glow, while smaller light sources may disrupt the exposure balance and create unwanted contrast and shadows on the product and the background. It also reduces contrast and allows you to capture details on the product.
Sturdy Tripod
A tripod is an essential piece of equipment in product photography. Since lighting elements require precise calibration, keeping the camera in the same spot ensures consistent images. Without a tripod, keeping the camera steady for sharp shots will be tricky. A tripod makes it possible to keep the camera in place while keeping camera focal lengths accurate and capturing multiple shots from various angles — you won't need to worry about shaky hands and camera movements causing blurry images.
Turntable
Using a turntable is the easiest way to capture consistent images. You can place the product on a turntable to target different angles instead of moving the camera on its tripod around the product. As the turntable slowly rotates the products, all you will need to do is capture shots at routine intervals. A turntable is exceptionally beneficial when shooting heavy products because there's no need to move the tripod or rotate the product.
Tips for Finding the Right Camera Settings
Now that your studio space is set up, you must adjust your camera settings. Large product photography requires a unique set of camera settings. Capture superior-quality images of your large products with these settings:
- Optical distance: Optical distance or focal length is the distance where the inside of the camera's sensor meets the light. The focal length will dictate how much the camera will capture. Larger focal lengths provide a narrower view of the scene, while smaller distances will offer a wider angle of view. A focal length of around 50mm or greater is ideal for large products.
- F-stop: The f-stop setting dictates how much light you allow to hit the camera sensor through the aperture opening. Setting the f-stop for large product items to f/10 or above is best. This setting will ensure the field of depth is not too shallow, ensuring images are sharp and in focus.
- Low ISO value: Bright conditions generally benefit most from low ISO values of 100-400. Outdoor, landscape and large product photography require a low ISO value. A low value prevents noise in the image that can create overexposure or a washed-out result. A shutter speed of around 1/125 is also best to avoid flash syncing issues. Syncing problems can occur when the shutter speed is set faster than the camera's sync speed.
To really fine-tune your camera settings, consider these additional large product photography tips:

1. Take a Test Shot or Two
Capture a couple of test shots to ensure every area of the product is in the correct level of exposure. The image should accurately depict the product and all of its details. If the test shots don't yield the desired results, try lowering the ISO value, setting the f-stop above f/10, and increasing the focal length. After making each change, capture a new test shot until the images are crisp and detailed.
2. Add Fill-In Lights
Fill-in lighting ensures light hits on all sides of the product, making the sides visible in the image. These lights should be placed on the opposite sides of the product to fill in the shadows. You can also use a third backlight that is placed behind the product. An additional backlight will help separate the product from the background.
You can use speed lights with umbrellas in place of studio lighting. If you don't have umbrellas, point the speed lights backward at a piece of white card or poster board.
Once you have this additional lighting set up, take a couple more test shots, adjusting the output on the flash or changing the f-stop setting until you capture quality images.
3. Remove Ambient Light
Turn the flash trigger off so that there is no flash firing. Then, take a final test shot. This image should be completely black, showing no detail. If this is the case, no ambient light in the image affects the product.
If this is not the case, you must set the ISO value lower, increase the shutter speed with consideration for sync speed limitations and set the aperture setting to eliminate ambient lighting.
4. Shoot Multiple Angles for Each Product
Once you have captured a high-quality image, you can begin shooting your large product images. Move the tripod around the product in a circular motion to capture the product from every angle. You will need to capture the product from a front view, side view, top view and back view so that your customers can get an accurate depiction.
It's also essential to highlight unique product features with close-up shots that expose even more detail. When capturing close-up shots, you must adjust the focal length and f-stop to alter the field view.
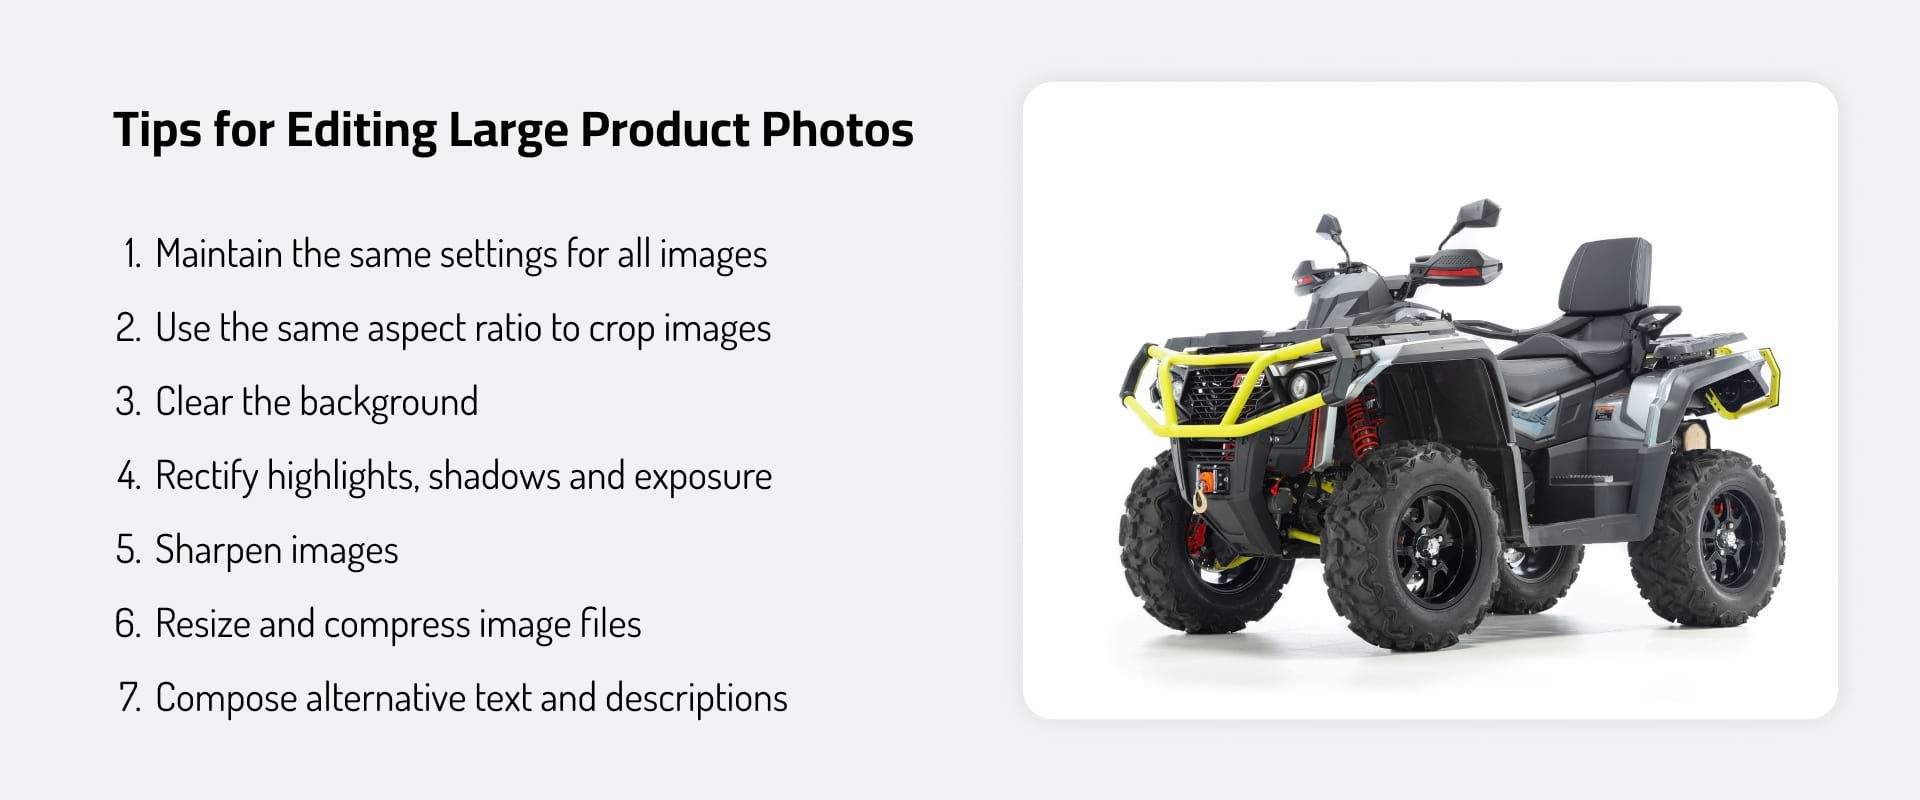
Tips for Editing Large Product Photos
Capturing high-quality images is the first half of the job — you will also need to edit the photos before uploading them onto your website. During the image editing process, you can retouch imperfections, crop images, rectify the white balance, flatten the background, sharpen the details and more. For the best results, follow these tips:
1. Maintain the Same Settings for All Images
Keep track of each change you make as you edit the first image. Whether adjusting highlights and shadows or reducing contrast, make a note of each edit so that you can keep image sets consistent for each product shoot.
Unless you have Orbitvu Station, in which case you can save all your settings, including light and camera, as a template, so you can get the same result for the next session with one click, and your e-commerce site will be consistent!
Other photo editing software, such as Adobe Photoshop or Lightroom, also provide batch processing features, so you can edit a group of photos at once.
2. Use the Same Aspect Ratio to Crop Images
While ensuring each image uses the same edit settings is essential, ensuring each image has the same aspect ratio is just as important. Product shoots will be consistent when each image uses the same height and width ratio. Consistent image sizes will enhance user by allowing a visually pleasing page layout.
Choosing a 1:1 square ratio or a 4:3 ratio for all images allows you to keep your product page in a grid format or consistent slideshow format.
3. Clear the Background
Even with a pure white photo backdrop or an innovative product booth, there might be imperfections in the final image backgrounds. Folds in the backdrop material, stains on the floor, cables from the lighting and slight shadow gradients are some background flaws that you might need to retouch.
With photo editing software, you can use a masking tool to separate the product from the background. You can make the background transparent or flatten it with a solid white layer. This approach is faster and more effective than manually erasing, blurring or painting over background imperfections.
4. Rectify Highlights, Shadows and Exposure
Even though you have set your camera to capture highlights and shadows that enhance your product, you may need to adjust these elements when editing. Adjusting highlights and shadows allows you to redirect focus with angle shots and create a consistent look for your product page.
While evaluating the shadows and highlights, you must make sure the photos are not too bright or dark. If the images are overexposed and too bright, the background's white can shine brighter than a pure white product page, making it seem like the product images are layered above the page. If the photos are too dark, you might create the opposite effect.
To confirm exposure, use a color card while editing. Most editing software allows you to adjust exposure with a slider, as with highlights and shadows. Place a block of pure white on top of the image to match the exposure value to the color block.
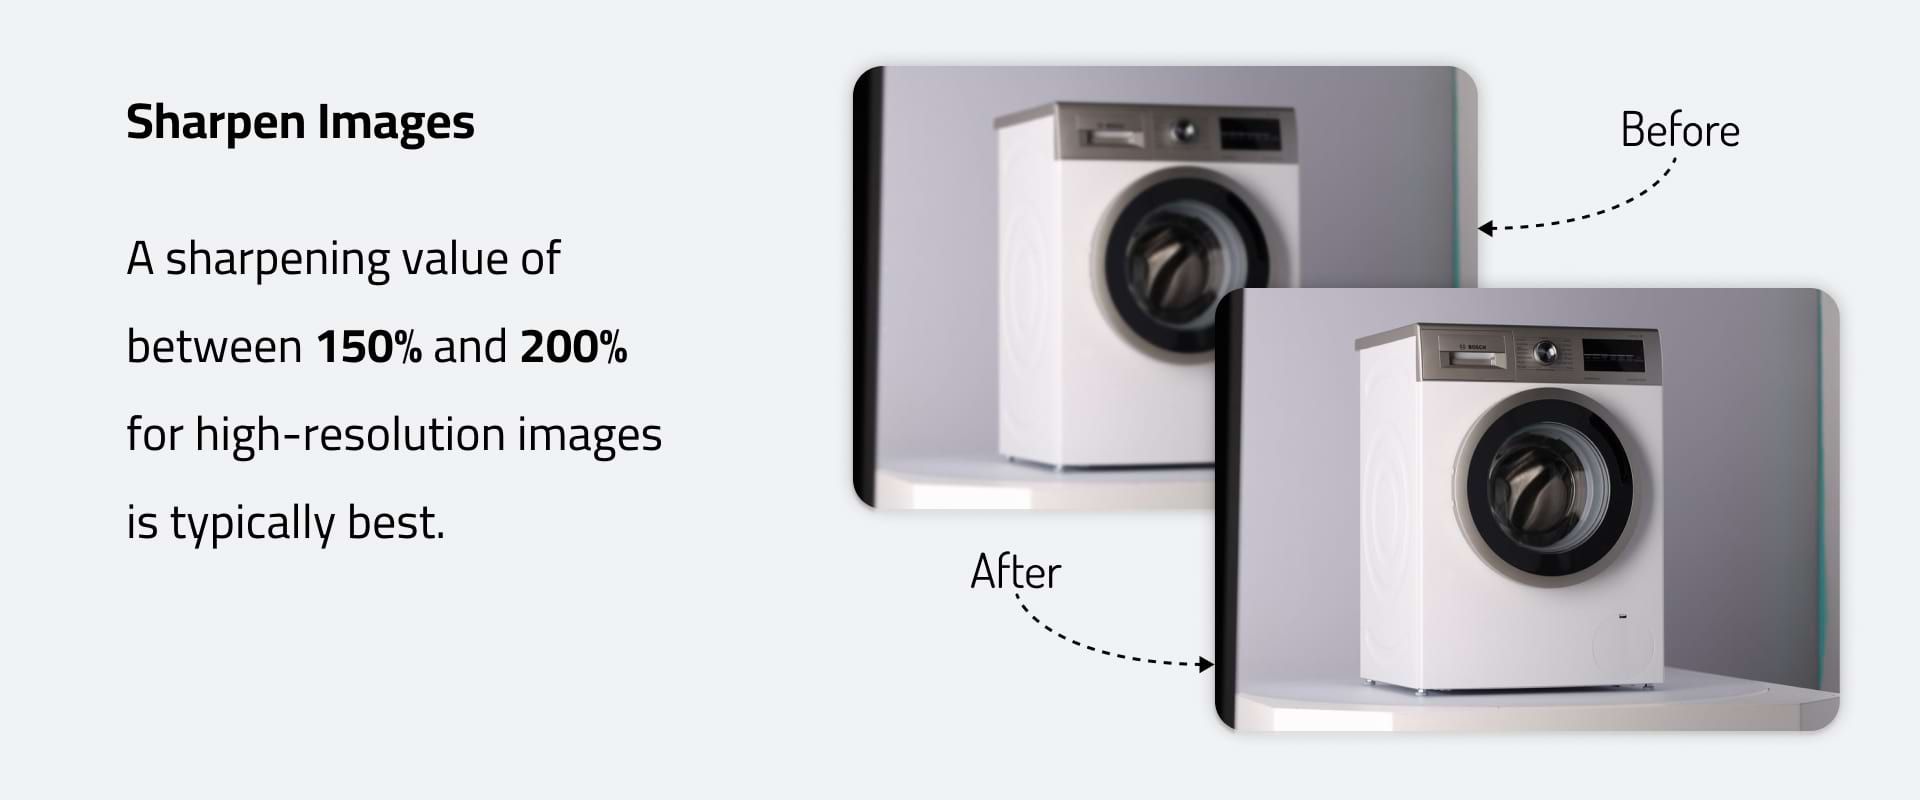
5. Sharpen Images
Photo editing software makes it possible to sharpen blurry product images by increasing the clarity or contrast of the pixels. However, over-sharpening an image can create a grainy look. A sharpening value of between 150% and 200% for high-resolution images is typically best.
The sharpening radius determines the number of pixels sharpened around the edges. A radius of between one and two is ideal. Moreover, the threshold value should be between two and 20 for high-resolution images for clear, sharp results.
6. Resize and Compress Image Files
Resizing an image differs from adjusting the aspect ratio. While the aspect ratio determines the width and height and can perceptually stretch the image horizontally or vertically, resizing will scale the image to fit into a given size. Resizing can shrink the image to reduce file size. But it's still wise to compress the file. Compressed images load faster on web pages, enhancing website functionality and boosting user experience.
7. Compose Alternative Text and Descriptions
To enhance the accessibility of your website, create alternative (alt) text and image descriptions for your product photos. This copy will be read aloud by screen readers to describe the images for those with visual impairments. It's also helpful in the context of search engine indexing — with alt text, your product pages have a greater chance of showing up on more organic search results.
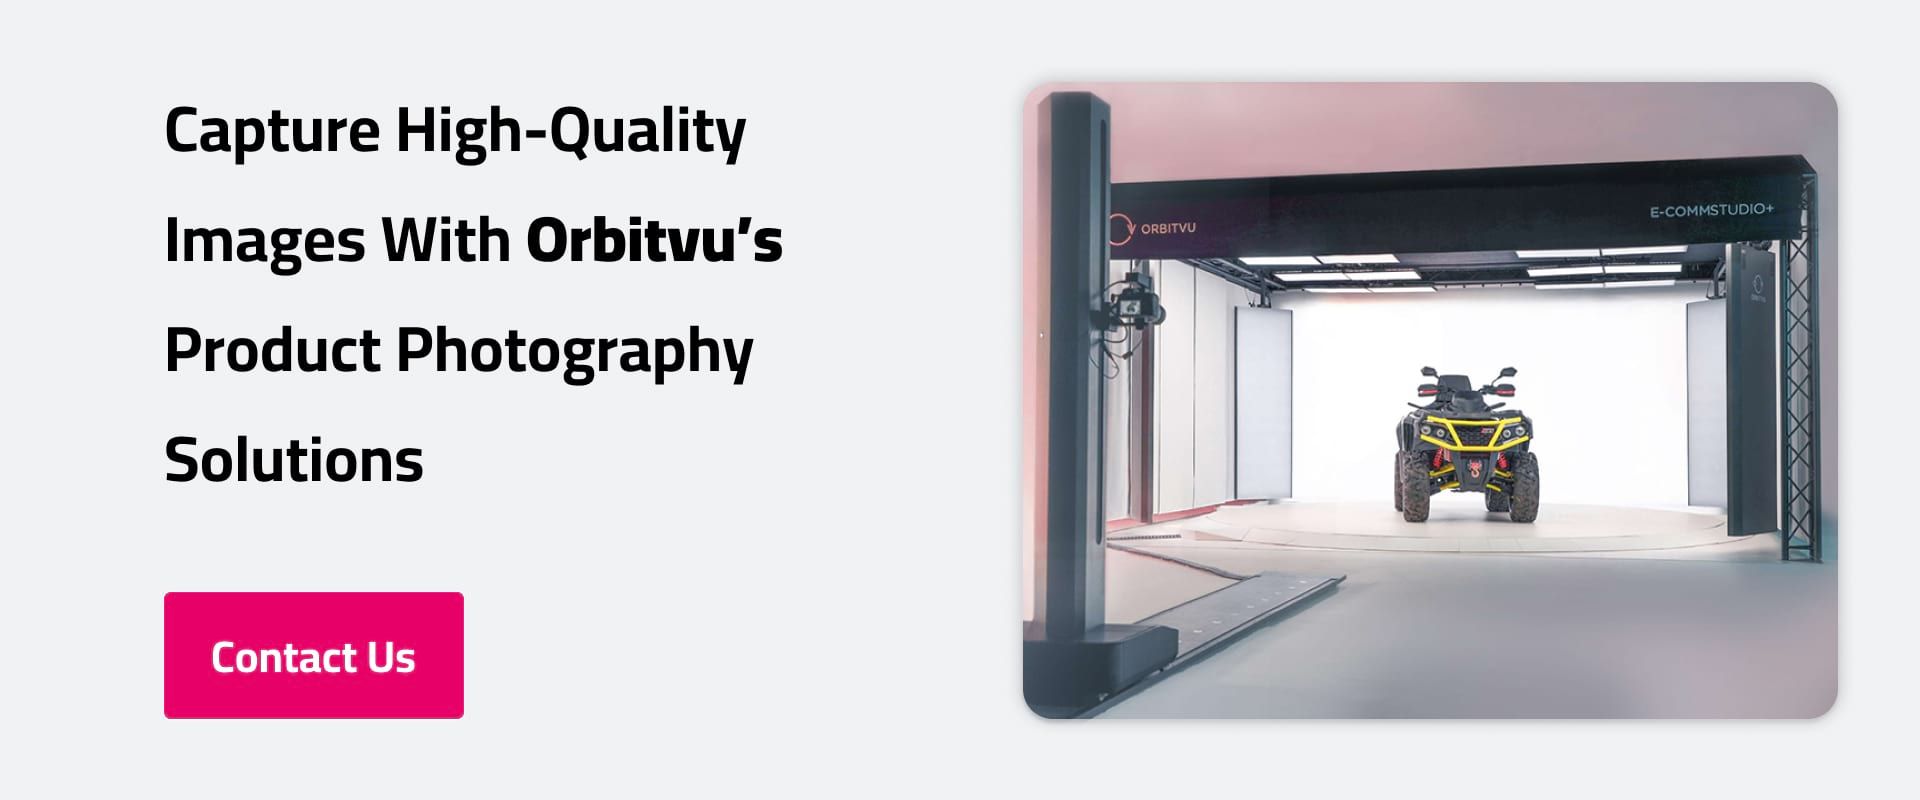
Capture High-Quality Images With Orbitvu's Product Photography Solutions
Quality product images can attract customers, boost conversions and increase sales for your business. Still, having the correct equipment is crucial to creating high-quality images.
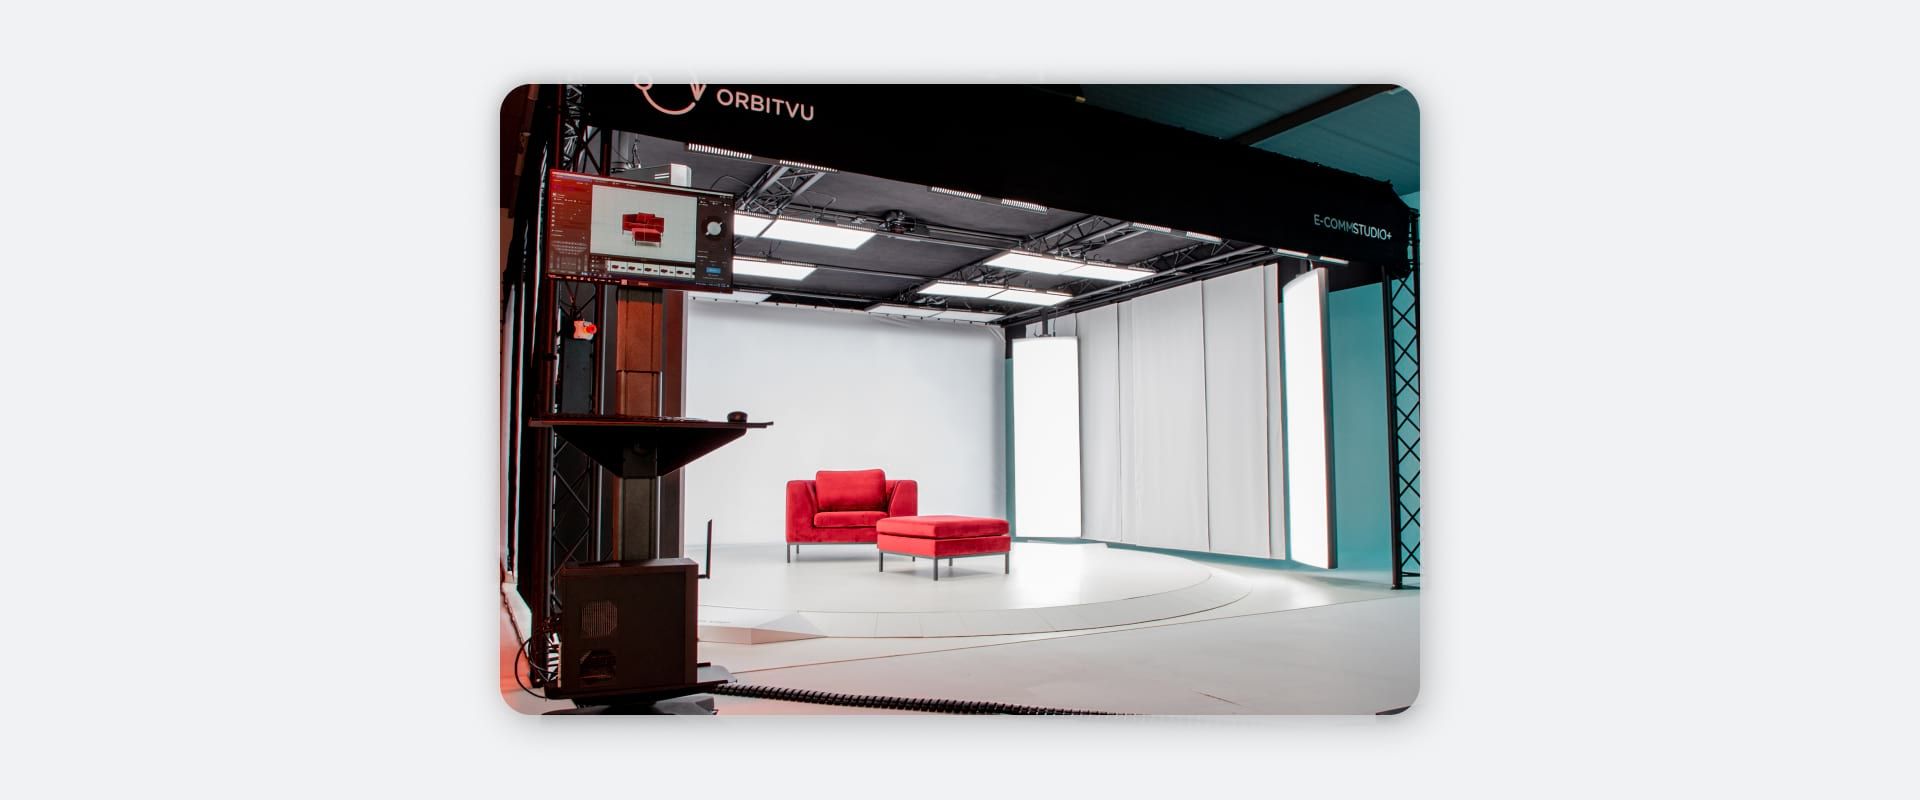
With our product photography solutions, you can shoot large product images in a professional studio environment. Our E-COMM STUDIO+ platform can hold large products like appliances, furniture and even vehicles. With a 4000-kilogram load capacity, you can position heavy items and shoot them from various angles. For large items up to 100 kilograms, our all-in-one Alphastudio XXL platform makes it easy to create stunning product images.
Contact us online to learn more about our product photography solutions.