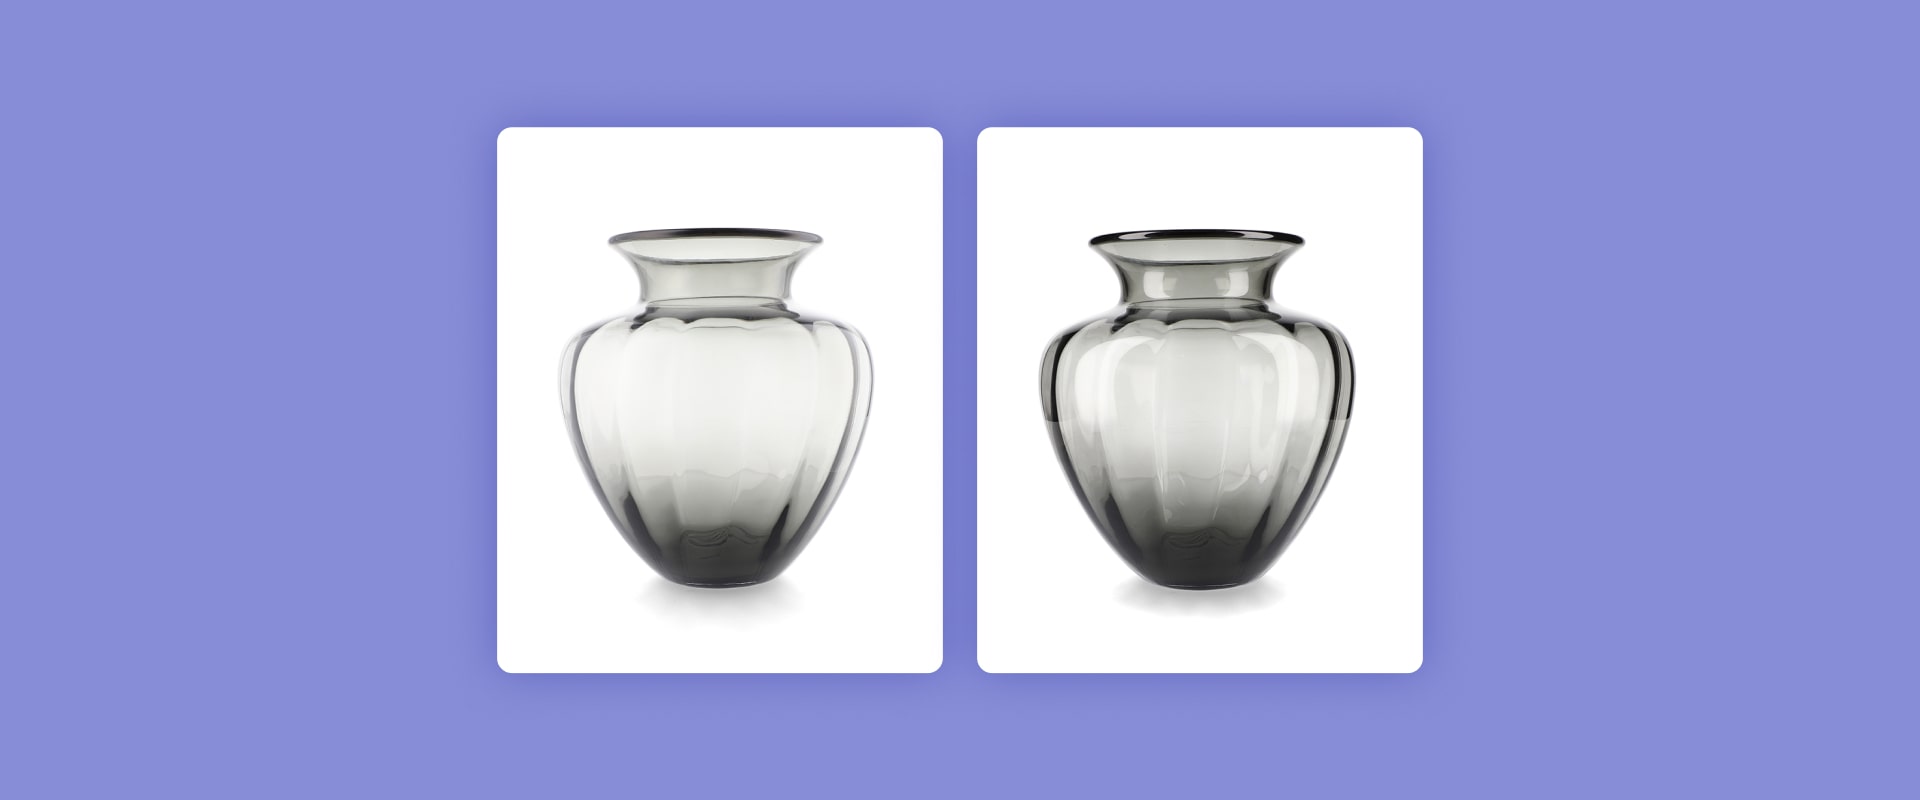
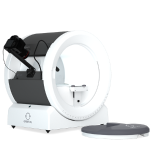
How to photograph glass products for e-commerce
Glass is beauty put in a simple item. Just as glass inspires artists and makes our homes beautiful, photographing glassware is a challenging task. E-commerce businesses engaged in glass products trade need crisp and attractive product images, while still keeping tight budgets and busy scheduling. We are here to help turn out better and better photos of glass with our photography tips on how to photograph glass products.
Top Tips For Reflective Product Photography
Having glass and reflective surfaces in the studio is all about careful lighting. Whether you are shooting for catalog images or captivating social media material, you will need to master several simple lighting techniques if you want to learn how to photograph reflective objects. Commercial photography will also require assiduous post-processing to make all these perfume bottles shine at first glance. With the right equipment and know-how, you can show off your glass products' detailed finishes and beautiful lines.
Table of Contents
We look into all these challenges and walk you through photographing glass phase after phase.
Glass and reflective product photography
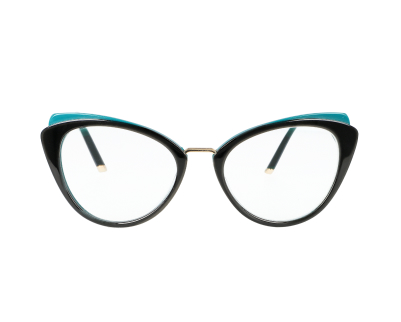
Photographing glass items requires extra attention, as they have reflective surfaces. Reflective surfaces act like a mirror. If you point a light source directly at a reflective object, the object will reflect the light back. This phenomenon can cause a significant part of your object to be so shiny that its texture and tiny details fade away, resulting in a poor-looking image with shiny spots and minimal sharp lines.
Reflective surfaces can reflect both the light source and the camera, photographer or any other object in the room, adding unnecessary shadows to the object that's being photographed.
You can also easily blemish glass and other reflective surfaces with fingerprints and handprints. This risk means you must take special care to ensure these objects are blemish-free, as a camera can capture a mark invisible to the naked eye.
Reflective surface photography is the process of photographing sunglasses, glass objects, mirrors, metal objects and jewelry to minimize glaring reflections. Learn how to shoot reflective products by properly prepping your studio and adjusting your camera settings. Most importantly, you'll want to pay special attention to your lighting so you can illuminate the way to crisp and clear shots. While reflective product photography might be challenging, the reward of a perfect glassware shot is extremely satisfying.
Session preparation for glassware photography
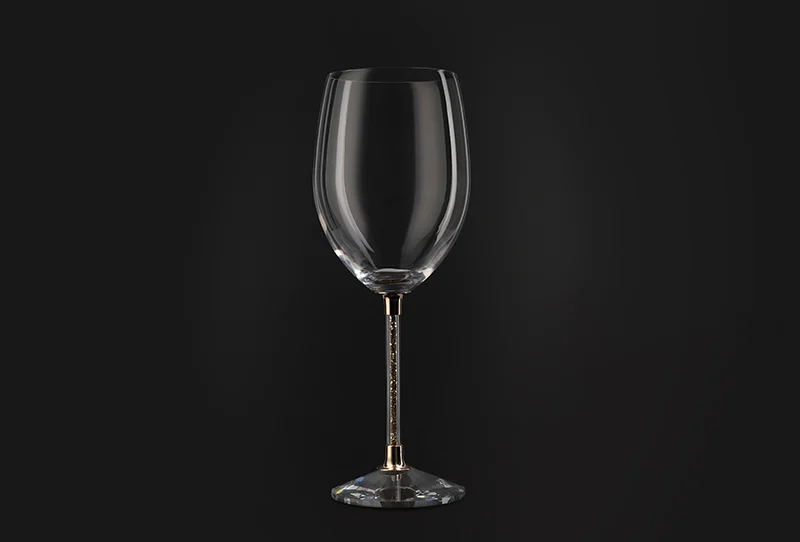
Preparing a glassware photography session will take you to an art supply store for a lot of black paper and in the end lead you to update your traditional photo studio a little. You can invest in photography automation as well to reduce the DIY element of session preparation by placing your products in a small enclosed studio.
Let’s focus on the studio space, the equipment, and the product itself. Doing preparation right will save you a lot of time in post-production.
The space you need
Glass objects are very specific and they need some specific space to be photographed at the highest level. Take time to prepare some dedicated space for the photo session.
The room should have no light sources that can cause unwanted reflections in the glossy surface. This means no daylight or uncontrolled lamps hung from the ceiling. All of the lighting setup should be measured and controllable. A closed space, like a separate dark room, will be most suitable.
Mind even to paint the walls grey or black, as this will enhance the light absorption factor and make your lighting setups more reliable and precise.
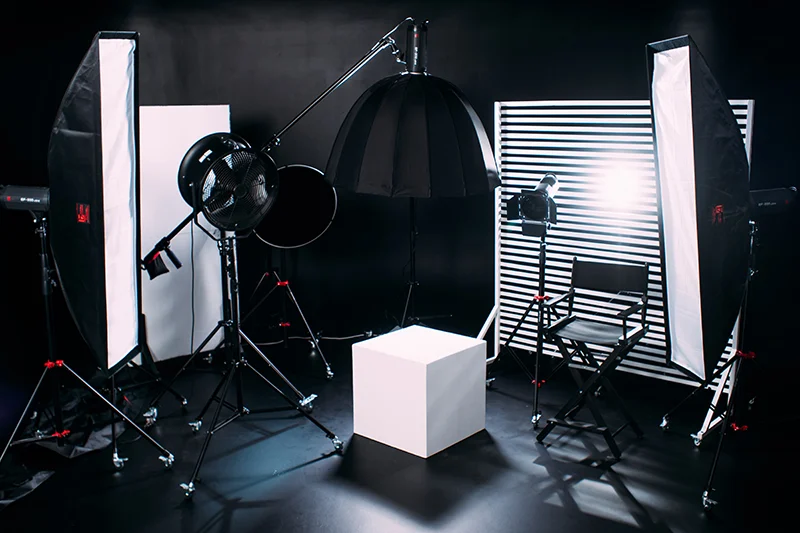
Your studio will do best with solutions where you can safely place the glass product: platforms or tables. A translucent plexiglas shooting table which guarantees uniform background might be a good choice. For black background of paper you might need a hanging system (DIY tip: use photo tripods and a rod!).
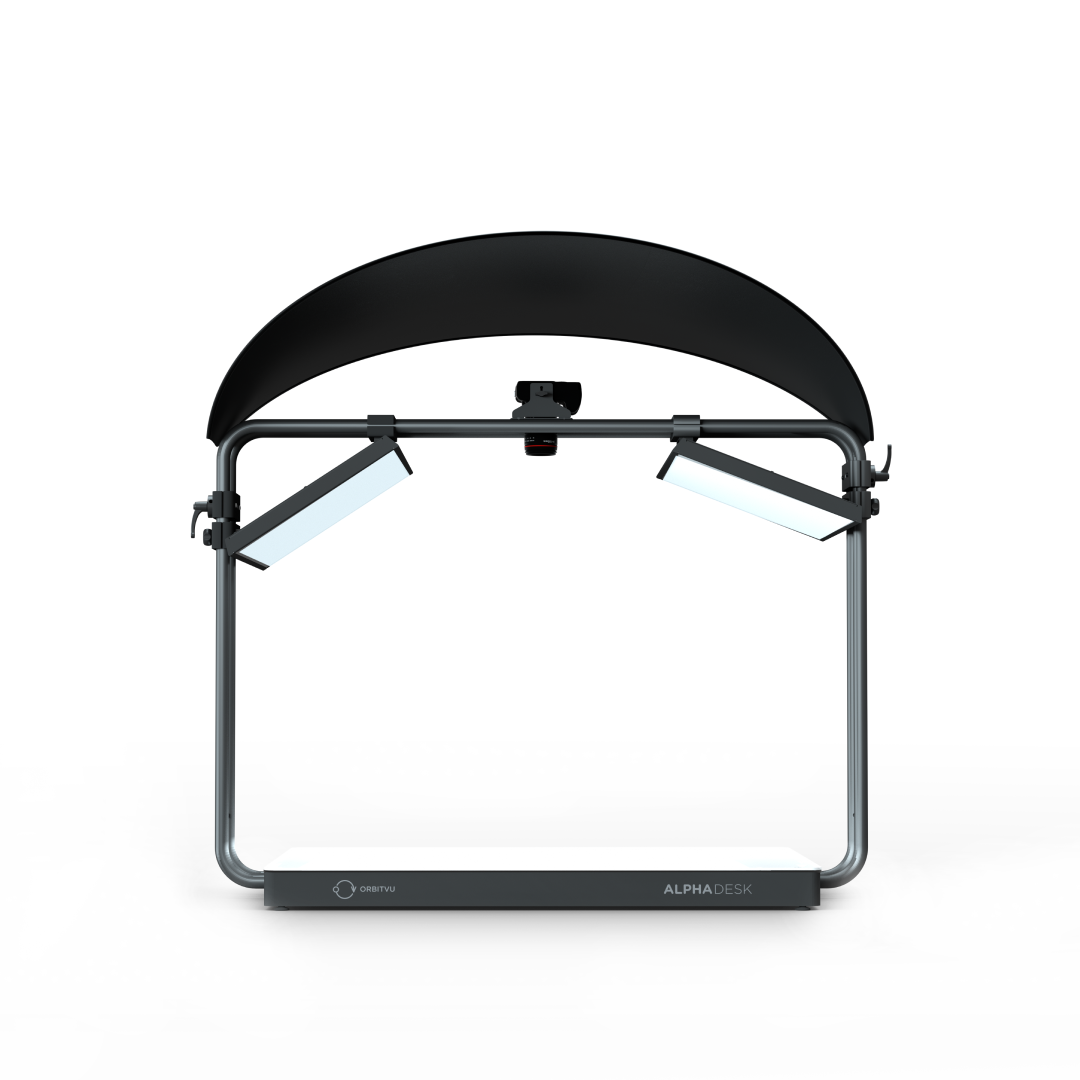
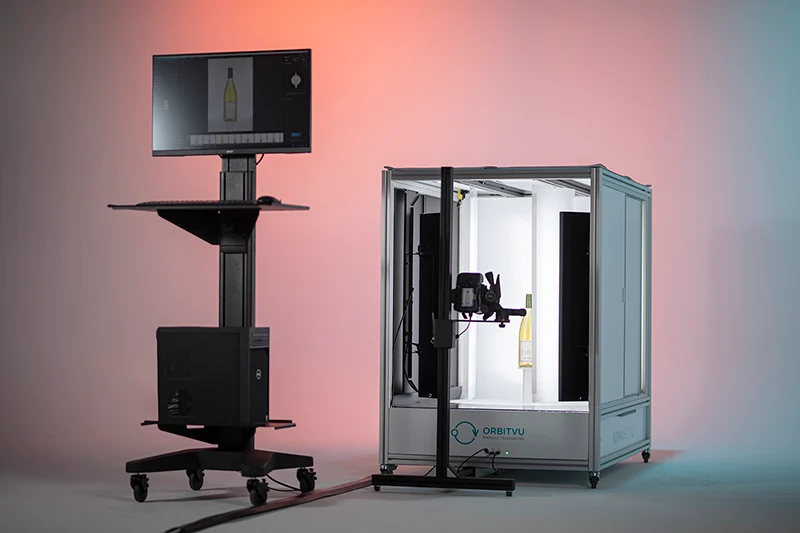
Automated photography will solve all the space-related issues, as it offers a one-piece, product-isolating booth for perfect lighting and does not require plenty of floor surface.
The equipment you need
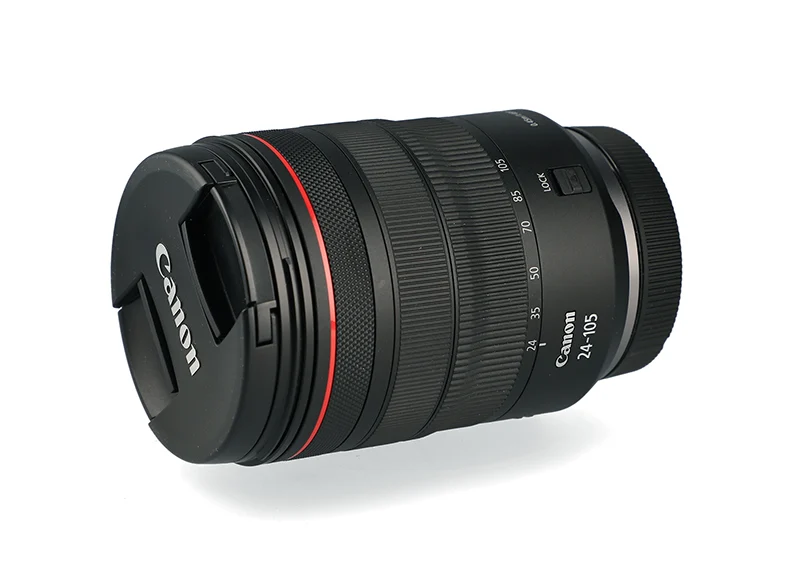
For a good shot of glass products, a good lens will do miracles. In this branch of photography, the lens will be more important than the body of the camera. Choose lenses from the highest series of renowned brands for crisp images and unquestionable sharpness.
In the glass photography studio, you will also need reliable light sources. When buying them, mind the CR factor and the way they synchronize with the camera. Flash speed in case of cableless lights plays a role when shorter shutter speeds come into question – too low a flash speed will keep the lights desynchronized.
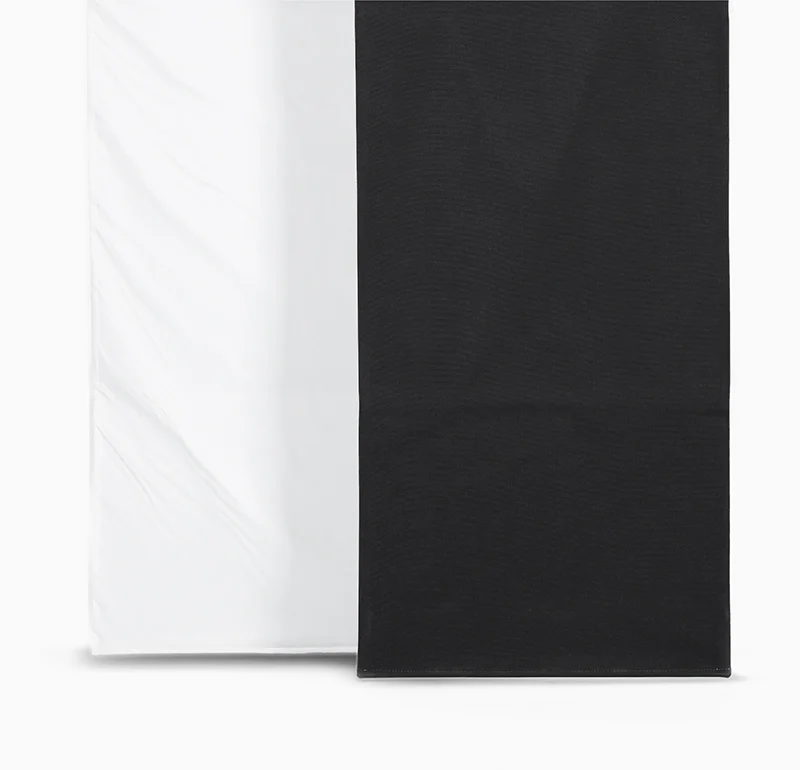
Black light diffusers are a well-useful aid in glass photography. Having a few of them in stock is a necessity or you will need to fight with black paper/cloth home-made shades for diffusing light.
How to prepare a glass object for a photo session
Having made sure no additional light is present in the shooting space, with the equipment functional and ready, it is time for product preparation.
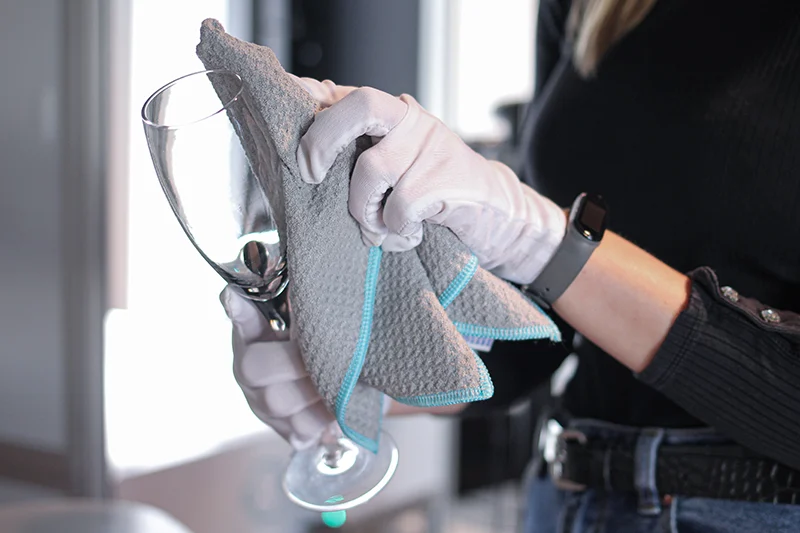
Arm yourself with cotton gloves, compressed air, and soft cloths. Take care to remove all the dust particles from your photographed item and leave no fingerprints. They will all be visible in your high resolution photos, so why add yourself polishing work in post-processing?
For product placement use the gloves and mind that it is clean from all sides, when shooting a 360° product image. Photography automation solutions very often set additional placement aids at your disposal, such as plexiglass turntables and various platforms. Make sure you will be able to remove them from your packshot.
Lighting in glass products photography
The key to correct lighting of glassware for product photography is setting the studio up in a way that there is no superfluous light source, only the lamps you need. You should be able to achieve this in a dark room or with the aid of photography automation devices.
Read on to our series of detailed instructions as to light sources, contrast and lightness levels and handling of sem-transparency.
Diffused light is key
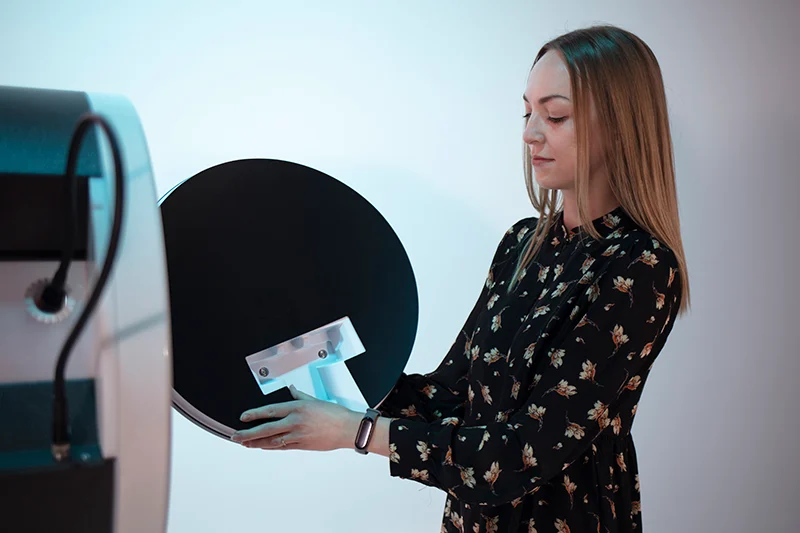
Apart from source control, you should make sure that you use soft light. Another necessary feature of light for glass photography is its diffusion. Diffused light is filtered by another object. Light shining from behind a lampshade is diffused, while a bare bulb offers direct and harsh light. Soft light will minimize reflections and harsh shadows, resulting in clearer images.
Harness the effectiveness of soft light by utilizing a softbox. This equipment has a silver reflective interior and a white diffusion layer that filters the light. A more budget-friendly way to achieve diffused light is to bounce the light off of cardboard.
Soft light will help you to avoid overburns in places where the light reflects in the object. Dispensing of the overburn effect in the photo is crucial to control the contrast and lightness levels of your photographs. And once a photo is shot badly, it will be difficult to make up in post-processing.
Do all you can to have diffused light!
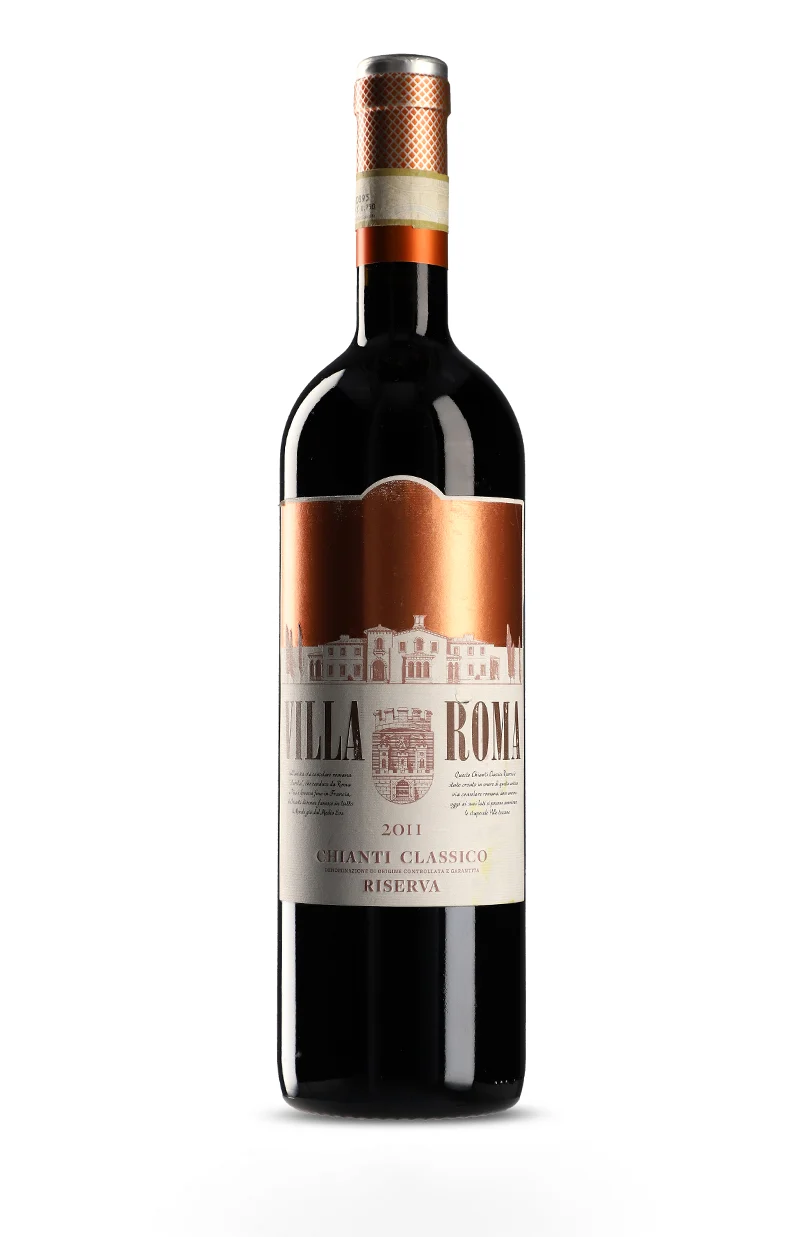
Hard light – high contrast
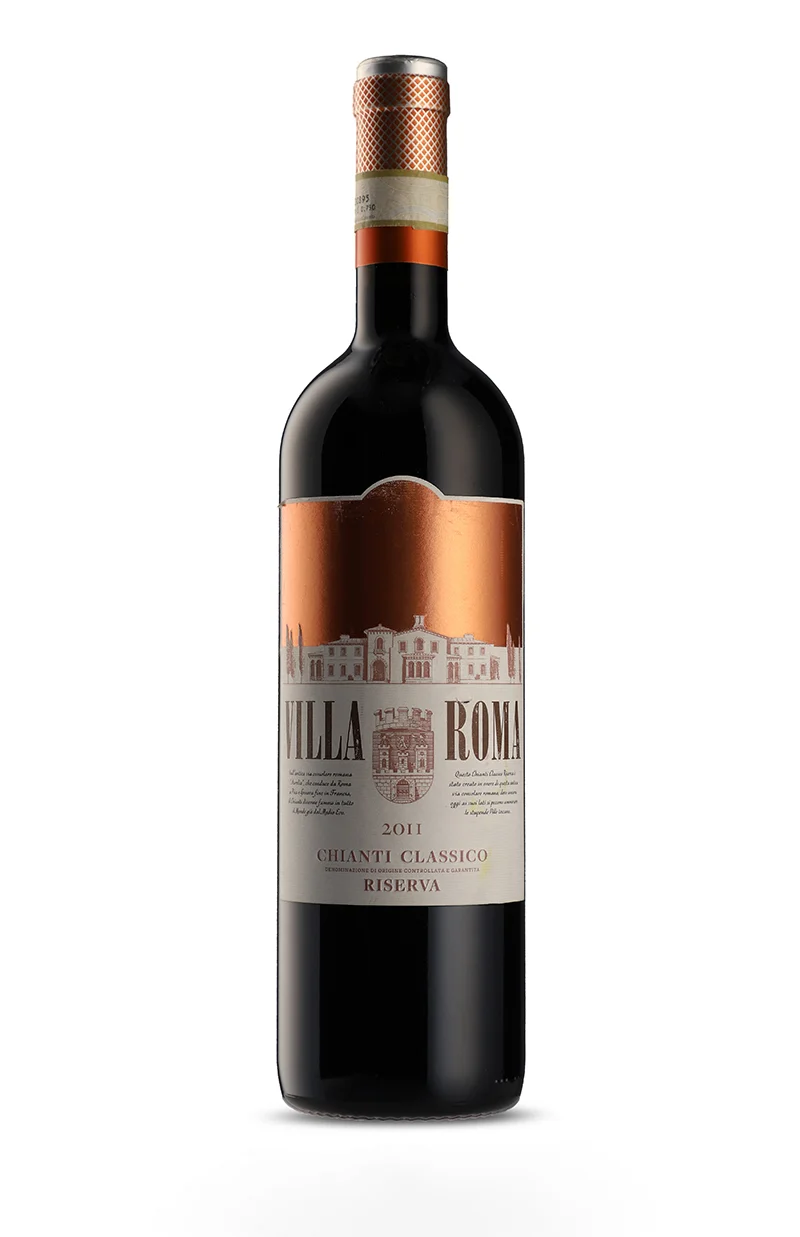
Soft light – lower contrast
Method 1: Backlight only
The easiest way to light a glass product for e-commerce photography is to use backlight only. This will ensure good levels of transparency and show the basic shape outline.
Items of more complex shapes, say fancy perfume or whisky bottles, may be more demanding and the backlight only option may turn out not enough. This is because complex construction throws more shadows and creates areas where light does not reach. Still, it is not advised to light directly from the front.
But don’t worry, by switching to our next method, this issue can be eliminated!
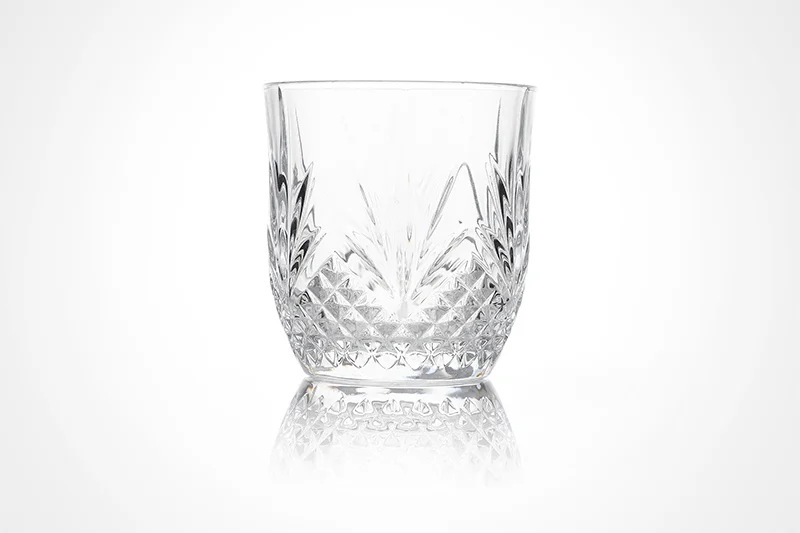
Method 2: Fill lights at the sides
Items like glossy porcelain or complex glassware will need additional lighting to preserve the balance between the lighted and dark areas. Side lighting will serve to underline the shape, while subtle backlight will be responsible for showing transparency and building contrast.
Color can be managed by adjusting the strength of backlight and sidelight. The content of a sparkling wine glass will benefit from careful lighting: the golden hue of the liquid (backlight), the shiny glass (fill light) and the multiple silver bubbles need to be captured with the use of black light diffusers at the sides.
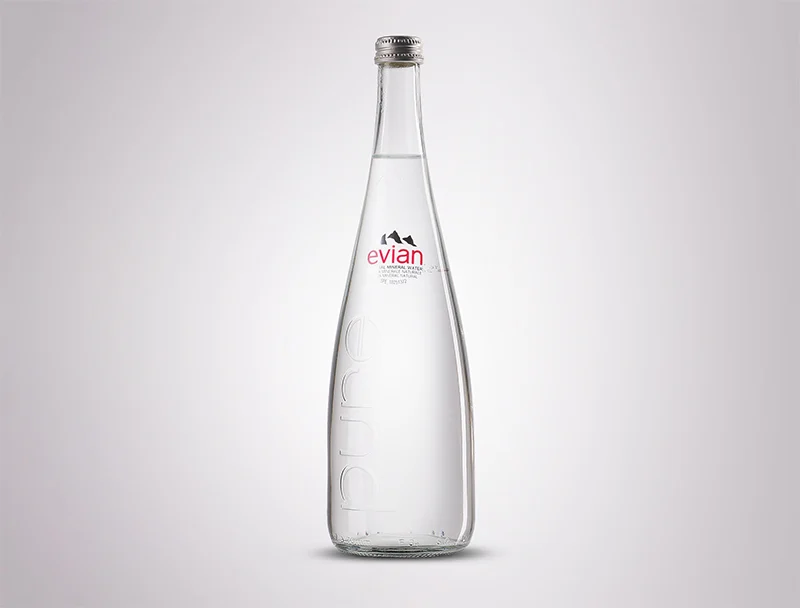
Method 3: Spot light for products with labels
Products in glass often carry labels. A white wine bottle is a perfect example here. As labels block the backlight, they may turn out significantly darker than the surrounding reflective surface and thus contrast levels in the photo can be imbalanced. How, then, should we fully illuminate items so varied?
The solution is found in adding spotlights directed at the labels. They will be the missing light source and the necessary lightness-levelers. At the same time black light diffusers will create contrast at the glass edges, which will render the desired sharpness effect with white background in reflective surface photography.
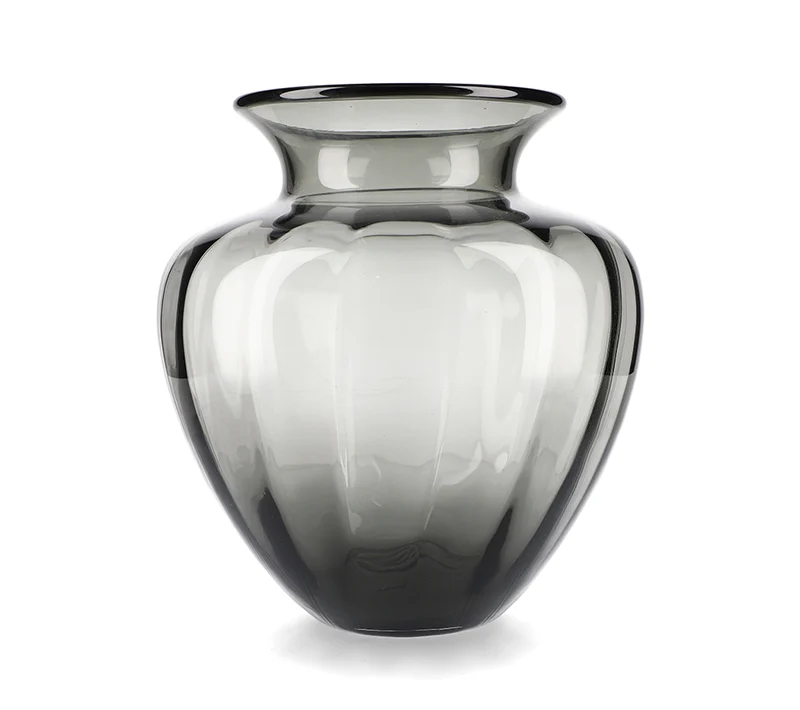
With black diffusers
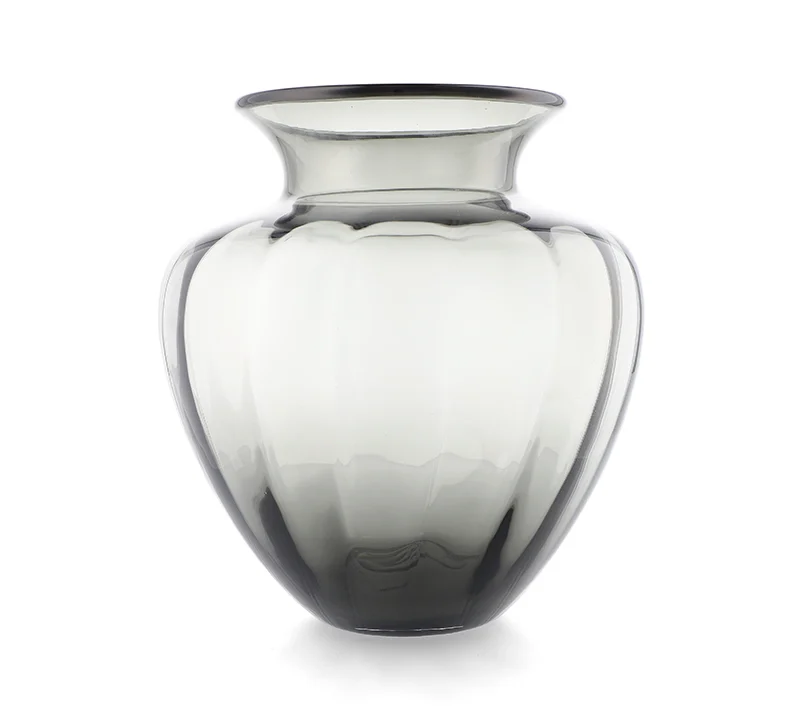
Without black diffusers
Camera settings for photographing glass objects
Transparent product photography does not require settings much different from generic product photography. The game is more about lighting than choosing the right camera settings approach. Once you learn the basic setup in the manual mode there won’t be any other methods.
First, you would choose a rather high aperture to achieve a reasonable depth of field. Aim at figures around f/14 and do not go towards the maximum of the lens. All lens producers have indicated that the best sharpness parameter is reached at mid-range values of the aperture.
Second, the ISO parameter should be kept as low as possible. Values over ISO 200 lead to unnecessary noise in the final image, even though they allow for shorter shutter speeds.
Third and final, you need to adjust the shutter speed to the two above parameters. If it turns out that it should be longer than 1/40 s, remember to use a tripod to avoid blur in your photos. Your object is not moving and thus shutter speed does not play as high a role as in e.g. sports photography.
White balance properly regulated with a manual process (described in this video) will help you to render the colors properly. Do coordinate the light color temperature of your light source with the white balance setting in your camera and your resulting photos will be faithful to real colors.
Photography of semi-transparent products
Transparent products need to be lighted from the back to avoid their turning out “blurred and milky” in the final photos. But what should we do with semi-transparent products where some milkiness is required?
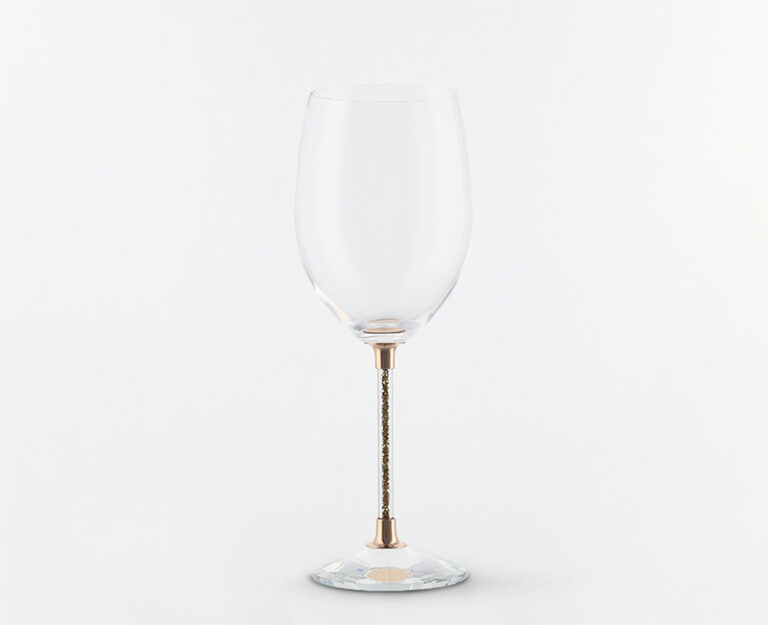
The right approach to reflective product photography will require applying the sidelight and backlight method and fine-tuning the strength of light until the needed level of transparency appears. Black diffusion panels will be needed only in case of relatively more transparent items. The more opaque examples will do with less diffused light, as they should be less reflective.
Post-processing in glass photography
The one shot you choose to represent your glass product in an e-commerce shop will need to undergo some post-production before being published. The ideal packshot of a transparent item should make visible the background behind the glass/plastic surface and yet keep the sharpness of the edges.
Incorrect post-processing may lead to unwanted milkiness of surfaces and badly rendered semi-transparency. Let’s list the advice that might help you to avoid missed final effects.
- Setting the correct transparency level when masking in Photoshop. When editing with the aid of masks, it will become apparent that edges of the product require different transparency levels than the inside of the glass surface.
- Manual marking the product with the Pen tool. Very often automatic Photoshop tools will not be able to correctly mark the product for clipping. This is due to unobvious contrast between the product surface and the background. You might need to do manual work with the Pen tool before cutting the product out from the background.
- Saving to PNG. This format will guarantee a lossless compression and preserving the transparency of the background. Useful especially for products intended to be cut out.
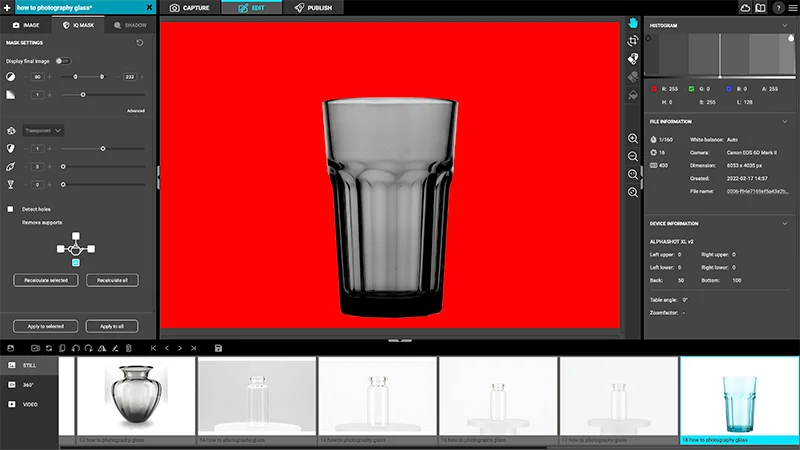
Photoshop editing
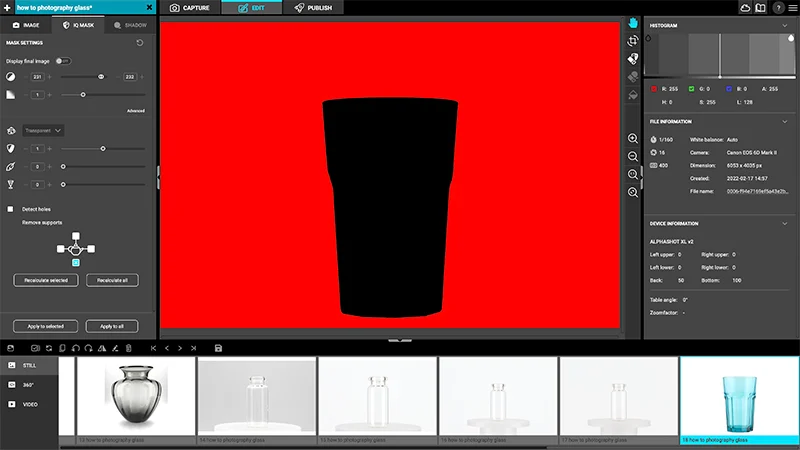
IQ mask application
How do you take pictures of glass without reflection? A summary.
Conditions for a perfect glass product photo
As a recap, we might indicate that light is key to glass photography. Use our described lighting models (back, fill, and point light) and you will get closer to perfect packshots.
What’s more, you need to reduce external light sources. A black or grey-painted windowless room shall do the job. Your own lights will need white or black diffusers depending on the lightness of your product. For lighter, whiter glass you can deal with white light diffusers, while dark glass will require black diffusion panels.
What to be careful about?
Shooting glassware with bad lighting will result in reflections on the glass surface and sometimes an unwanted halo effect around the product. Your object might turn out flat and uninteresting rather than 3D and attractive when you use front light only.
Avoid leaving fingerprints on the glass when taking pictures – this is a major and yet frequent mistake. Have your soft cloth always at the helm. Photographing a faulty product can be categorized together with fingerprints as results of haste and laziness. Not your case, eh?
Another mistake to avoid, would be to let the black light diffusers reflect on the front of the product rather than on its sides. This might reduce the 3D look of the item and remove the positive part of the light reflection effect. It can also be spoiled by having the photographer’s own reflection on the front of the exemplary champagne glass or a classy vase.
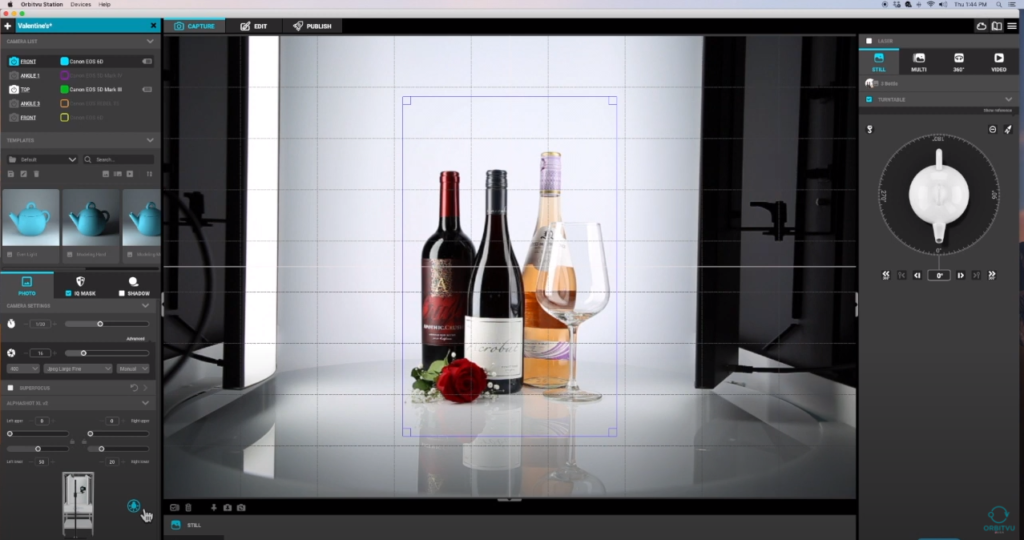
Reflective product photography automation
You can minimize studio preparation and reduce reflections with automated photography solutions, getting crisp clear shots easily. Orbitvu offers automated solutions for glass photography. Automation allows for better lighting control, as you can easily add a backlight and use spotlights to illuminate labels. Automated light diffusers also give you complete control over reflections, making reflective product photography a breeze.
You can also use transparent, white or black turntables to achieve your desired look. With enhanced control over lighting, you can shoot images with a consistent look and achieve excellent brand consistency — all in record time.
Orbitvu’s ecommerce product photography software is intuitive and easy to operate and offers enhanced freedom for your creativity to blossom. Plus, the PC stand with its screen offers an ergonomic workspace. Automation for reflective product photography streamlines the process, as you don't need to prepare a studio or spend much time adjusting the lighting. With higher-quality shots, your photos will spend less time in post-production, saving you time and money.
Orbitvu offers unique solutions customized to your needs. We can offer a solution that addresses the difficulties of reflective photography, simplifying the photography process.
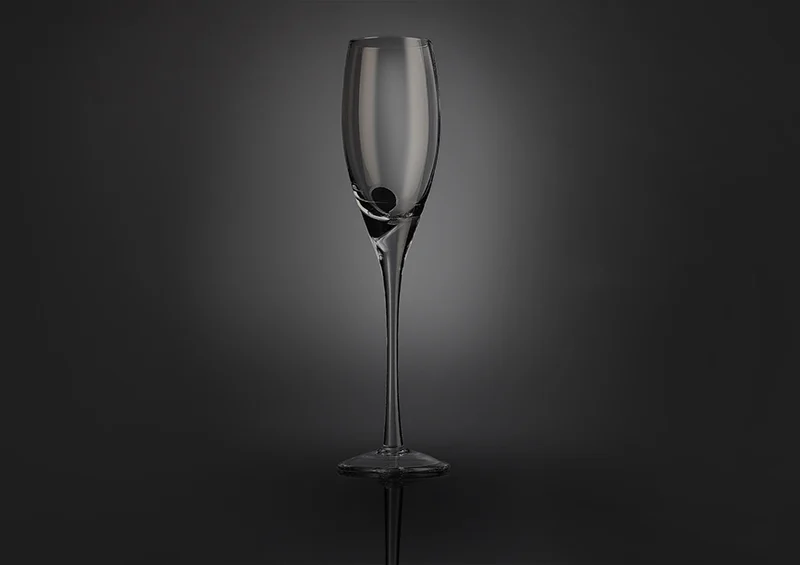
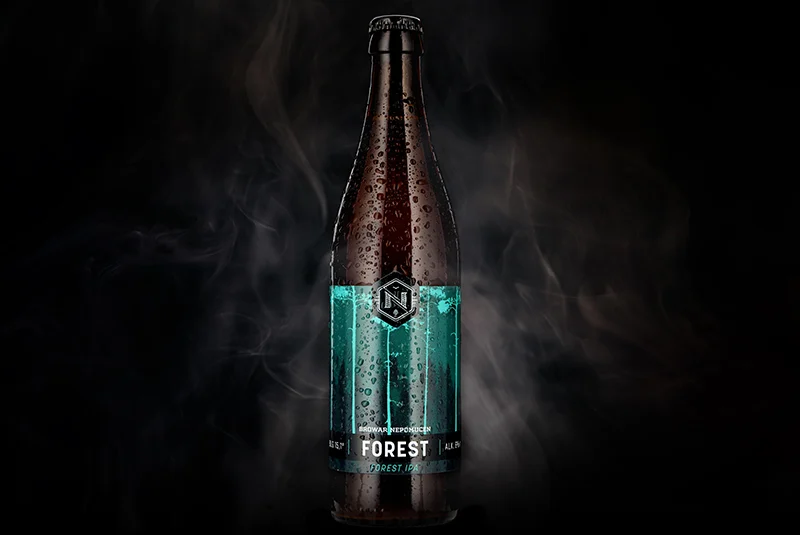
Among interesting special effects, there is an option to add water drops to darker glass surfaces making the product look fresh and enticing. Professionals use water with glycerine to let the drops stick to the surface and add the desired effect.
Final thoughts
If your e-commerce business has glassware photography needs or you need to learn how to photograph reflective items for your work in the studio, the best solution is practice. The more you work with glass, the more beauty you will be able to get out of it.
As we showed in this guide, lighting will be crucial to avoid reflections. Make sure to equip your studio with black light diffusers and eliminate additional light sources. The moment your lighting clicks (use life-view in the camera!), you will learn about the setup that made it. And it will be rewarding.
We wish you plenty of such moments of realization and a happy upward learning curve!
To find out more about our automation photography products and how they can streamline your glassware shoots, request a call for a tailored offer today. Our friendly staff can also answer any questions you might have about our solutions.
Contact us
Contact us
Got questions? We'd love to hear from you. Send us a message and we will respond as soon as possible.
Products
Products
Articles you may also like
In recent years, we have all experienced the hype and the debate that the appearance of mirrorless cameras has sparked. You m...

The Orbitvu SUN Cloud gets a handy upgrade in user experience with the launch of new functionalities and an overhauled menu. ...
As a professional photographer or an e-commerce entrepreneur, you will face a series of questions regarding the Holy Grail of...


