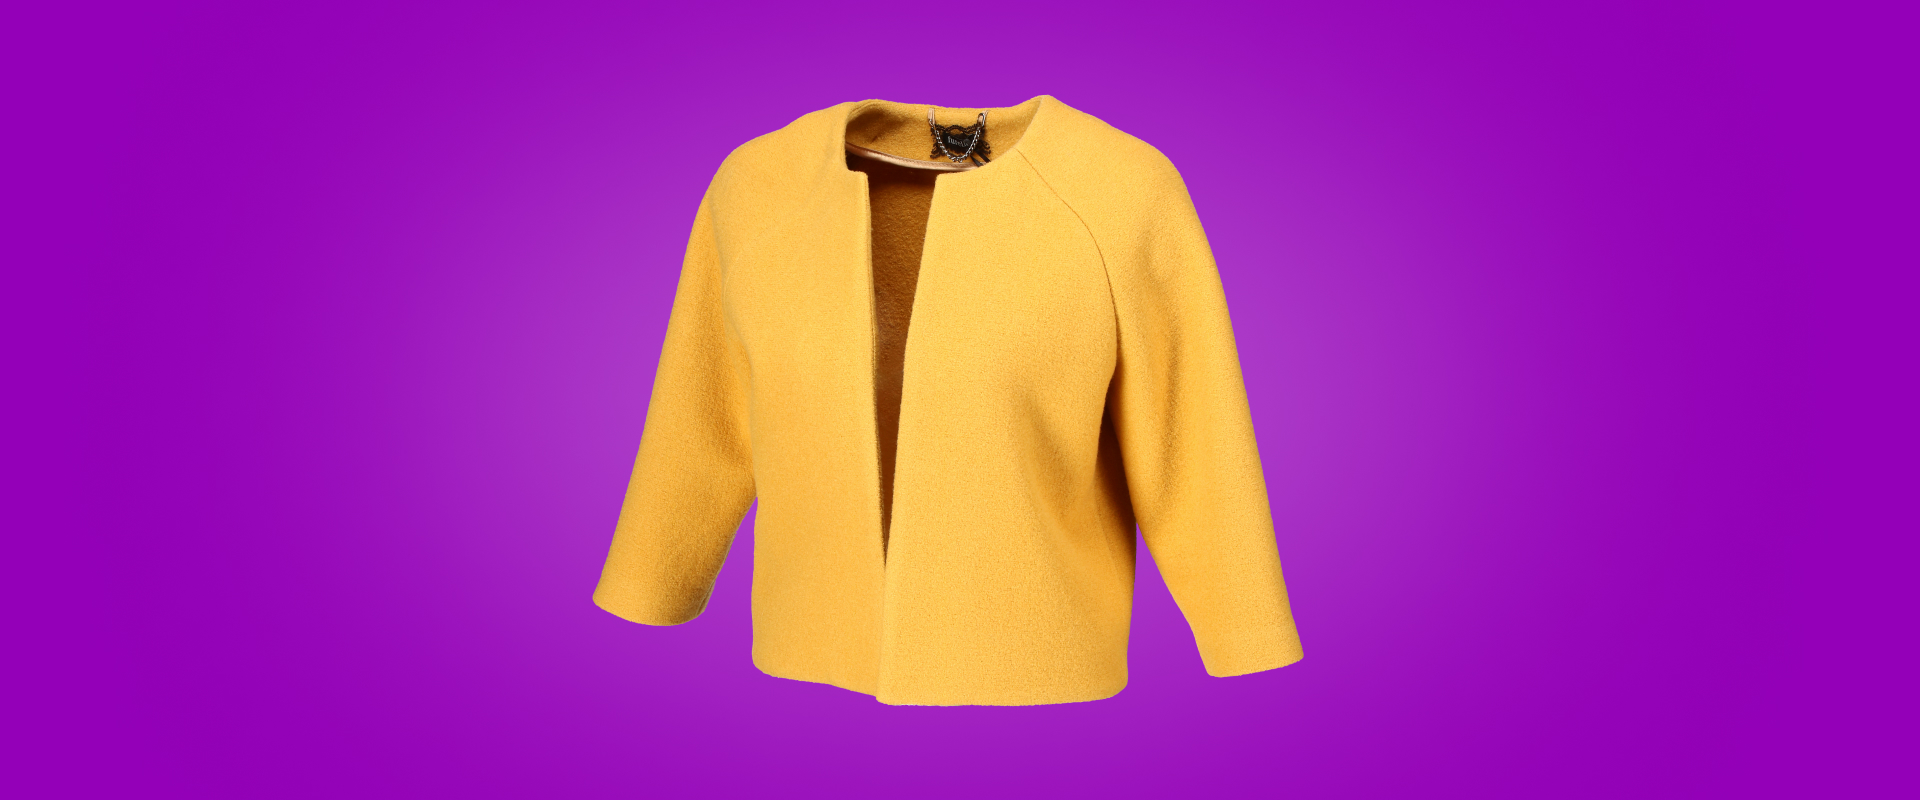
Mastering ghost mannequin photography: A comprehensive guide for e-commerce success
In the competitive world of e-commerce, presenting products in the most appealing and informative manner is essential. As online shopping continues to dominate in retail, businesses are constantly seeking innovative ways to showcase their products and stand out from the crowd. Enter ghost mannequin photography - a technique that's uplifting the way apparel and accessories are displayed online.
Ghost mannequin photography, often referred to as "invisible mannequin photography," offers a unique solution to a common challenge: How can retailers display their products in a lifelike manner without the distraction of a visible mannequin or the expenses of a live model? This invisible mannequin technique provides a seamless and captivating view of products, highlighting their shape, fit, material, and intricate details.
But like any technique, mastering ghost mannequin photography comes with its set of challenges. From choosing the right equipment to perfecting the post-production process using proper post-production software, there's a lot to consider. Join us as we dive deeper into the world of ghost mannequin product photography, exploring its benefits, challenges, and the cutting-edge solutions to make the process smooth and efficient.
- The magic behind ghost mannequins
- Key benefits of ghost mannequin photography
- Challenges in ghost mannequin photography and how to overcome them
- Orbitvu's Edge in Ghost Mannequin Photography
- A step-by-step guide to ghost mannequin photography
- Expert tips & tricks for perfecting your ghost mannequin shots
- Conclusion
The magic behind invisible mannequin photography
Ghost mannequin photography is more than just a trend—it's a transformative approach that brings products to life. But what exactly is it?
At its core, ghost mannequin photography involves photographing a product on a mannequin and then digitally removing the mannequin in post-production using image editing techniques. As a result, the product appears to be floating freely, giving it a three-dimensional effect and allowing customers to visualize the product's fit and form without any distractions.
Why is it a game-changer for online retailers?
In the competitive e-commerce space, standing out is crucial. Ghost mannequin photography offers unquestionable advantages:
- It provides a consistent and professional look across product listings.
- It expresses dedication to providing customers with unique visual content.
- It eliminates the need for live models.
- It offers a clear view of the product from multiple angles, showcasing the product image in its entirety.
This visual clarity enhances the online shopping experience, builds trust, and boosts conversion rates.
|
Key benefits of ghost mannequin photography
In the realm of product photography, the ghost mannequin technique has established a niche of its own. Let's explore the compelling benefits it brings to the table.
1. Enhanced product presentation
Ghost mannequin photography offers a dynamic way to showcase products. Without the distraction of a visible mannequin or background, the focus remains solely on the product, highlighting its design, features, fabric, and unique selling points.
2. Increased customer trust
A clear and detailed view of products allows customers to inspect them closely, understanding the texture, fit, and overall look. This honesty and clarity build trust, assuring customers of their purchase decisions.
3. Cost-effective solution
While hiring models for product shoots can be expensive, time-consuming, and a source of a lot of overhead, invisible mannequins offer a cost-effective alternative. Once set up, the process can be replicated across various products, ensuring consistency and reducing overall photography costs.
How can automated product photography help you bring down the costs? Read our article and find out.
4. Consistency in product listings
Content consistency is key in e-commerce. With ghost mannequin photography, brands can achieve a uniform look across all product listings, enhancing brand identity and making the shopping experience more seamless for customers.
5. Versatility in display options
Ghost mannequin photography isn't limited to just one style or type of clothing. Whether it's jackets, dresses, swimwear, or accessories, this technique can be adapted to showcase a wide range of products, offering brands the flexibility to present diverse product lines in a uniform manner.
Want to learn more about fashion photography? Read our guide on how to photograph clothes.
6. Enhanced depth and dimension
Traditional flat product images can sometimes lack depth, making it challenging for customers to imagine the product's true form. Ghost mannequin photography introduces a three-dimensional aspect, giving the product depth and allowing customers to visualize its shape and how it might drape when worn.
7. Streamlined production workflow
Once the initial setup for ghost mannequin photography is established, brands can enjoy a streamlined production process. The need for coordinating with models, makeup artists, and stylists is eliminated, simplifying logistics and allowing for quicker turnaround times to create high-quality photographs.
Challenges in ghost mannequin photography and how to overcome them
While ghost mannequin photography offers numerous advantages, it's not without its challenges. Let's address some common headaches and provide solutions to overcome them effectively.
1. Achieving the perfect fit for invisible mannequins
The fit of the clothing on the mannequin is crucial. If it's too tight or too loose, the final image might not represent the product accurately. Using the best mannequins with a lot of detachable parts, such as several neck components and various arm lengths, helps significantly. In addition, it’s good to have a selection of pins, clips, clamps, and tapes for adjusting the garment to ensure a perfect fit.
2. Dealing with reflective materials
Products with reflective finishes can represent a unique challenge in ghost mannequin photography. These materials often mirror the darker areas of a photo studio, making the garment look black instead of shiny. The solution lies in proper lighting techniques. By positioning large light sources close to the mannequin, it's possible to illuminate the product evenly, reducing unwanted dark reflections and ensuring the product's true shine is captured accurately.
3. Consistent lighting
Ensuring constant lighting across multiple shots, especially over extended periods of time, is crucial to maintaining professional visual presentation. Variations in lighting can lead to color inconsistency and mismatching of product listings in an online store. To maintain consistent lighting, a controlled studio shooting space with flash or continuous light is essential. If keeping the ghost mannequin studio permanently assembled is not an option, it’s advisable to make a studio setup drawing so the same scene can be recreated for the next shooting session. Marking mannequins and lamps’ positions on the studio floor with tape is also a very simple and effective solution. Different tape colors can be used for various studio setups.
4. Product color accuracy
Capturing the true color of a product is essential in e-commerce. However, factors like lighting and camera settings can skew color representation. Regular monitor calibration and setting a manual white balance in a camera ensure that the colors on published photographs are true to the product's actual colors. Additionally, using a color checker card during shoots can aid post-production color corrections.
5. Post-production hassle
The magic of the ghost mannequin effect truly comes alive in post-production. It's where the mannequin is removed, parts of the garment hidden by a mannequin are photoshopped in, and the product is made to "float." Mastering the ghost mannequin photo editing software is essential to ensure seams align perfectly and the final image looks natural and polished. It’s worth considering outsourcing this step as it requires a lot of time and expertise to manage in-house.
Orbitvu's Edge in Ghost Mannequin Photography
In the world of product photography, having the right tools and expertise can make all the difference. Here's how Orbitvu stands out in the realm of ghost mannequin photography.
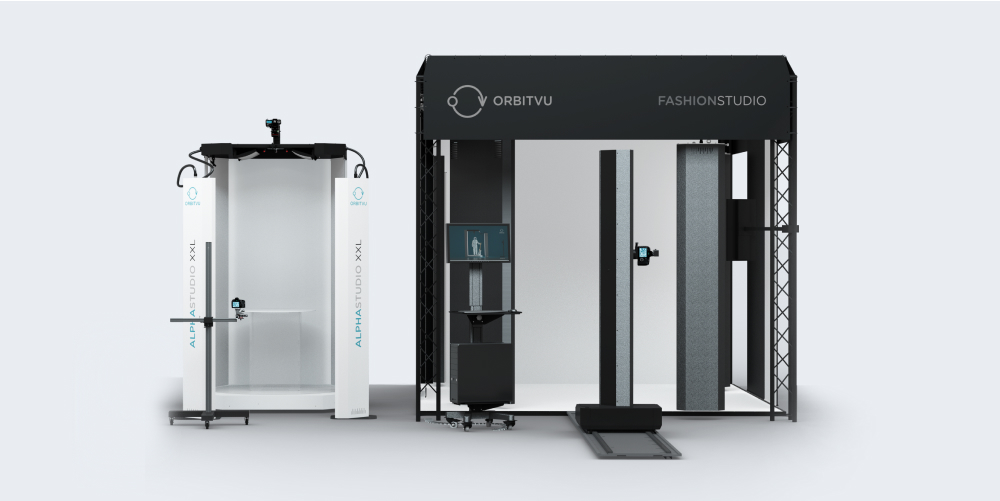
State-of-the-art equipment
Orbitvu's range of fashion photography studio solutions is designed and manufactured with precision, focusing on image quality and efficiency. From automated photo studios to advanced editing software, we offer tools that streamline the ghost mannequin photography process, ensuring high-quality results every time.
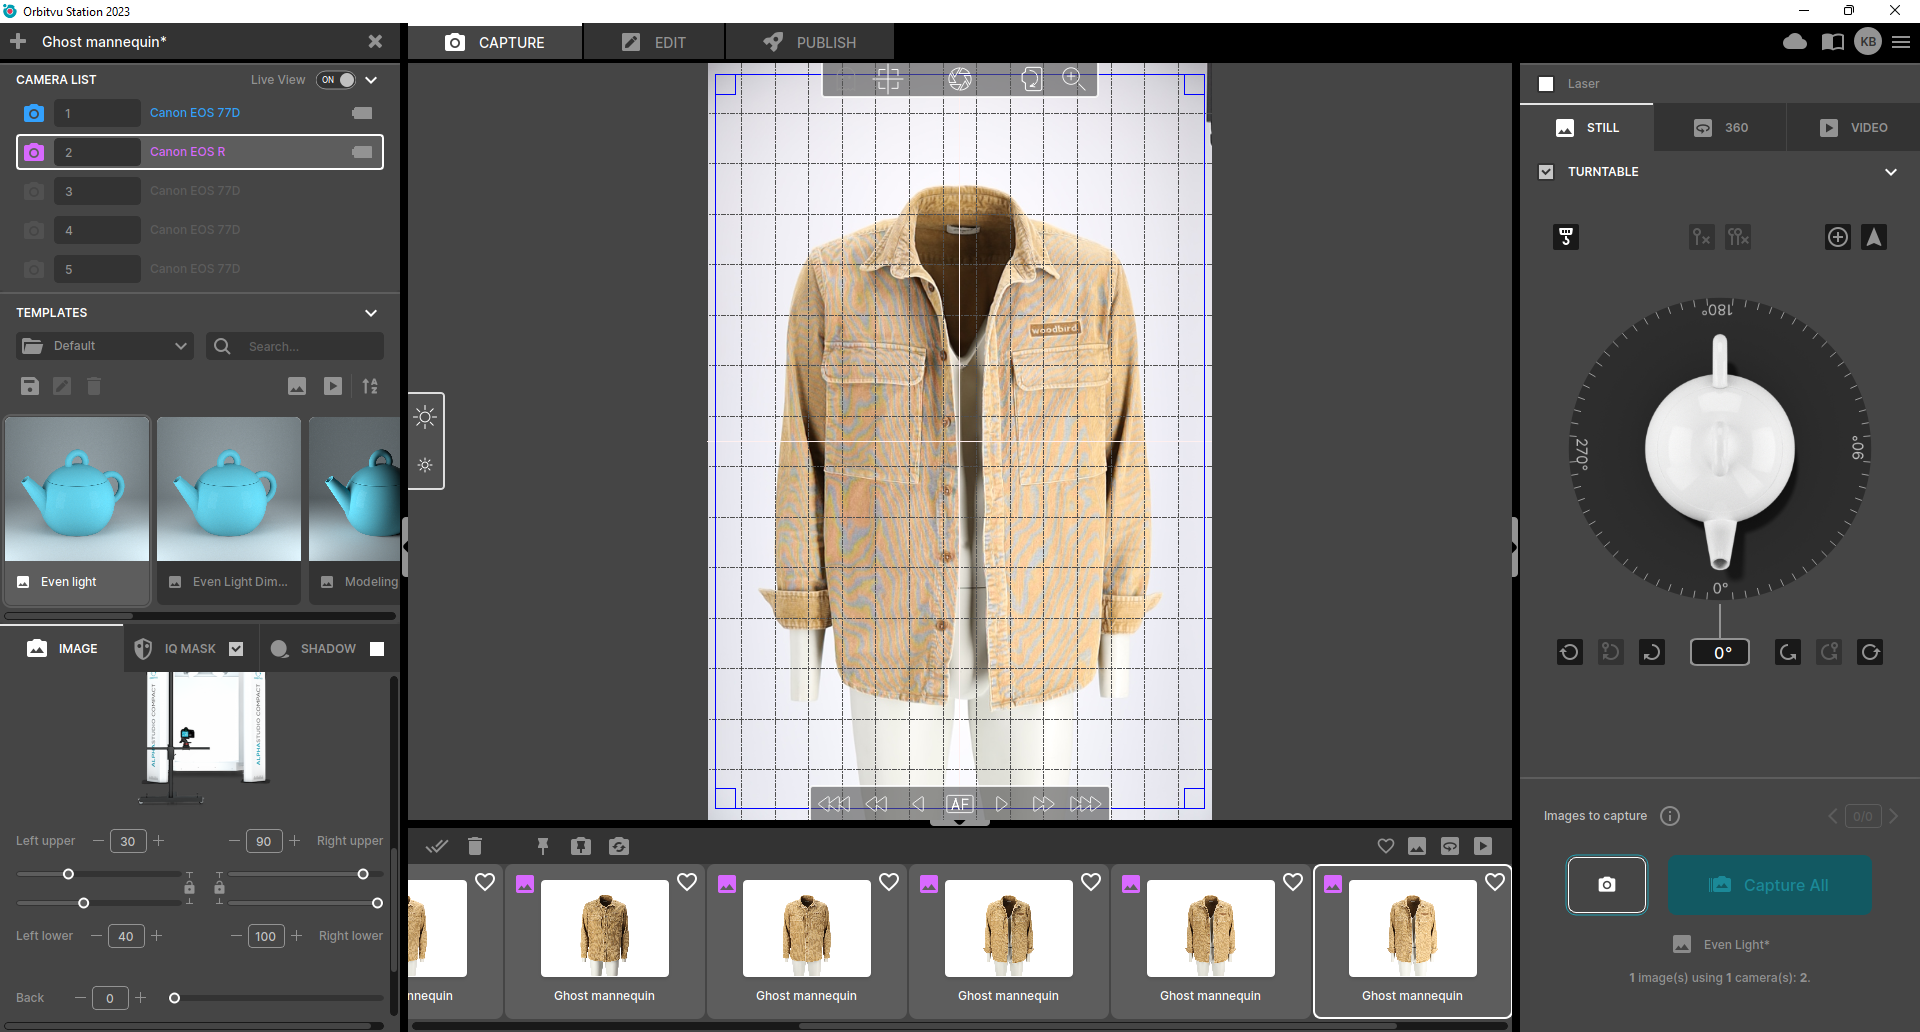
Streamlined workflow
Time is the essence of e-commerce. Orbitvu's solutions are tailored to simplify and accelerate the photography process. From capturing the perfect shots to editing and publishing, our integrated systems ensure a smooth workflow, reducing the time from shoot to website.
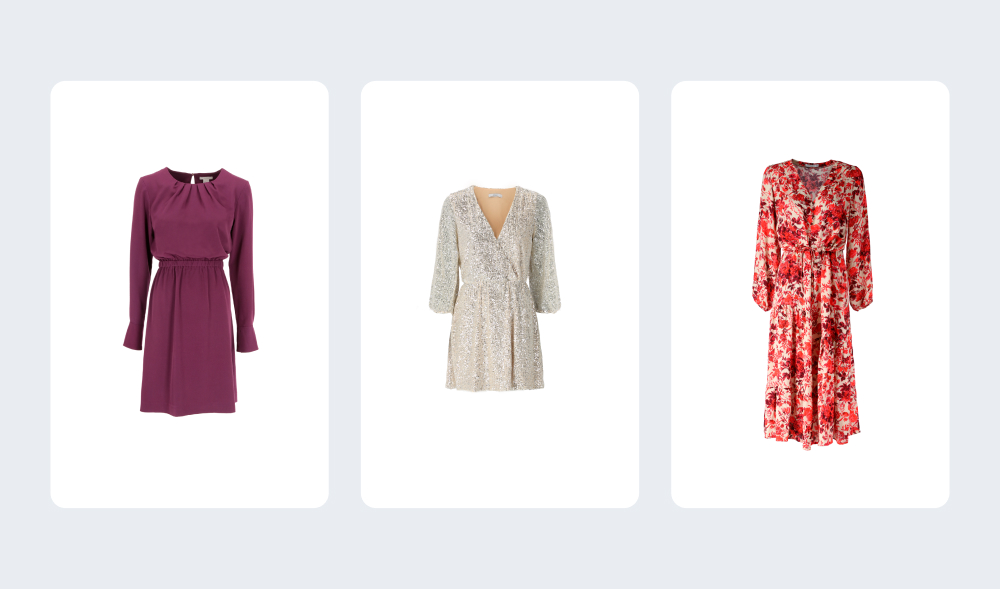
Consistent quality
With Orbitvu, consistency is a guarantee. Our hardware and software are designed to deliver coherent results across all product listings. Whether you're shooting a series of products or throwing a new photo session months later, you can be assured of consistent quality that enhances your brand's image.
A step-by-step guide to ghost mannequin photography
Ghost mannequin photography is often perceived as an advanced technique reserved for seasoned professionals. However, with the right approach and guidance, even those new to the world of product photography can achieve stunning results. Our step-by-step guide is designed to demystify the process, ensuring that you can master this technique with ease and elevate your product presentations to the next level.
1. Mannequin selection
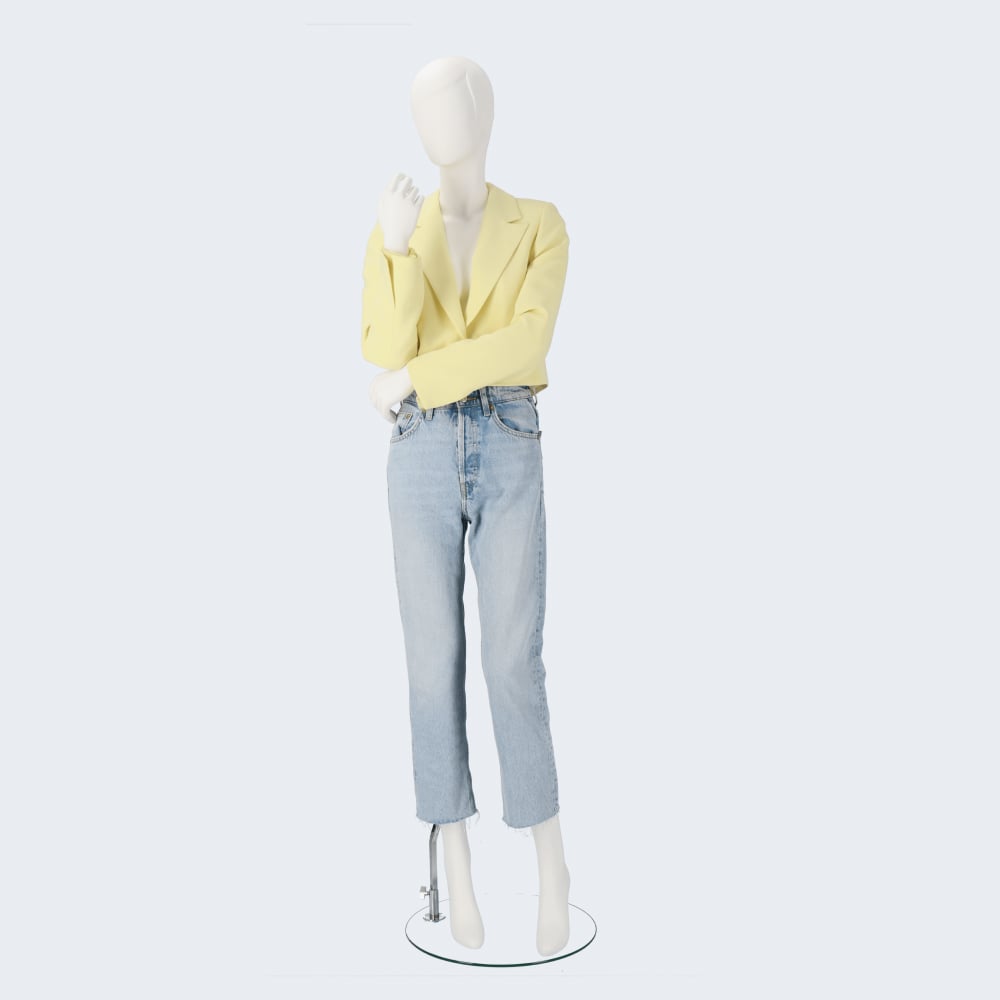
Choose a mannequin that closely resembles the size and shape of your target audience. This ensures the product fits well and looks natural in photos. It’s preferable to opt for a mannequin with many detachable parts, such as neck segments and various arm lengths, as it can significantly simplify (or even avoid) the post-production process. But don’t worry if you don’t have such a mannequin - you can still achieve amazing results.
2. Product preparation
Before placing the product on the mannequin, ensure it's clean, wrinkle-free, and in its best condition. Use steam or an iron if necessary.
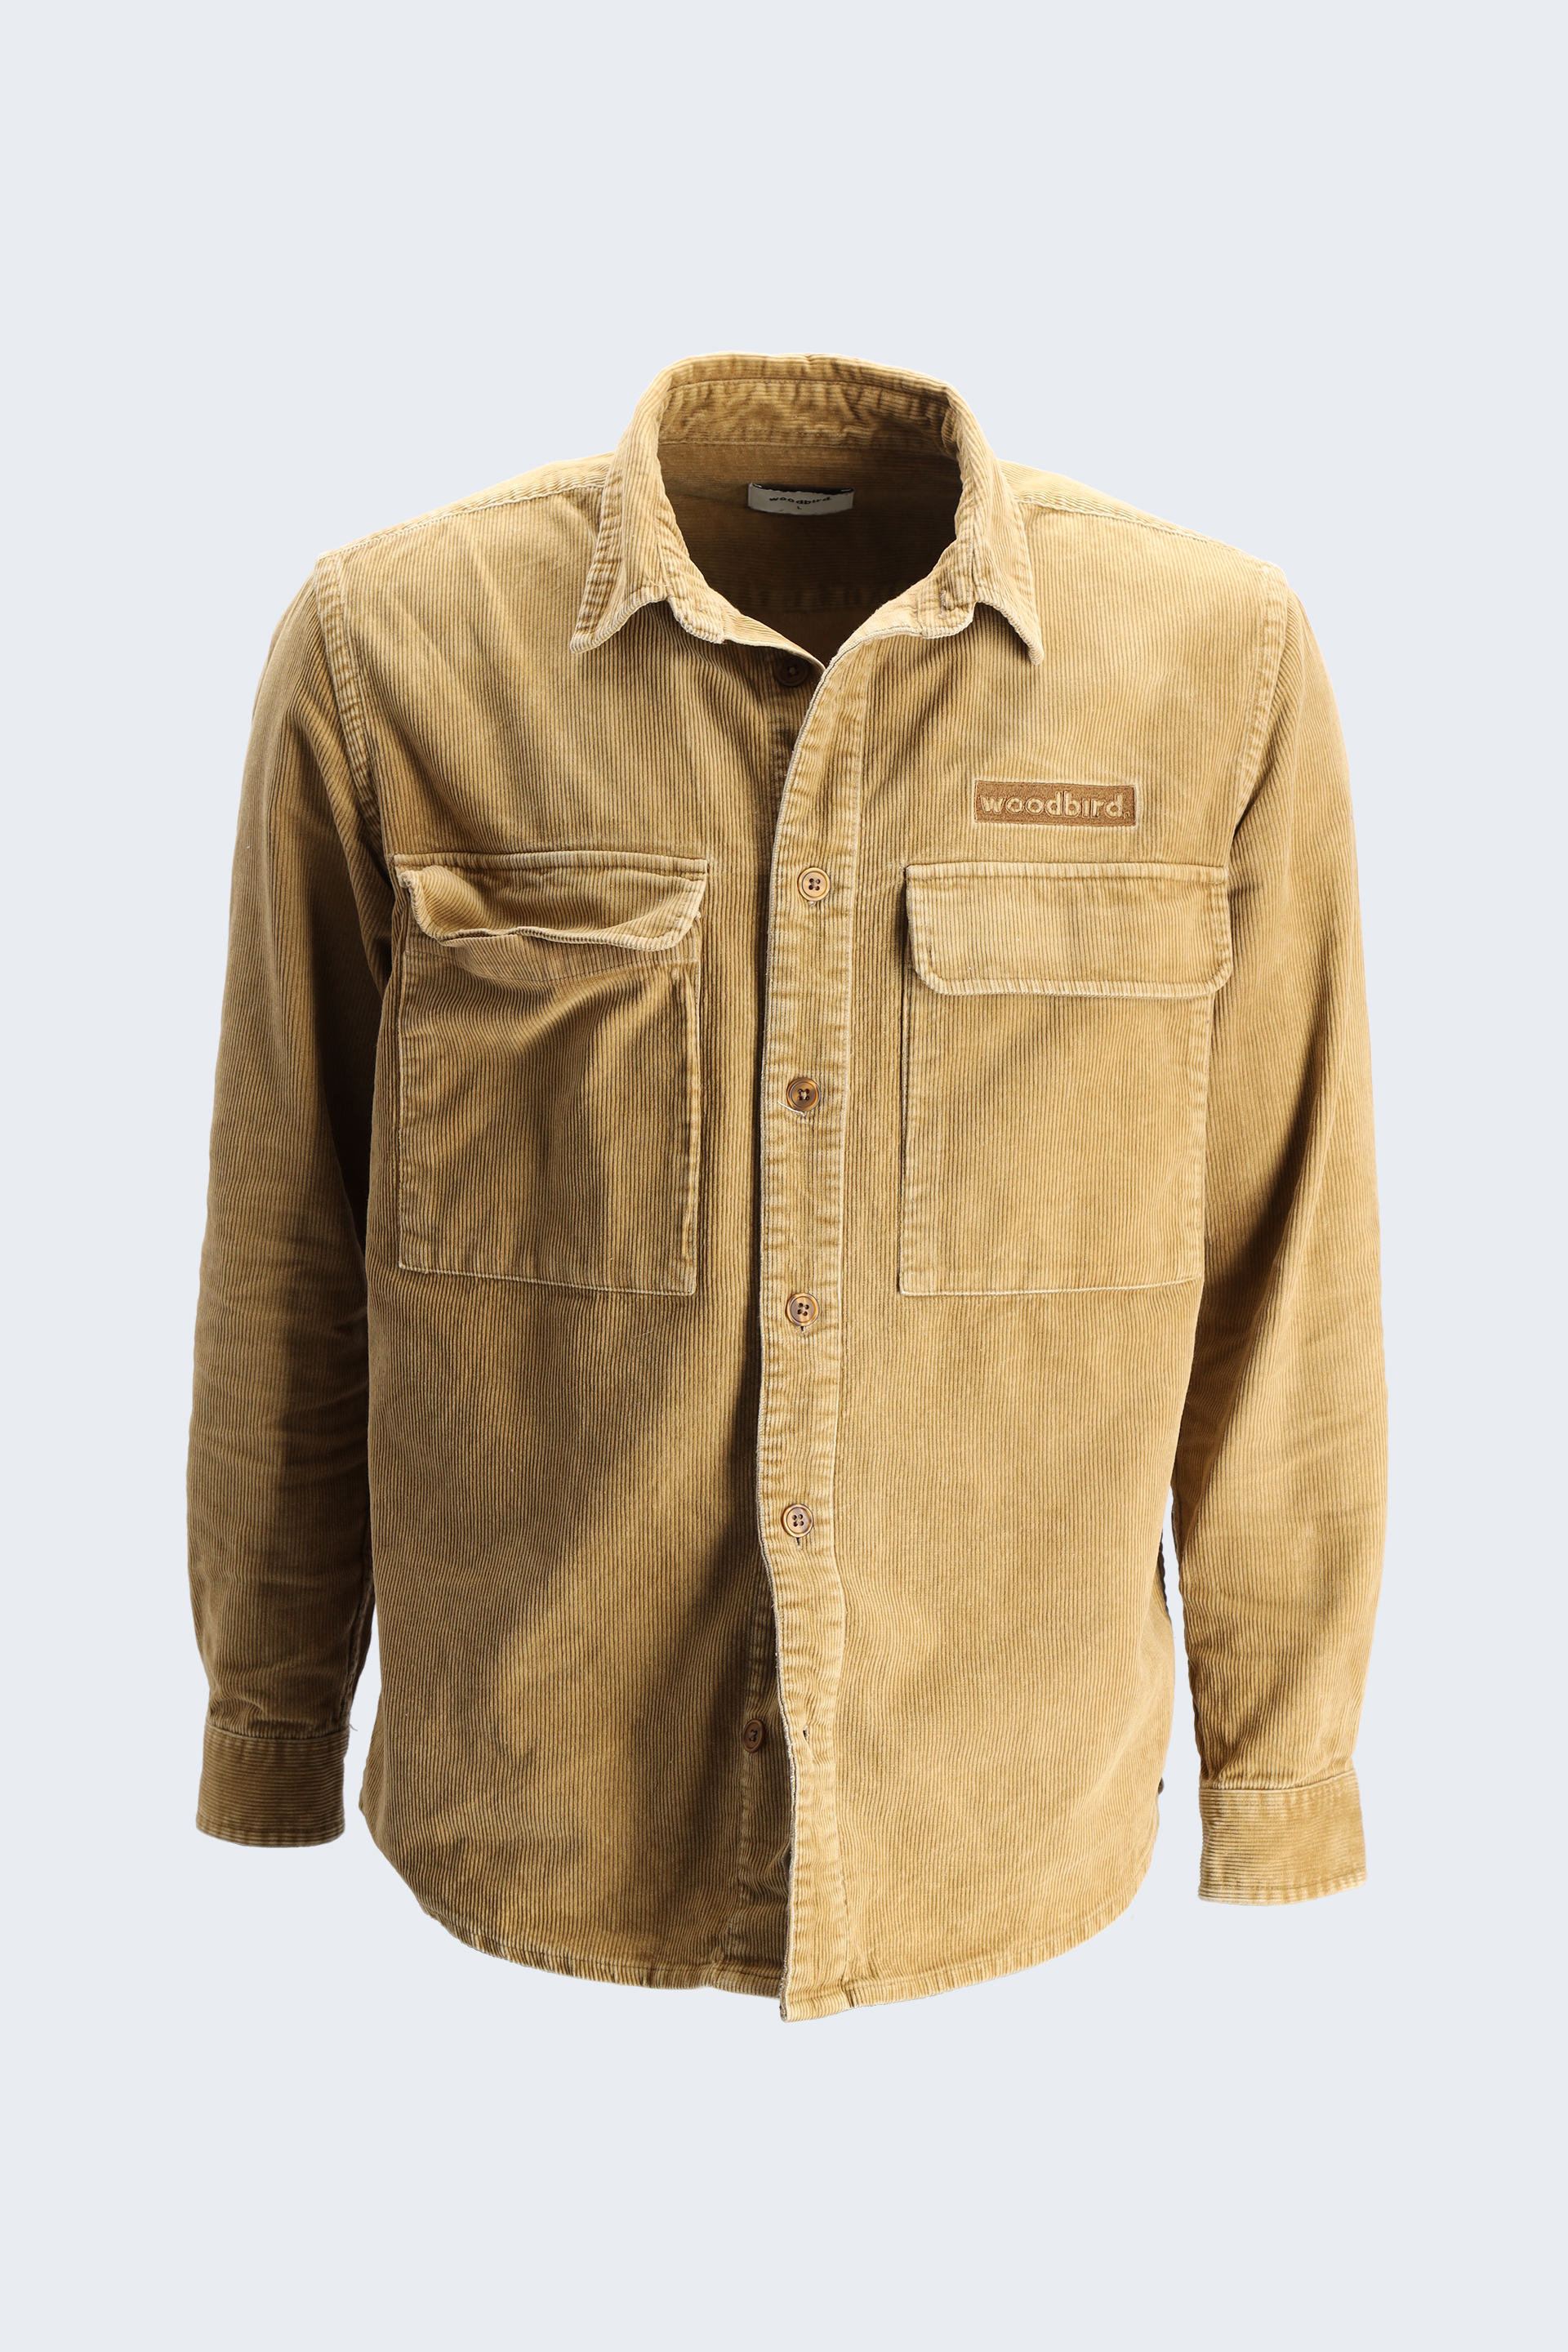
Example of badly prepared garment.
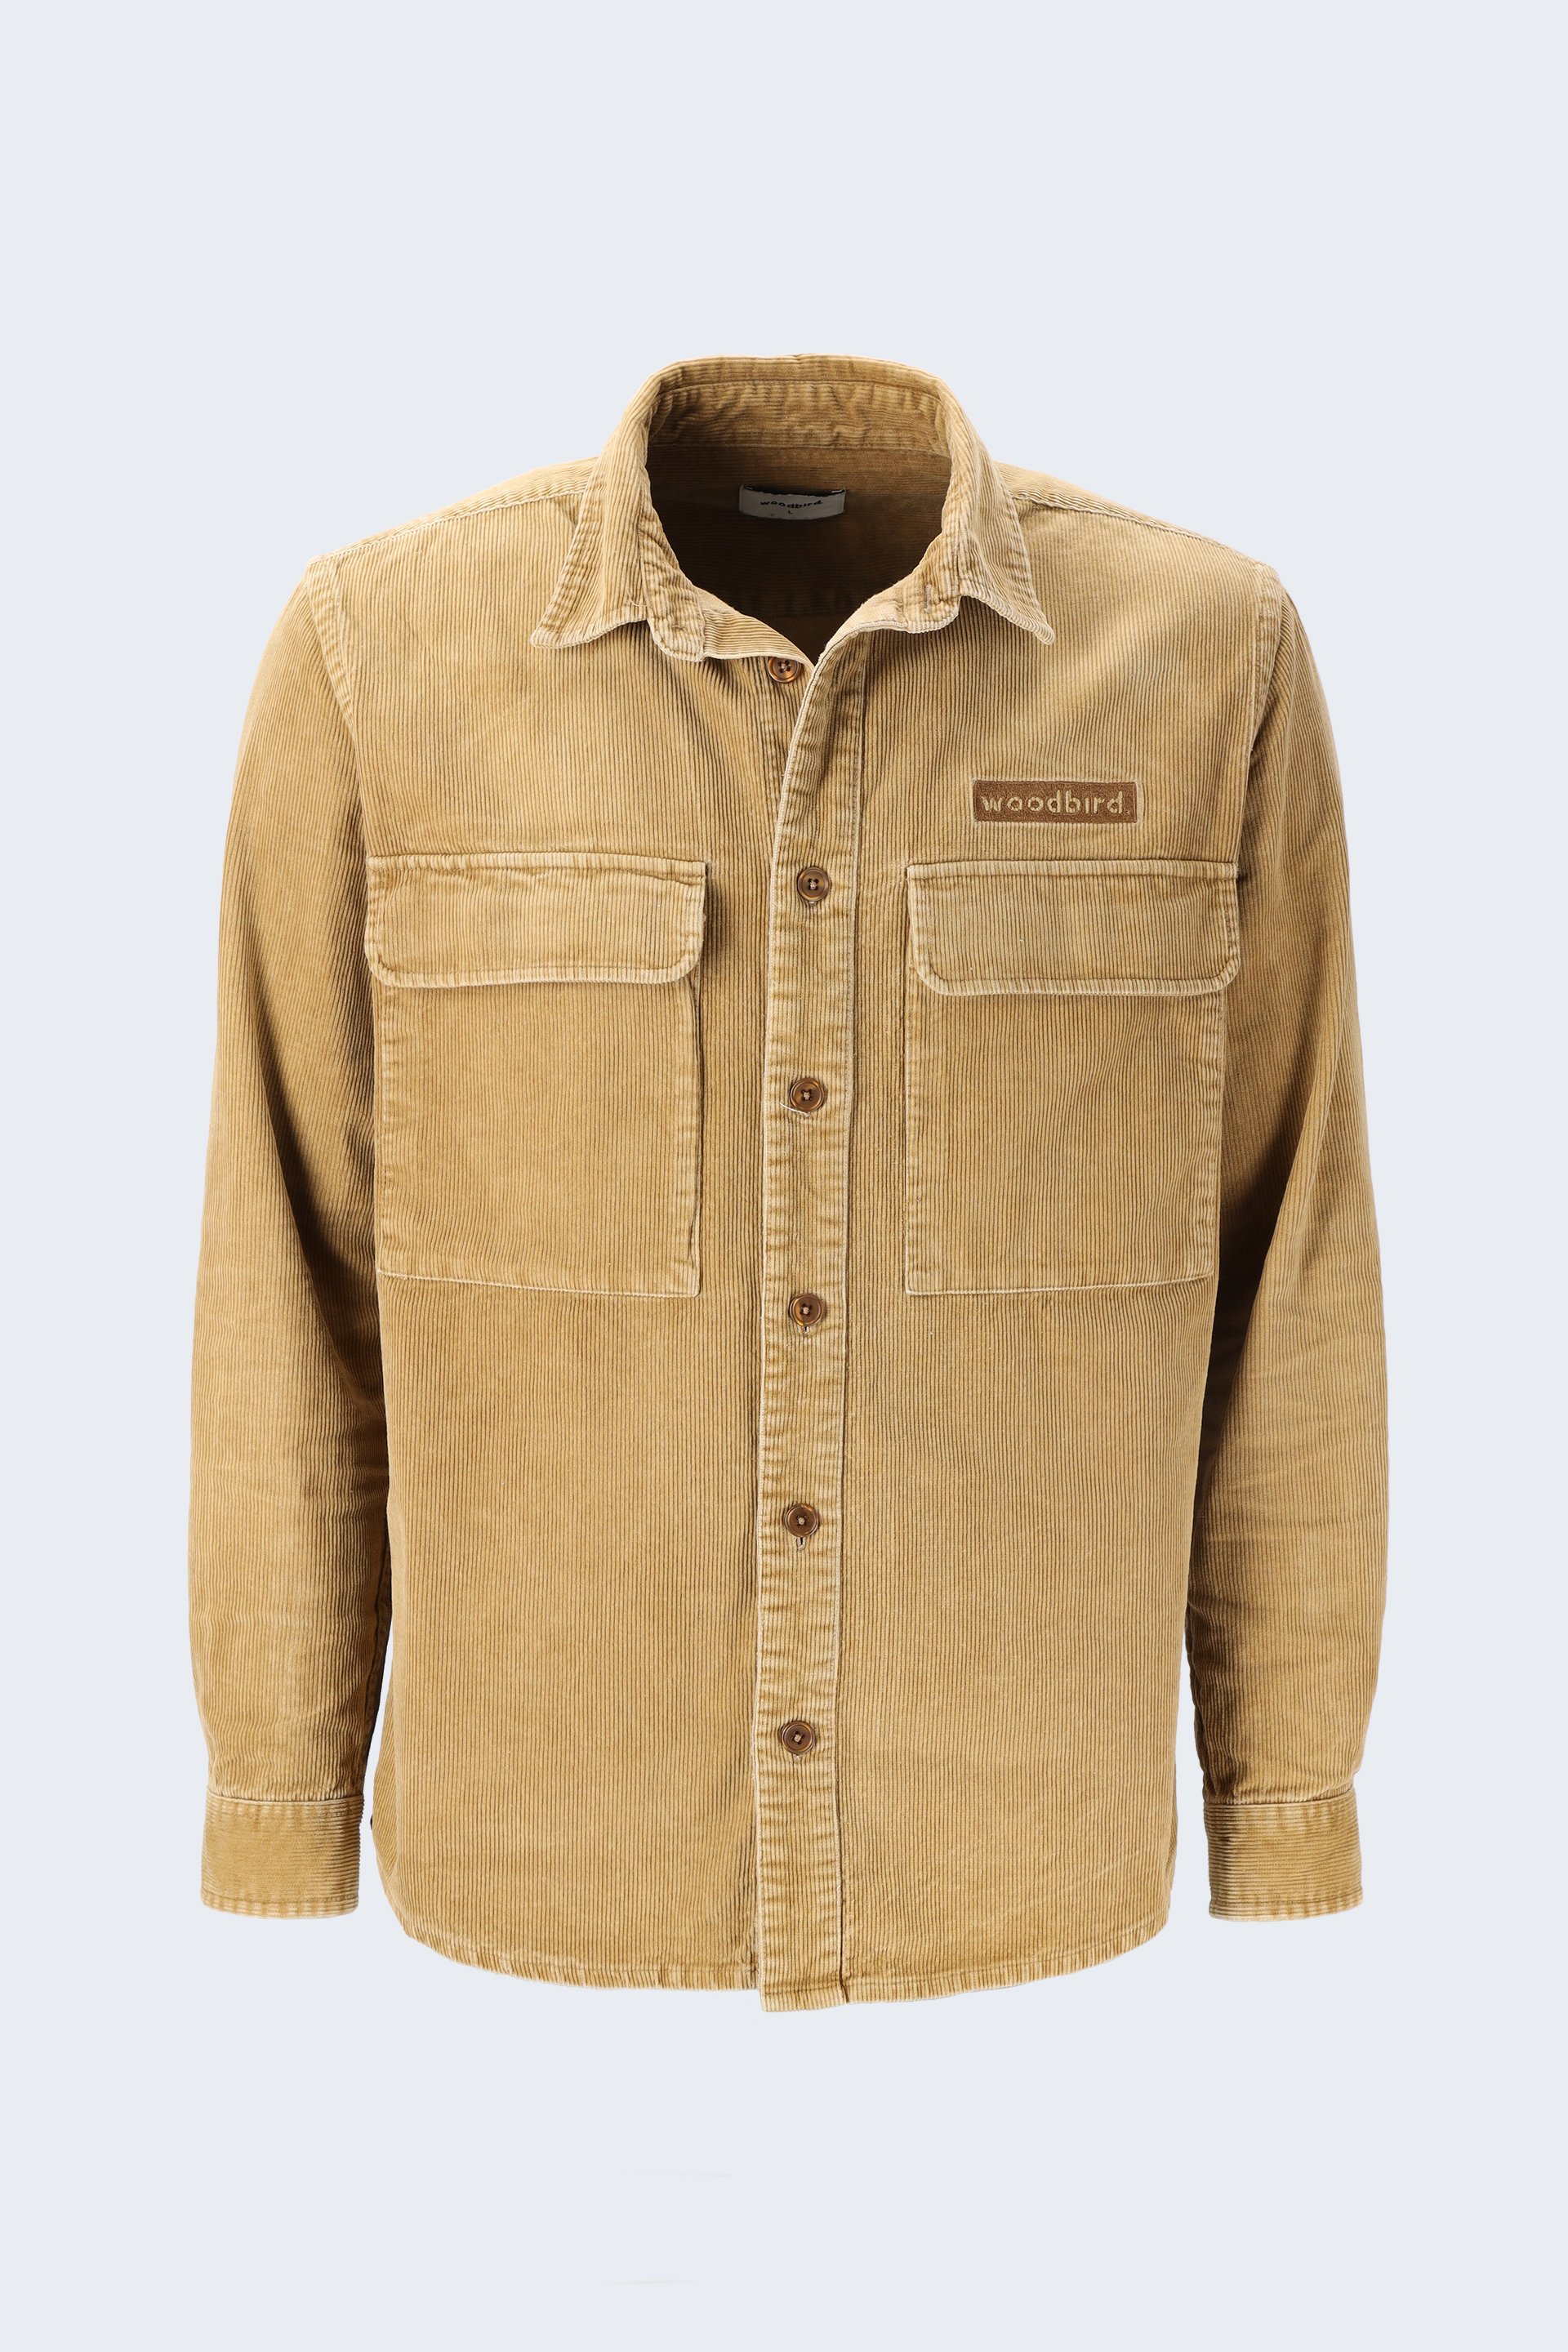
Example of correctly prepared garment.
3. Dressing the mannequin
Carefully dress the mannequin with the product. Ensure there are no visible tags or internal labels. Adjust the fit using pins, clips, or tapes if needed. Remove all the mannequin parts that are not needed to support the garment.
4. Positioning and background
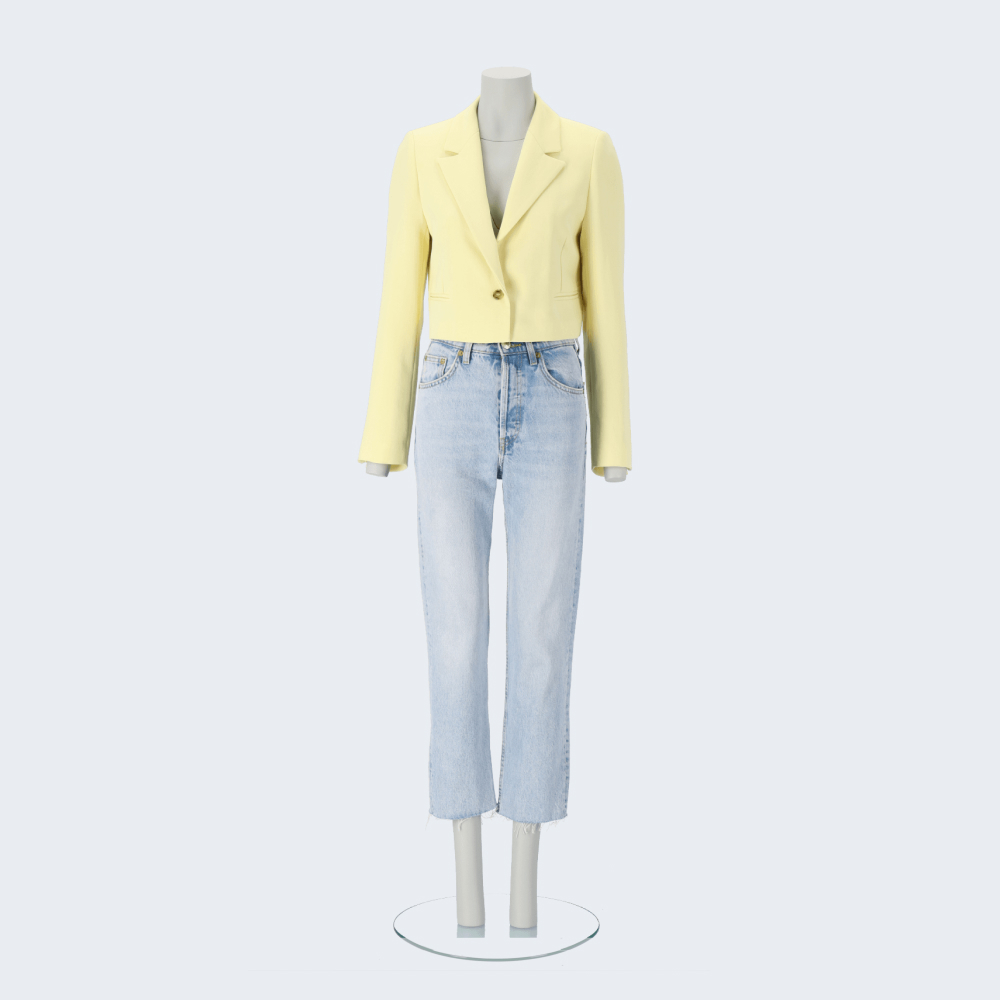
Place the mannequin against a clean background, preferably white or light grey. This makes post-production editing easier and ensures there is no unwanted color cast.
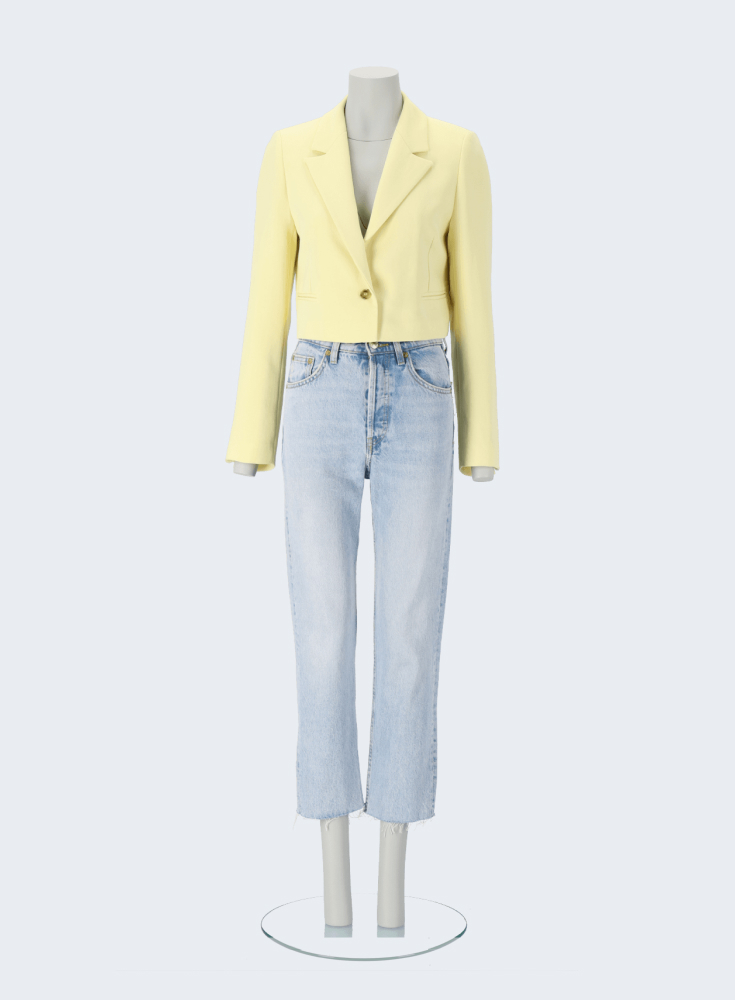
The choice of the color of the background is vital. Here the background color is the correct one.
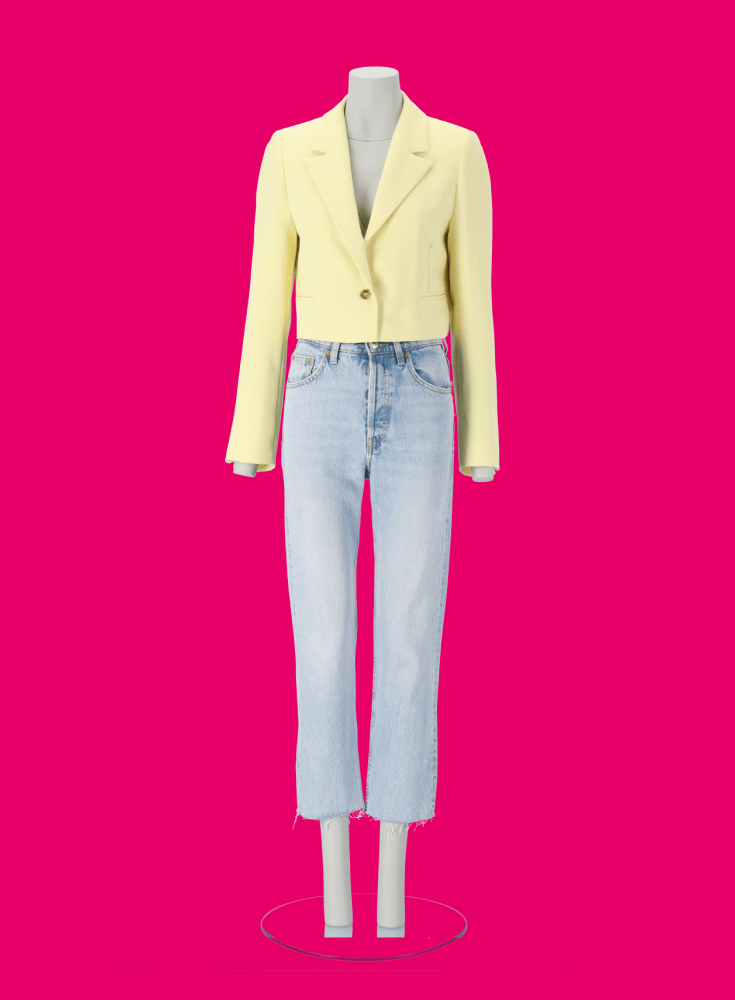
Here the background color is too expressive.
5. Lighting setup
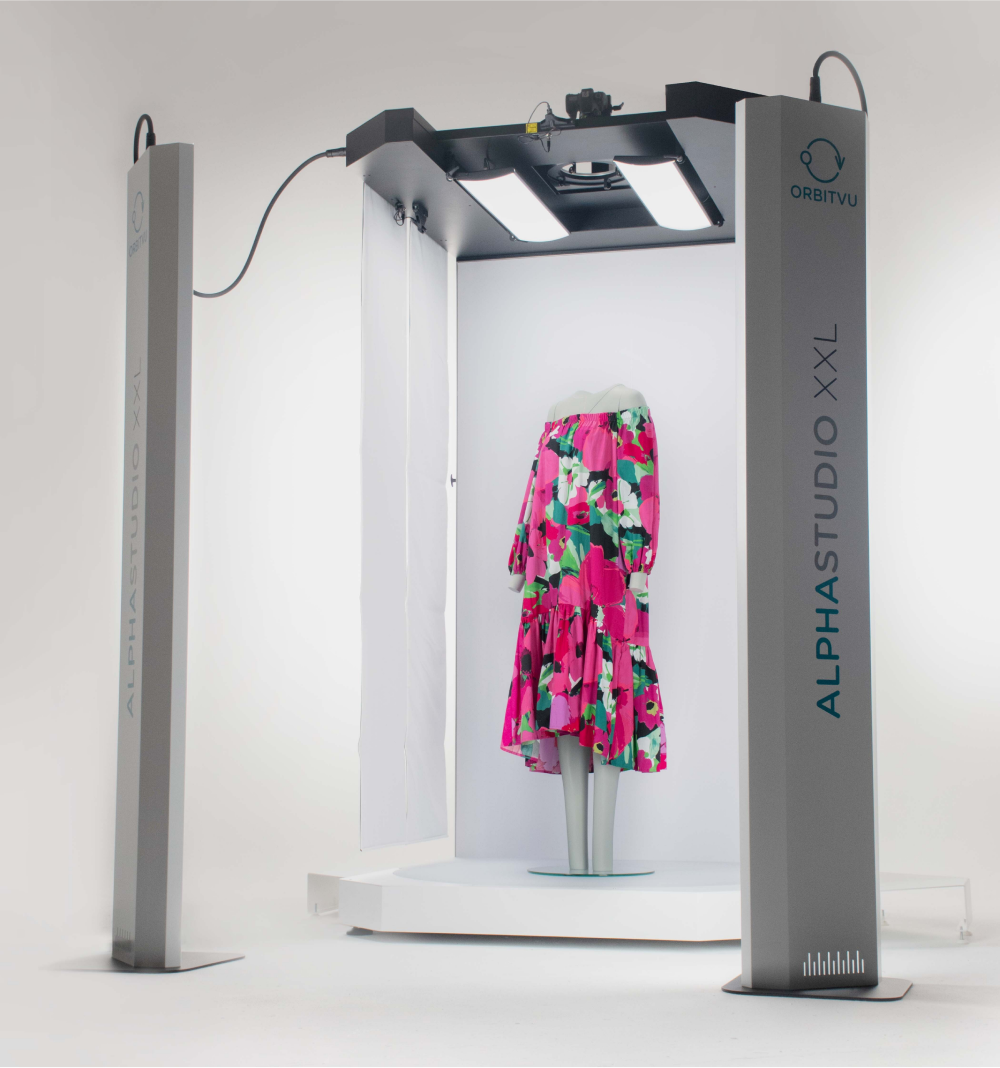
Use soft, diffused lighting to avoid deep shadows. Make sure the light source covers the whole length of the photographed product. Failing to do so results in the bottom or top of the garment being underexposed. Long strip-softboxes or large LED panels are ideal. Pay close attention to the lamps’ positioning. Placing them from the frontal camera view will render a flat look. Moving them towards the sides adds volume to the shot.
6. Camera settings and positioning
Keep the camera at the middle of the photographed garment height for a neutral perspective. Ensure the camera is level on a steady tripod. Set the manual white balance for true color reproduction. To secure even more precise color rendition, you can use a color checker card. Make sure to use manual settings to have the same exposure across the whole photo session.
7. Capture multiple angles
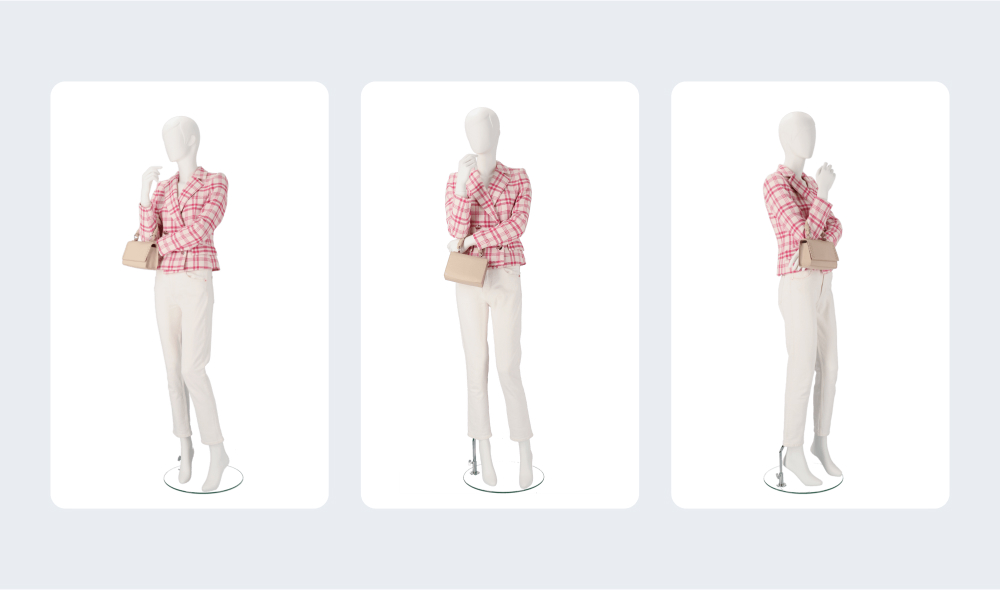
Photograph the product from various angles to present it from side, front, and back views. This provides a comprehensive selection of the product images for your customers.
8. Capture covered garment parts
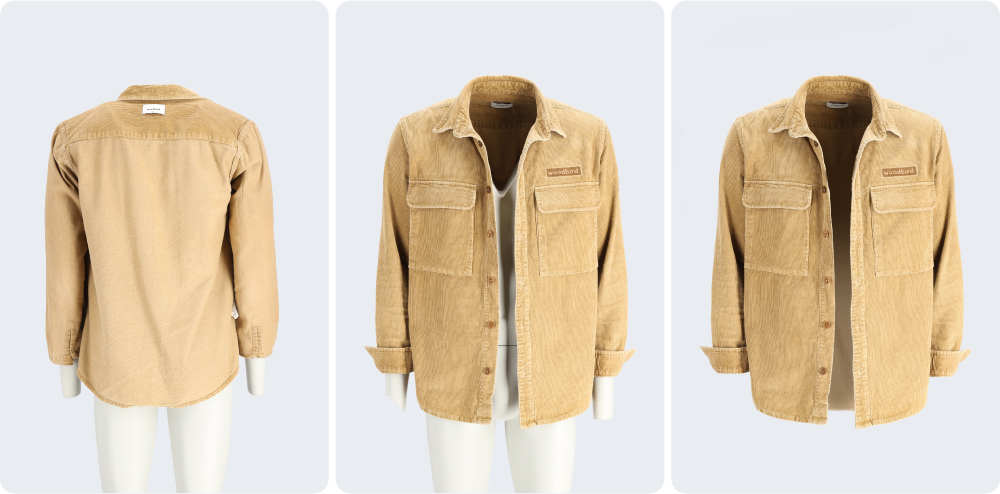
Often, certain parts of the garment, such as the inner back, are hidden when dressed on the mannequin. These need to be photographed separately and later photoshopped into the main product photo. After capturing the main shots, remove the garment from the mannequin, turn it inside out, and fit it back on the mannequin. This way, the same lighting and camera angle position are assured.
9. Post-production
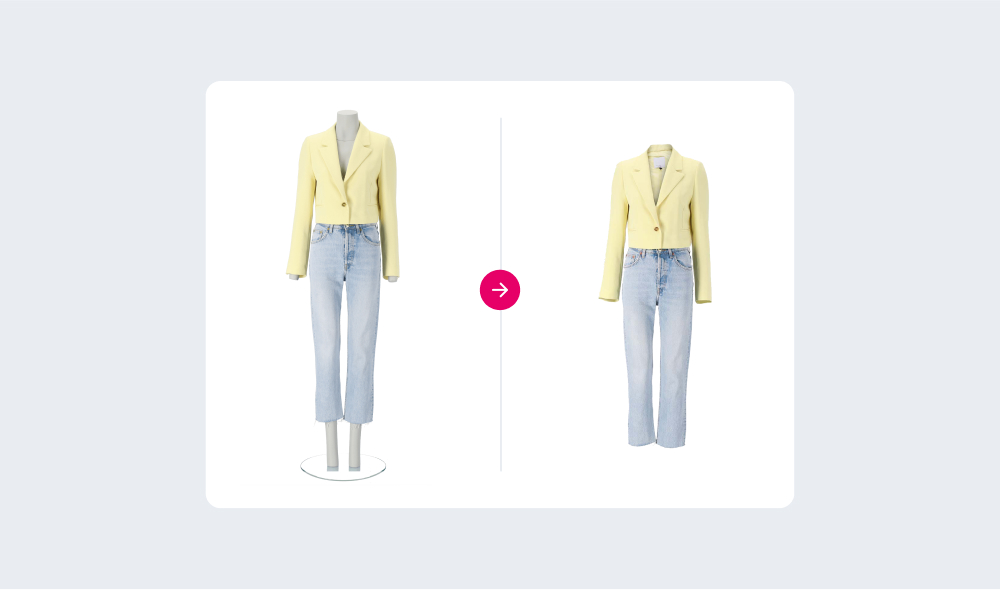
This is where the ghost mannequin effect comes to life. First, use photo editing software like Adobe Photoshop to remove the mannequin from the photo or have it removed automatically if you use Orbitvu solution. This will leave you with the product appearing to "float“.
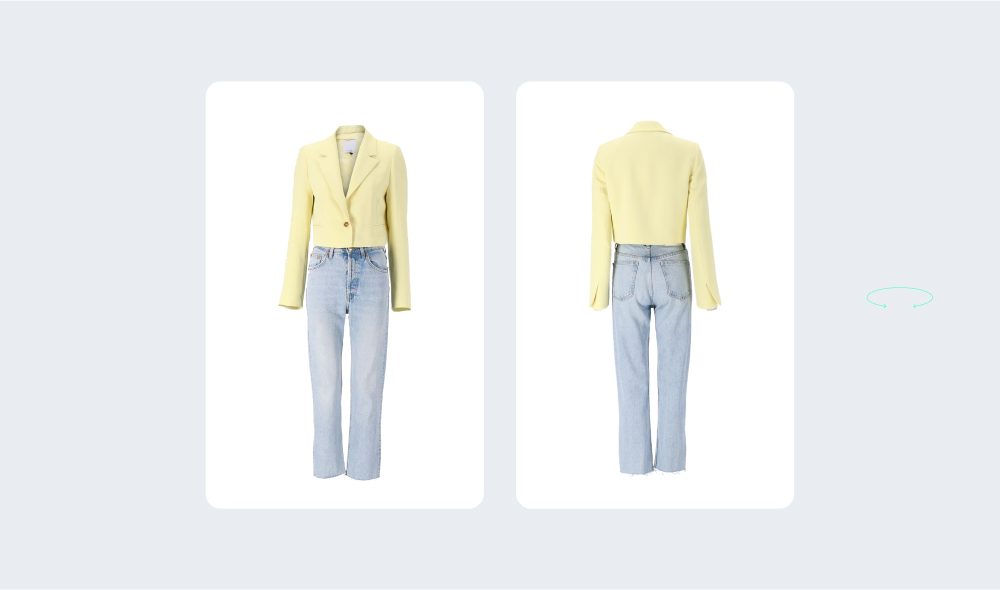
In the next step, seamlessly integrate the separately photographed garment parts that were hidden by the mannequin into the main photo.
As the final touch, it’s advisable to smooth out any unwanted wrinkles, refine the shape if necessary, and retouch any material or manufacturing imperfections.
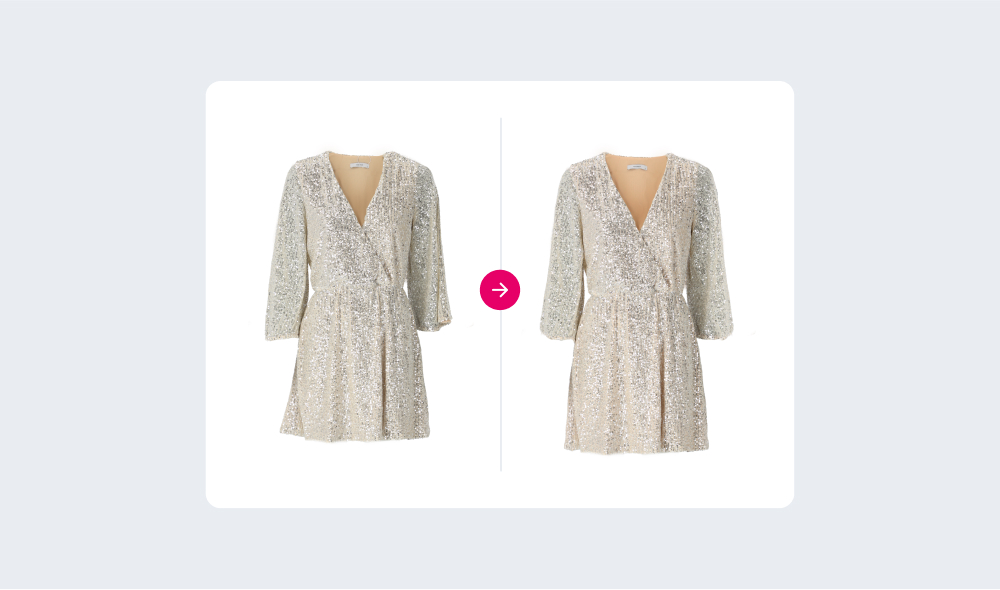
If the post-production sounds like too much of an overhead for you, you can opt for outsourcing this part of a ghost mannequin process.
Expert tips & tricks for perfecting ghost mannequin product photography
Achieving the great ghost mannequin shot is an art that blends technique, equipment, and post-production skills. Here are some expert tips to refine your ghost mannequin photography:
- Choosing the right mannequin: Select a mannequin that's adjustable and matches the size and shape of your target demographic. This ensures a better fit for the clothing.
- Lighting essentials: Soft, diffused lighting minimizes shadows and is less prone to wrong lamp positioning as opposed to hard directional light. A controlled studio environment offers consistent results.
- Post-production precision: Use advanced editing software to remove the mannequin and seamlessly insert the parts covered by the mannequin in the main shot. Focus on details.
- Use a neutral background: A white or light grey background ensures the product stands out, makes post-production editing easier and avoids unwanted color cast.
- Multiple angles: Capture the product from various angles to give customers a complete view. This includes front, back, sides, and close-ups of intricate details.
- Avoid over-editing: While editing is crucial, overdoing it can make the product look unnatural. Strive for a balance.
- Consistent camera height: Maintain a consistent camera height for all products to ensure uniformity across product listings.
- Use reference points: Mark positions for the mannequin, camera, and lighting. This ensures consistency, especially when shooting multiple products.
- Invest in quality lenses: A good lens can capture sharper images, reducing the need for extensive post-production sharpening. It’s especially important for brilliance in fabric texture rendition.
- Prioritize high resolution: Use a high-resolution camera to capture every product detail with clarity. This enhances visual appeal and allows customers to zoom in for a closer look at textures and design elements.
- Regularly update software: Stay updated with the latest photo editing software versions to leverage new features and tools.
- Continuous learning: Photography techniques evolve. Attend workshops, webinars, or online courses to stay updated with the latest ghost mannequin photography trends. And of course - read Orbitvu blog.
Conclusion
The digital age has revolutionized the way we shop, placing a premium on visual appeal and product presentation. The ghost mannequin technique, with its ability to “bring products to life”, has emerged as a frontrunner in e-commerce photography techniques.
For those looking to elevate their product photography game, Orbitvu is here to guide, support, and innovate. Let's shape the future of e-commerce photography together. Feel free to reach out to learn more about how we can help achieve your goals.
|
Articles you may also like
As we walk into 2024, we’re thrilled to release the first version of Orbitvu Station this year. It marks all the significant ...
Let’s be honest. We all love comparing stuff. If you’re buying something and have a few options, you just have to compare it,...

As the world goes deeper into the digital age, it's becoming crystal clear that future commerce will be mainly conducted onli...


