The ideal product photography camera settings
Each product requires professional photos to be sold online. This way product photography has entered the frame and is currently one of the most quickly developing branches of photography.
Table of Contents
The ideal product photography camera settings
Good e-commerce product photography portrays products in a flattering light, allowing potential buyers to notice all the intricate details. Because online buyers can't touch your product, you'll want to bolster their confidence with accurate and detailed photos. Effective product photos build trust.
The target recipients of product photos are often potential customers who are on the lookout for a detailed description of the product rather than digging for artistic values of the photos. This photography style, highly faithful to reality, is called packshot (in contrast to styled photography) and will be the focus of our interest in this article. This is why elements such as background type and frame composition will be of secondary importance, as important as they might be in other photography styles.
Basic camera settings for shooting good packshots, do not change rapidly with new technology. With this article we will guide you through the basics of camera settings for product photography, so that you don’t get stuck in front of the camera just for lack of experience.
First, this will be the camera settings triangle of aperture, shutter speed and ISO. These 3 parameters work interdependently to define the characteristics of the photo. The comparison we have set for you below will illustrate the directions in which changes go in the photo with the change of the triangle.
Basic camera settings in ecommerce product photography
Shutter speed for product image
Shutter speed is the parameter that operates together with aperture in regulating the flow of light to the camera sensor. It indicates how long a curtain-like mechanism in the camera (called the shutter) stays open to allow the light to fall onto the image sensor. Shutter speeds are measured in fractions of a second and can start as low as 1/8000s and go up to 30s.
Shutter speed will serve as the key way to adjust the brightness of your photo. Assuming the same aperture and ISO, the higher the shutter speed (shorter time of exposure to light), the darker the resulting picture will be. Let’s have a look at what happens when we start changing only the shutter speed in our setting triangle. Do you see how the image below gets lighter?
The above example shows a picture taken from a tripod. It is not brightness only that shutter speed can be responsible for. If the shutter speed is slow (long exposure time), the camera will register all that happens in the frame during the given time.
Simply speaking, a walking man shot at a high shutter speed will be frozen in his movement. If you slow down the shutter speed (prolong the exposure time), the man will be registered as a blurry streak: he covered some distance during the opening time of the shutter. The photos below aptly present the phenomenon:
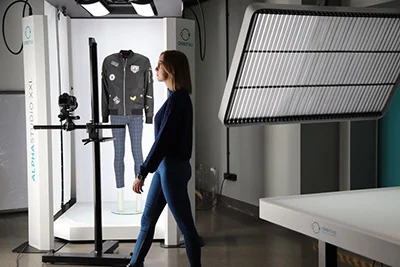
Frozen
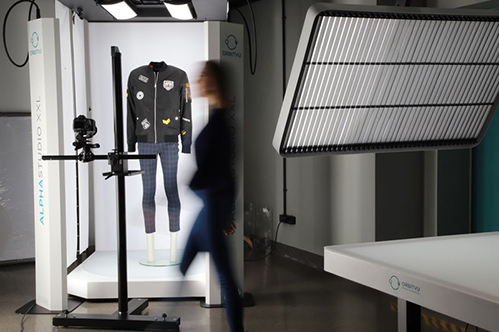
Blurry streak
To adjust the shutter speed properly you will need to keep in mind that long exposures of the sensor to light incur the risk of losing focus due to unwanted minimal camera movements. Furthermore, if you happen to be shooting a moving object, the movement of the subject may not be frozen and the photo turns blurry.
To avoid the risk of shooting unsharp pictures, use a tripod or a column stand. A tripod was used while taking the photos above. A hand-held camera would rather give results similar to one below:
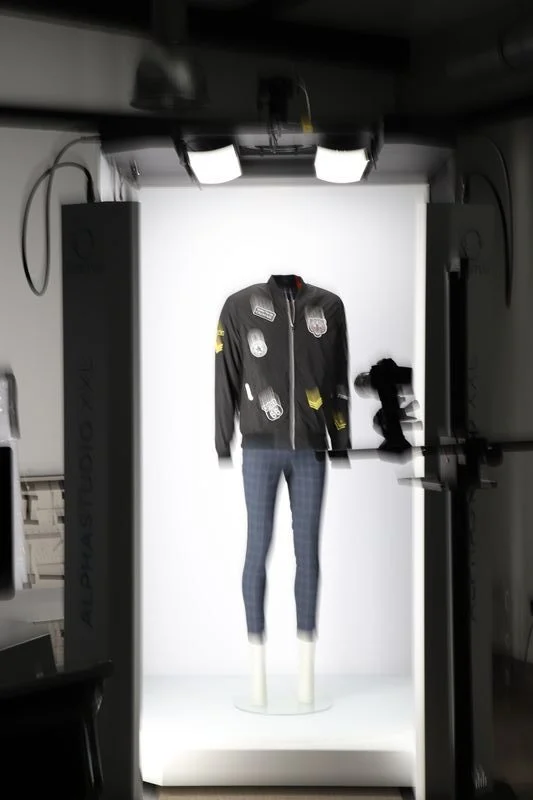
Another way to control the brightness of your photo when you shoot in a studio will be to control the lighting. Apply stronger lights for more brightness and dim them to achieve a darker photo. Back to the camera, however. The next parameter of the mentioned exposition triangle is ISO.
Aperture for product image
We have written more extensively on aperture in our article about the best lens for product photography The key notion about the aperture is that it is a hole in the lens that regulates how much light falls on the image sensor. It is measured with the f-stop parameter, which can take values from as high as f/1.8 (big hole) to f/29 (small hole).
Together with the shutter speed, the aperture remains responsible for the amount of light reaching the sensor and is one of the factors that will influence the brightness of your photo. Lower f-stop parameters will lead to a lighter picture, while higher values will make it darker.
The aperture will also define the depth of field you will achieve. This refers to how deep into the imagined photo space the item will stay in focus. Only the parts closest to the camera or maybe the more distant too?
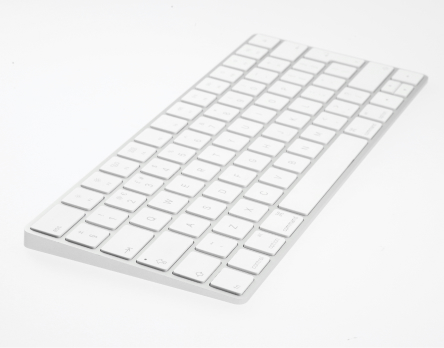
High depth of field – f/22
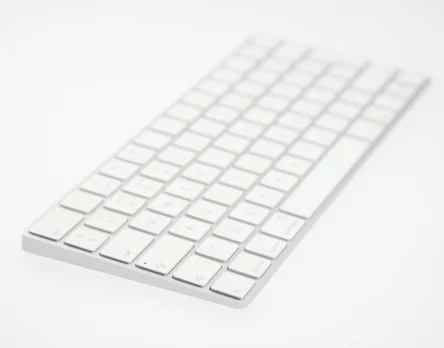
Low depth of field – f/9
Finally, the aperture value has an impact on the quality of the image. Higher f-stop parameters (above 1/18) may make the whole image become less sharp. This will incline a product photographer to use the mid-range f-stops, usually between f/11 and f/18.

f/8

f/22
ISO for product photography
When you know how much light will be allowed onto the sensor of the camera, you will also need to set the sensitivity of the sensor itself, i.e. define how intensively it reacts to light. This is what the ISO setting is responsible for. It is measured in a range from 64 to tens of thousands.
The rule of thumb in photography when it comes to ISO is to keep it as low as possible with the given lighting conditions. In product photography it is even more important, as choosing a higher ISO will result in an increase in noise in the photography.
While outdoor photography may indeed require a higher ISO setting (because of the uncontrollable light and distance to the object), product photography for ecommerce aims at ISO 100. When the ISO value of 100 is hard to achieve, it is suggested to still use the lowest value possible, up to ISO 400 or ISO 800 in extreme cases.
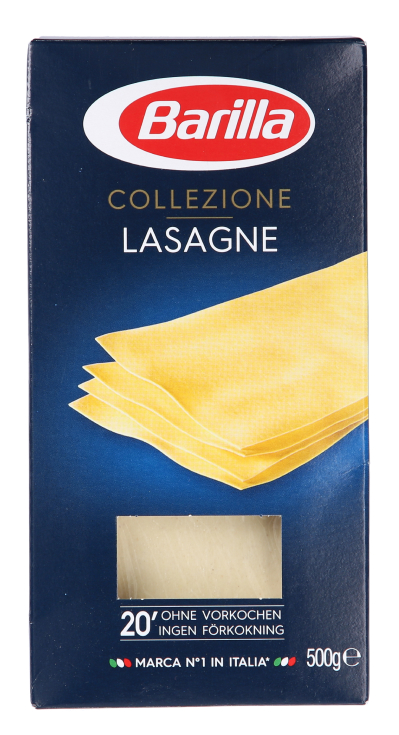
ISO100
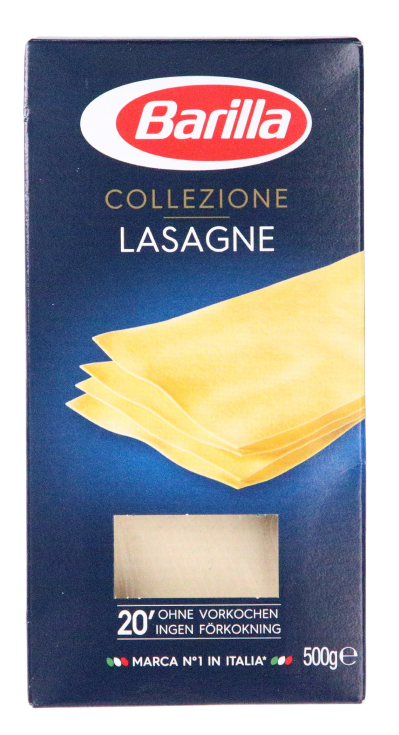
ISO2400
As you can see, using low ISO is not only a matter of aesthetics but of quality, which in packshot photography has to be pristine to best render the features of the product.
Therefore, in a studio setting, it will bring more benefit to the quality of your pictures, if you manipulate the aperture, shutter speed and lighting parameters instead of increasing the ISO.
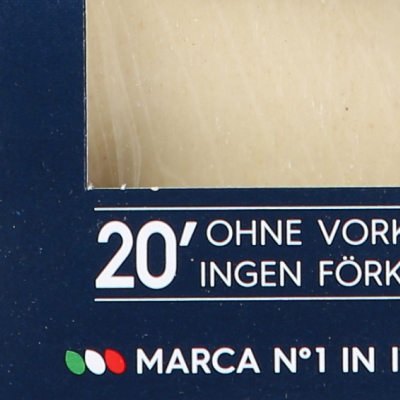
ISO 100

ISO 2400
Step by step guide how to set the Shutter speed, Aperture and ISO
Start with ISO 200, aperture f/8 and a shutter speed that gives you a good exposure.
- Set the aperture to match the required depth of field.
Use the optimum aperture value that will give your item sharpness from the front to the back. In case you have to use small aperture (f-stop) values (below f/16), verify if the quality of the image is still acceptable. If not, the only option would be to use software techniques to extend the depth of field (e.g. super focus/focus stacking). When changing the aperture, adapt the shutter speed value for optimal exposure.
TIP! Set the focus point somewhere in ⅓ of your product depth. The depth of field extends from focus point in both directions (inward and outward the lens). - Set the highest acceptable ISO for acceptable quality.
Staring with ISO200, try and check higher values: 400, 800. Adapt the shutter speed for optimal exposure. Check for grain (noise) in the image. If there is too much noise, reduce the ISO.
TIP! When doubling ISO (e.g. changing from 200 to 400), you need to half the shutter speed value (e.g. changing from 1/25 to 1/50) to achieve the same exposure. - Set the shutter speed every time you need to change exposure.
When ISO and Aperture are properly set for a specific type of product, you should prefer not to change it. Aperture needs to be changed only when you need to increase/decrease the depth of field and adjust the image quality. Usually, you only manipulate the shutter speed – e.g. when shooting a white product you decrease its value, when shooting a dark one you may need to increase its value.
White balance
White balance regulates the color temperature in a photo. This means it controls whether the photo will be yellowish with warm light or bluish with a high color temperature. Properly set up white balance ensures images with faithful colors close to reality.
Although many photographers use the “auto white balance” setting, an improvement in color rendering can be achieved by applying “custom white balance”. It is especially important when shooting images directly to JPEG. When shooting in RAW file format the white balance can be applied in post-processing without quality loss.
The difference in “Auto white balance” and “Custom white balance” is clearly visible in the examples below:
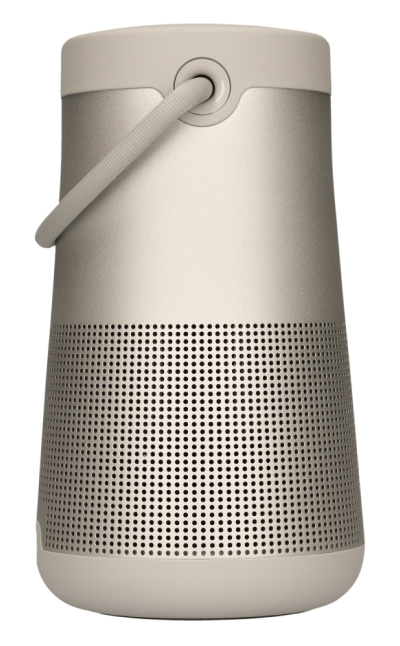
Auto white balance
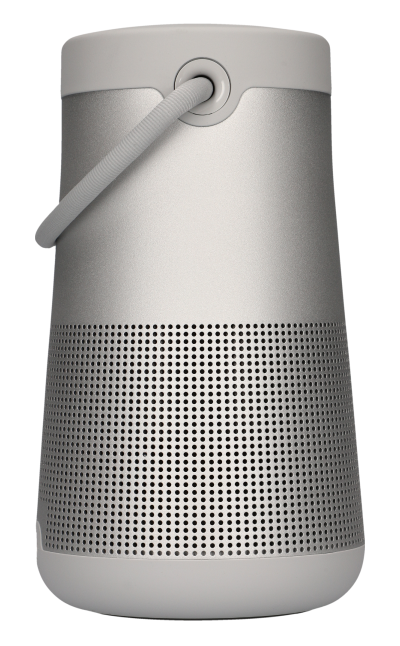
Custom white balance
Automatic White Balance does not guarantee perfect repeatability of color (the camera measures the light independently for each shot). Manual/Custom white balance guarantees consistent results as long as you use the same lighting.
To properly set custom white balance use a grey card in a simple process described in the video below and this WB setting manual:
Autofocus OFF
When doing repeatable product photography from a tripod, there is no need to adjust the focus for each shot. Moreover, the autofocus in the camera will lead to non-optimal and often false focusing points in your image. Focus point should be set manually in ⅓ of the product depth to achieve the optimal depth of field.
RAW or JPEG?
Many photographers claim that RAW images are the only suitable for further post-production. While it might be true across various types of photography, in packshot photography we aim at the highest possible level of productivity.
With good lighting and white balance setup, color accuracy gains are minimal when comparing JPEG with RAW, while workflow complexity grows exponentially (color profiling, etc.). RAW can be beneficial in case of some difficult products (e.g. high contrast dark and white product) and allow to correct imperfections of the captured image. RAW may also be a must when color accuracy is extremely important (e.g. paint colors, make-up products).
RAW processing workflow is not easy to comprehend and fully understand its all implications on the final image. Unless you are an expert and know why you need RAW and how to deal with it, we recommend JPEG.
See below for our short RAW-JPEG advantage-disadvantage comparison:
|
Property |
RAW |
JPEG |
| size | large (around 20 MB) | smaller (around 3MB) |
| time |
long, post-processing required |
short, upload ready |
| difficulty | knowledge of RAW post-processing required; software required; will require correct compression choice | easier, post-processing and software available but not necessary; already compressed |
| range of options | high | limited |
Image size
Photos which are meant to be used as product presentations in e-commerce need a level of optimization with regard to image size. Camera sensors usually register pictures in resolutions far above those required in e-commerce. Although this allows for effective cropping and producing closed-ups, the standard that serves e-shops is all about loading speed.
Even though you will not need to exceed the typical screen resolution of 1920x1080px (FullHD) when choosing the size of your photo, it is still recommended to capture images in the highest possible camera resolution (e.g. JPEG Large fine). Post-production software can do a better job to scale down the images and you can use higher resolution images to crop close-ups and detail images of a product.
E-commerce platforms often publish their own requirements for image size and it is recommended to keep them in mind while preparing your photos. E.g. Amazon has set the minimum size of the longer side of the photo to 1,000px and the maximum to 10,000px. You can read more about product photography for Amazon in our extensive guide.

Advanced camera settings for product photography
Setting the aperture, shutter speed and ISO, while being aware of the light color temperature is an indispensable skill in product photography, in fact anywhere you use a camera. Read on to become more familiar with live view, color space, stabilization, and fault correction options.
Live View preview
In case you capture images with constant lighting (e.g. LED) Live View is a fundamental option.
With the help of this function What You See Is What You Get – you are able to preview the output photo on the screen even before it is taken. This option, since the advent of digital cameras, has eliminated the tedious need to capture the image before seeing the result (provided there is continuous lighting). The process has been simplified and hours of photographers’ time have been saved.
A bonus with Live View is that Autofocus tends to be more accurate since the actual process of focusing is taking place directly in the camera.
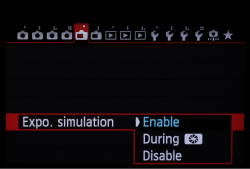
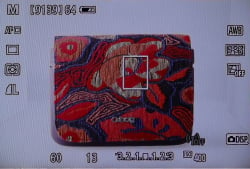
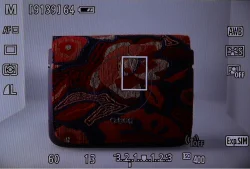
Exposure simulation in Live View ON
Live View preview only makes sense, if you can preview the image before it’s taken. All Canon and Sony cameras (and some Nikons) have the option to simulate exposure (ON/OFF).
You should switch this option ON when using constant lighting to preview the image exposure before it’s taken. When using flash light, exposure simulation should be OFF. Be aware that the camera will always show “something” in the live view preview, however the final result will depend on the camera and flashlights settings and might not necessarily be what you had seen in the preview.
The pictures below show the relationship between live view ON and OFF with continuous lighting.
Depth of Field simulation in LiveView
The indisputable bonus that comes with Live View in digital cameras is the ability to model light on the product without the need to take a photo first. However, to simulate exposure the camera uses a wide open aperture – thus the depth of field in the live view preview is usually much shallower than in the final image. To combat this issue you can switch the Depth of Field simulation ON.
Useful for example in jewellery photography, this option might help you choose the correct aperture quicker and check whether the product is sharp in all its depth.
Color space
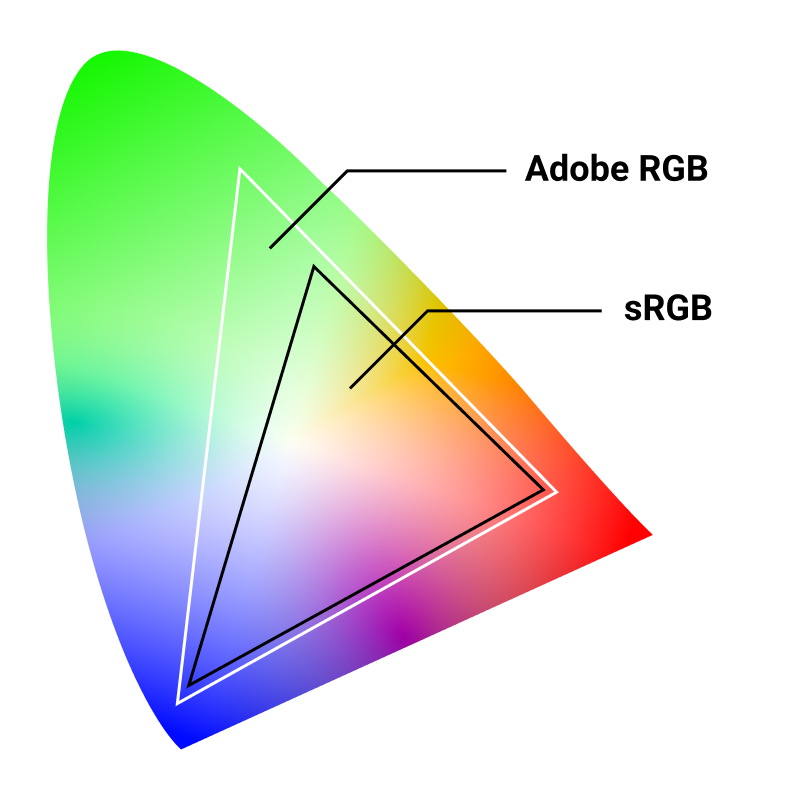
Most cameras have an option to save images in two color spaces: Adobe RGB and sRGB. While Adobe RGB has some advantages like a wider color scale, it is beneficial only when taking images for print. It also requires some color space knowledge and experience. Those images still need to be converted to sRGB for use on the web, which introduces small quality loss. If you produce images only for the web, we suggest using sRGB color space only.
A vast majority of browsers, graphic software, or Android devices, operate in sRGB only and do not recognize Adobe RGB. AdobeRGB will not be displayed correctly in those web browsers.
Lens and camera stabilization
Product photography does not require stabilization in the lens nor in the camera. Stability is provided by the tripod or the column stand. Image stabilization is most important in situations where there is not enough light and a very low shutter speed is required or a high focal length is applied without a tripod. You can read more on this question in our “Complete guide to product photography”.
Lens correction
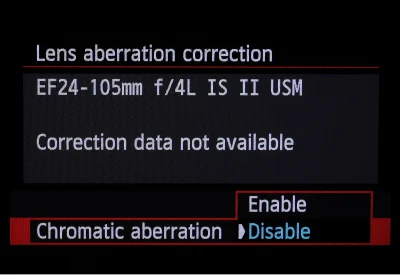
Modern cameras offer several options of lens aberration correction. Among them, four are worth-discussing.
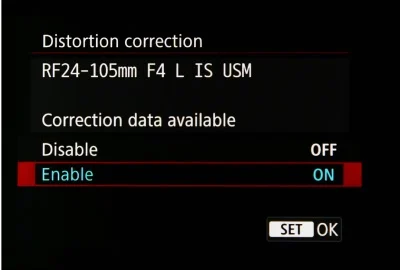
Distortion correction
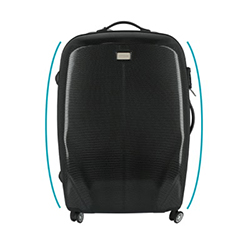
Distortion correction corrects barrel and pincushion distortion described in our “Best lens for product photography” article. These effects cause the shapes of the product not to be depicted accurately and the image to appear slightly warped. It is definitely worth avoiding them in your photographs, as they strongly influence the content of the photo.
To correct distortion, the camera captures a narrower image area than the area seen in the viewfinder shooting, which crops the image a little and slightly lowers the apparent resolution.
It is possible (and advisable) to turn on the correction in the camera menu. The effect will be visible in the Live View.
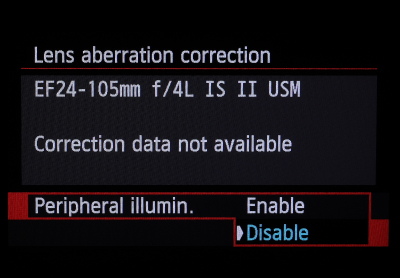
Peripheral illumination correction
This option is also called vignetting correction. The camera takes care to eliminate the effect of darker image corners that some lenses might induce. The use of this option might bring some noise to the corners of the image and will be less effective with high ISO speeds.
Chromatic aberration correction
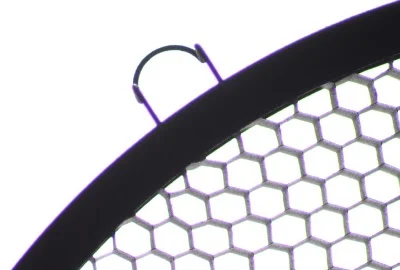
Chromatic aberration appears frequently when you shoot dark objects on a very light background and indeed can be a risk in product photography. It causes the edges of the darker spaces (product) to become highlighted with additional color halo.
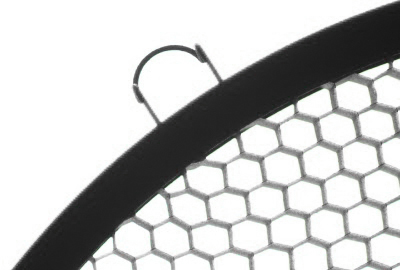
The camera can correct it to make the edges of your product crisp and properly colored. An example of a slight chromatic aberration is shown below.
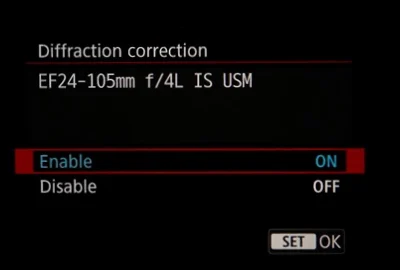
Diffraction correction
Diffraction causes the picture to lose sharpness due to the presence of aperture. We wrote more extensively about this effect in a guide where we look for the best lens for product photography.
Diffraction is especially visible with aperture narrowly closed, with parameters above f/17. We recommend to keep the correction option on, unless your photo quality is disturbed by the noise it may cause.
Camera settings for product photography in action
Now that you're familiar with your product photography camera settings, you can capture products in various environments. Because you can manipulate the lighting indoors, you'll have much more control over the outcome, while outdoor photography is subject to the elements. When shooting outside, you might need to adjust your settings as the weather changes.
You can shoot e-commerce product photography outdoors and indoors in various styles. Here are a few styling options.
White background images
Known as a “studio shot,” this style simply portrays the product against a white background. The product takes center stage, and there are no other elements that can divert a potential customer's attention. These photographs allow you to see an item's details by zooming in, showcasing every detail of your product. Perfect for catalogs, studio shots create a clean and polished look and offer aesthetic consistency throughout your product portfolio.
You'll want a small aperture and a slow shutter speed to capture sharp images. As a starting point, you can set your camera to ISO 200, 1/125 shutter speed and aperture f/8. Remember to stabilize your camera to ensure the perfect shot.
Images with props
Create visual interest by photographing your products with props. Props also give context, as they help tell a story and allow prospects to understand how big or small your product is. Props can include:
- Natural elements like leaves or flowers
- Backdrops
- Lifestyle elements (items related to how buyers use your product)
- Mirrors
- Cellophane and tinsel props
Put bigger props like vases or a bowl of fruit in the background and smaller objects like flowers, oats or glitter in the foreground. No matter what props you choose, you need to adjust your camera settings to accommodate them.
Images with models
Using a model can offer a sense of believability and realism and works exceptionally well in the fashion industry — potential customers can get a sense of how a product will fit.
Highlight your model by opting for a lower aperture, effectively blurring out the background. You can also adjust your ISO and shutter speed according to your lighting.
Tips for e-commerce product photography
With our guidance on how to adjust camera product photography settings, you can take stellar photos. Here are three more tips to get you started:
1. Take multiple photos
Build trust with potential customers online with sharp product images. Supply your target market with various photos of your product by photographing your items from different angles. Take eye-level shots and bird's-eye view photos. You'll also want to include close-ups so your website visitors can notice the intricate details of your product.
2. Adapt to natural lighting
Natural lighting changes throughout the day. You might want to schedule a photo shoot at dawn or dusk, as low-filtered light can perfectly light up products. If you're shooting outside, opt to do so on a cloudy day, as bright sunlight casts prominent shadows.
3. Compress your images
Before you publish your product photos, compress them to ensure they load quickly. You can keep your viewers engaged with images that pop up on screens quickly. Square images of 2048 by 2048 pixels work well. You also don't want to opt for a lower pixel size, as your website visitors might find it difficult to view product details when they zoom in.
Camera settings specific to photography automation
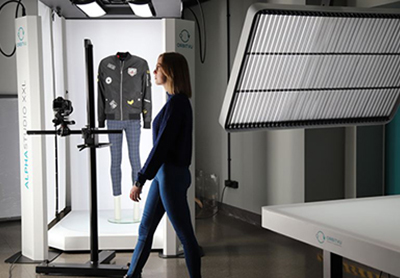
In automated product photography, you manipulate the same camera settings as in a traditional studio. You will change the aperture/shutter speed/ISO triangle directly from the software. Other product photography settings may need to be set directly in the camera menu.
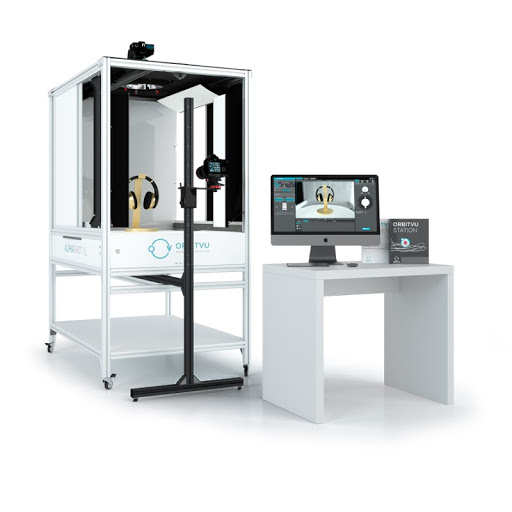
Some product photography automation solutions, such as Orbitvu Alphashot machines, require particular settings in your camera.
The first step, when starting to configure a new camera is to to clear all camera settings, bring them to factory defaults. Then, set the following options:
Stabilization off
Automated studios work with camera and lens stabilization off. It is not needed, as the camera is firmly fixed and image stabilization makes the image slightly shift from picture to picture. This makes automatic masking (background removal) not to perform very well.
Distortion correction ON
With this option on you will avoid shape deformations, i.e. pincushion or barrel distortion, that a lens might cause.
Custom white balance setting
The correct white balance setting needs to be done manually with the use of a grey card, as described in the manual of an automated studio or in the video from the “White balance” section.
Single shot autofocus
As product photography is about non-moving objects and the studios operate a lot with autofocus, you need to make sure that the continuous autofocus (Servo) is disabled. Switch the autofocus mode on the lens to M – manual and the AF mode required here is “single shot”.
Auto power off and auto rotate
For a reliable connection with the software options such as Auto power off and Auto rotate of the screen needs to be turned off.
Exposure simulation ON
Automation will help you minimize the photo capture time most effectively when the exposure simulation is set to ON. You receive all the benefits of Live View and it becomes easier to set the shutter speed/aperture/ISO triangle.
Summary
The basic settings you get familiar with as a photographer clearly pertain to the image exposure. With every step on your ecommerce product photography journey you will get more proficient with the shutter speed/aperture/ISO triangle. You will also realize that there are plenty of peripheral settings which influence the quality of your photos and the speed of your sessions.
We have shown how important it is to look to the correct white balance, file formats and color spaces. The use of camera in-built image correction options will also save your post-processing time. It is definitely worth dedicating some time to handle camera presets before you set off with a photo session.
Time spent on product photography camera settings will bring you better repeatability of the shots, good resolution and a faithful rendering of the colors. Even the most automated product photography processes will require camera setup and there is no avoiding it.
If you are interested in how an automated process looks like, have a look at our Alphashot automation solution video. Set off with the hope that you will soon become a master of camera settings. Good luck!
Contact us
Contact us
Got questions? We'd love to hear from you. Send us a message and we will respond as soon as possible.
Products
Products
Articles you may also like

In 2020, the growing trend of online shopping gained additional momentum. No doubt it will continue in the near future, conqu...
Are you looking for the best lens for product photography? Are you struggling to make an optimal decision within your budget?...
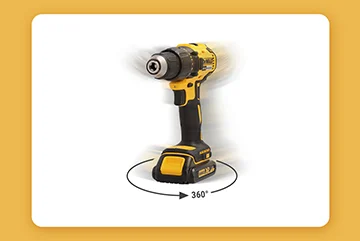
In this article, I will help you to better understand the 360 spin technology itself, so you know when and how to present you...


