The starter guide on how to photograph clothes like a pro
When building your clothes business on the Internet, you will face questions about product photography right from the beginning. Is product presentation any different in an online store than in high-street retail? Is creativity in clothes photography always beneficial or are there spaces where it is unnecessary? Is there a market standard for photographing clothes? In our basic guide, you will find ready go-to clues that will help you with photographing clothes commercially.
Table of Contents
- Clothing photography – for whom and what purpose?
- Is a photo studio necessary for clothing product photography?
- Starting tips for clothes photography
- Packshots – categories of clothes photos
- Into rich media – a truly great online store
- More tips – make your apparel photography perfect!
- The post-processing dilemma – how far shall I take it?
- Final thoughts
The starter guide on how to photograph apparel like a pro
Before setting off to photograph all the clothes from your offer, you will need to answer two initial questions:
- For whom do I photograph?
- What purpose will the photos have?
With answers to these questions in hand, you will be able to focus on the studio setup and, later, photographing technique. In most cases, you will not avoid doing post-processing and organizing your material as online resources.
Oceans of useful tips have been produced on various approaches to clothing photography and, to guide you from the beginning to the end, we organized our hints progressively for all stages. You can follow the process from session preparation to photo publication as you learn how to photograph apparel like a professional.
Clothes photography – for whom and what purpose?
Garments serve different purposes – some of them protect you at work, some give you a splendid look at a friend’s party, while some simply guarantee a warm cover for the winter. Your customers will look for clothes for all these occasions and their expectations from a visual in an e-shop will vary depending on the situation.
The best way to photograph clothing is by treating your clothes photography as you would a counter or a window in a high street shop. For those interested in glamour, you display intricate white and pink lacing in warm, soft light. For those who come in to buy tourism garments, you invest in lighting that exposes all the functionalities and stay concrete with the presentation.
We have written about the difference between lookbook and packshot photography in our article on how to photograph shoes, and all the requirements from shooting shoes apply to taking apparel photos:
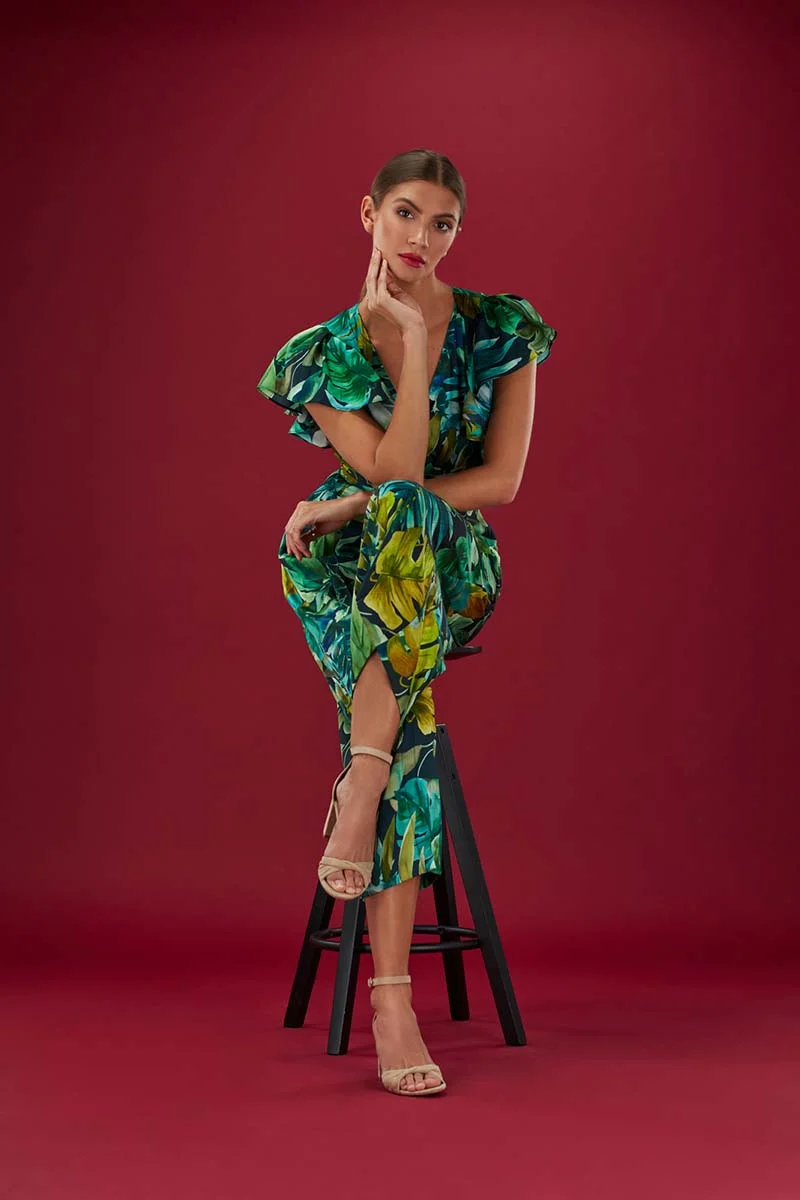
- lookbook photos – their purpose is to attract, take the customer’s attention to a buying decision, and display the most lifestyle-related aspects of your clothes. You will present clothes in action, with beautiful models and colorful surroundings, there will be less rules as to cropping and focus in the photo. Think of lookbook photography as close to art.
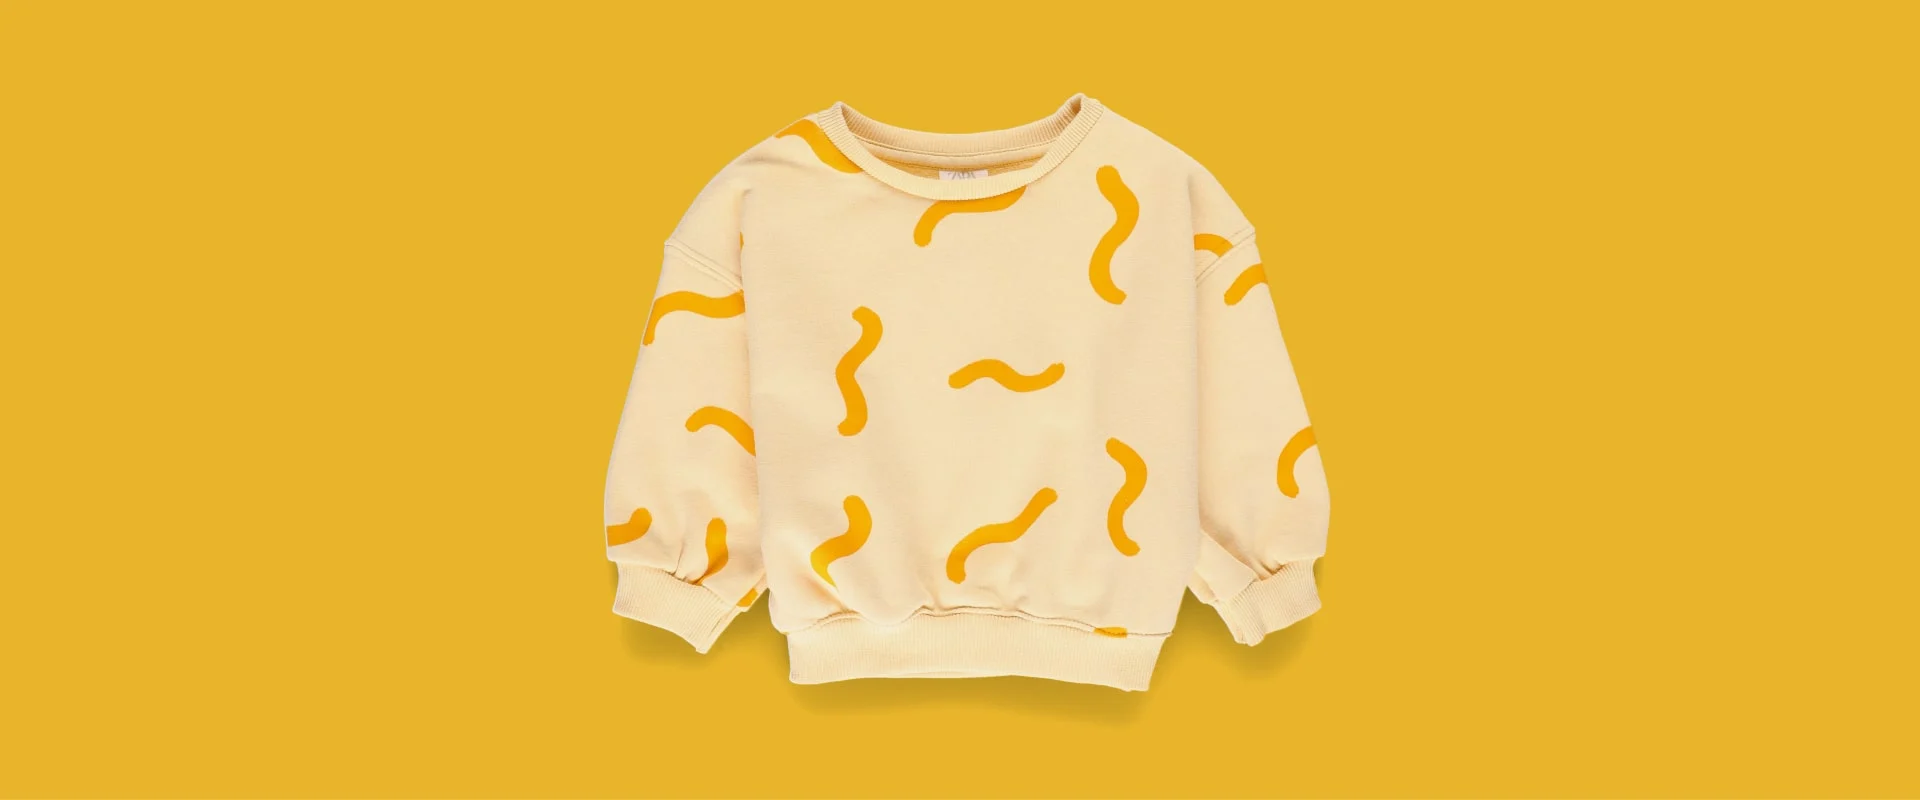
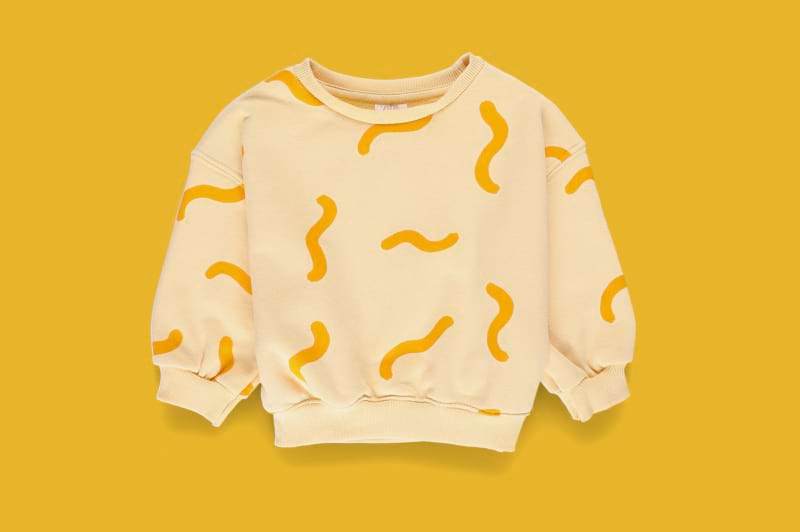
- packshots – their purpose is to inform and assure a buying decision. The focus will stay on displaying all the important features of a garment, like in a catalogue. You will use white backgrounds and several standardized angles aiming at full repeatability of shots.
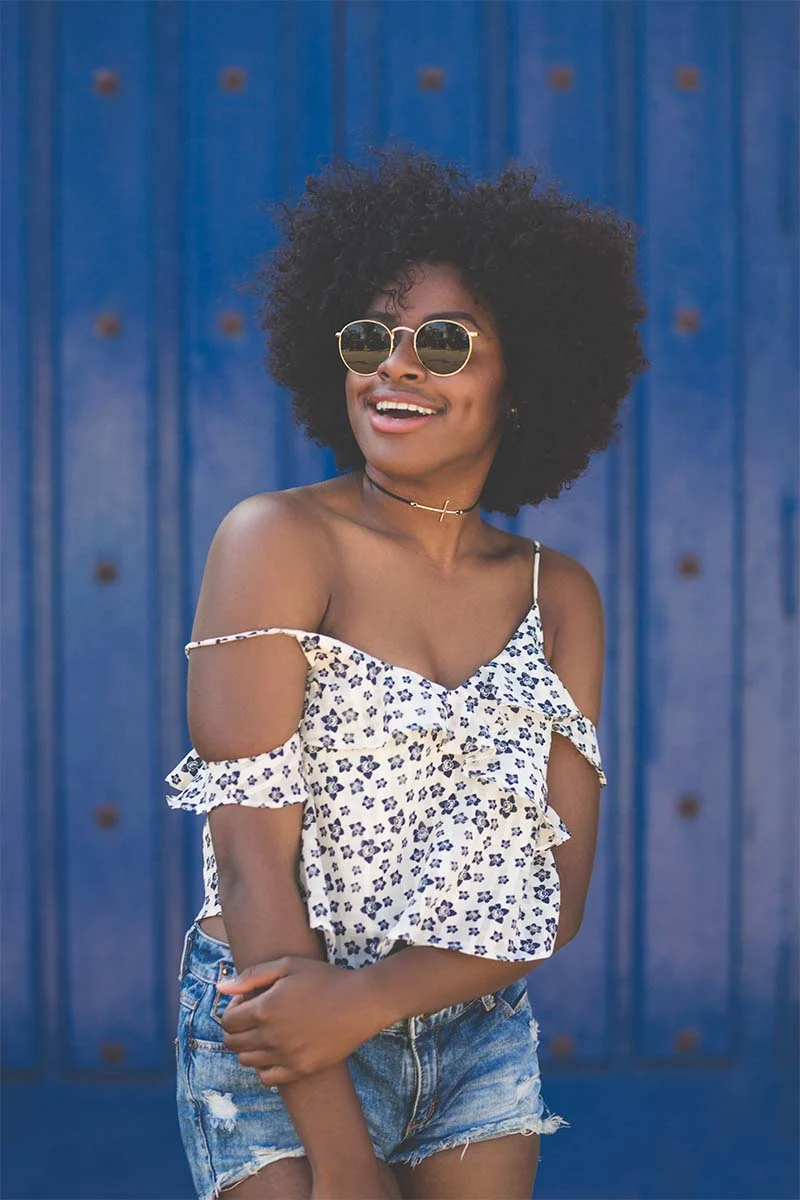
Lookbook style photo
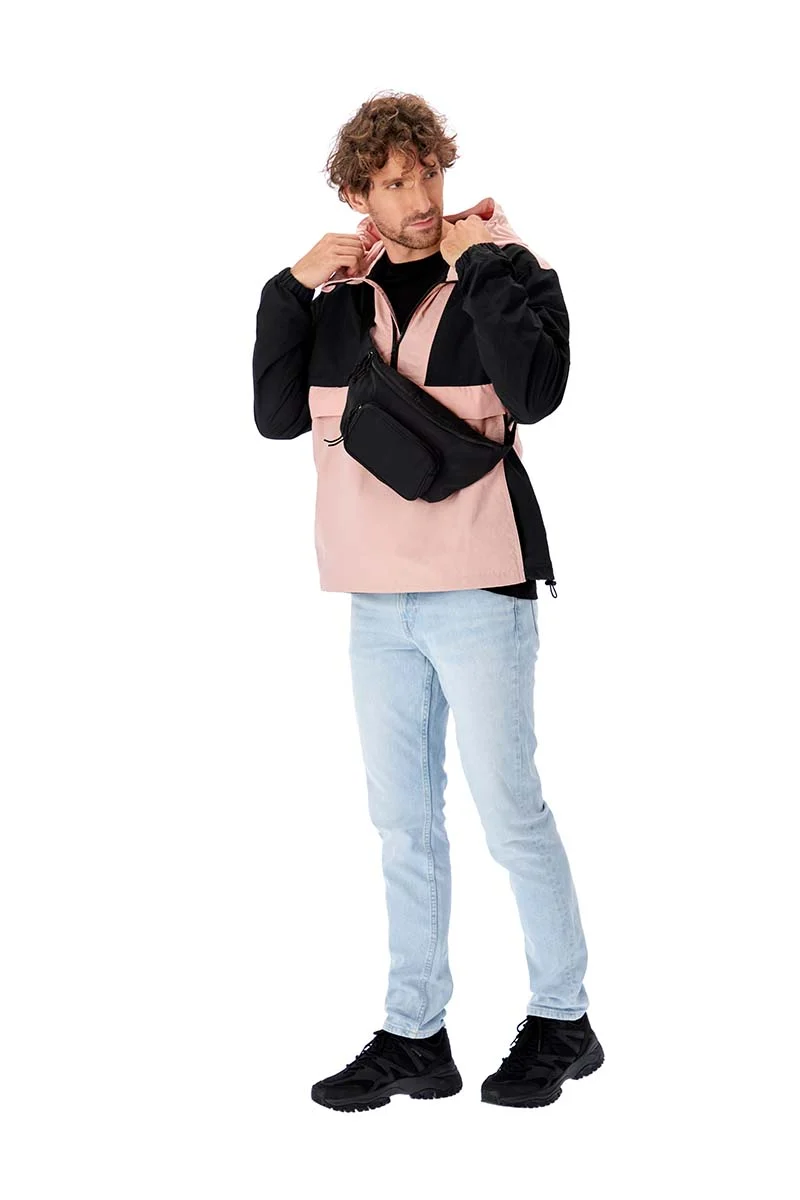
Clearly a packshot…
Knowing where on the website your final photo will land will help you to make a decision which style to stick to. Instagram, social media and secondary listing photos will be the right place for lookbook shots, while homepage grids and primary listing photos will do their job best with repeatable packshots.
Photo studio – is it necessary?
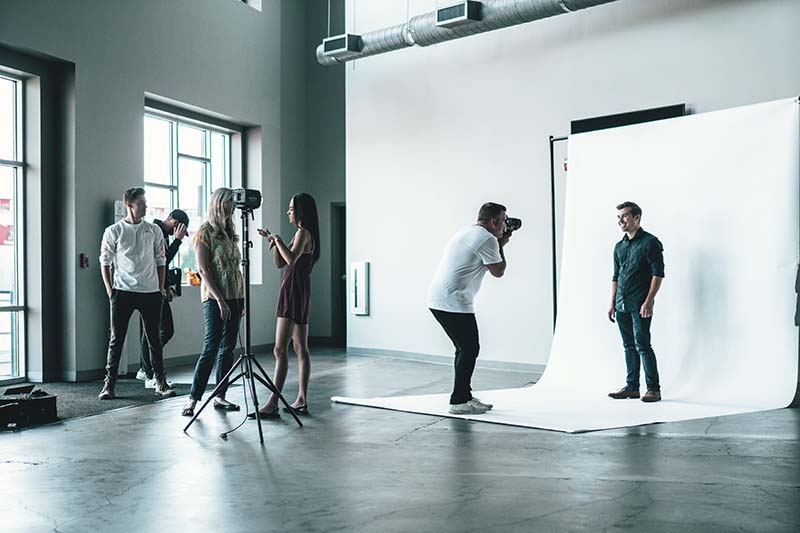
The way you organize your photo shoot will have a big impact on the cost and quality of the final material. From the beginning, you will need to answer the question whether you want to keep the clothing photography in-house or outsource it to an external studio.
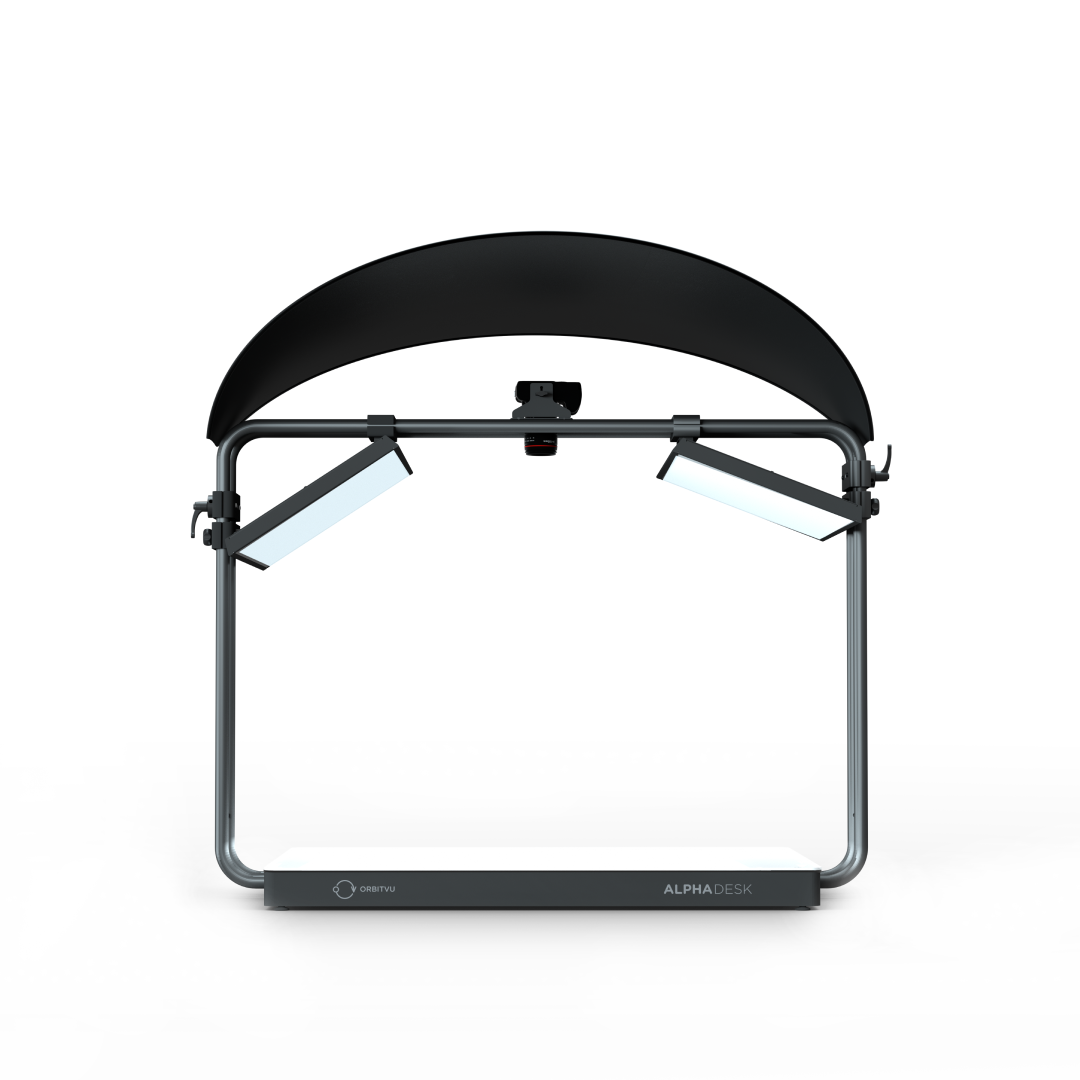
In-house solutions will let you take photos independently, with less logistics but requiring more knowledge and skill. You can build your own traditional photo studio with advanced studio lighting and camera mounts/tripods, a line of backdrops or a white shooting table, and all the additional equipment such as turntables, motorized arms and various props. And licenses for plenty of studio software will be necessary.
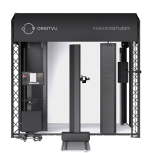
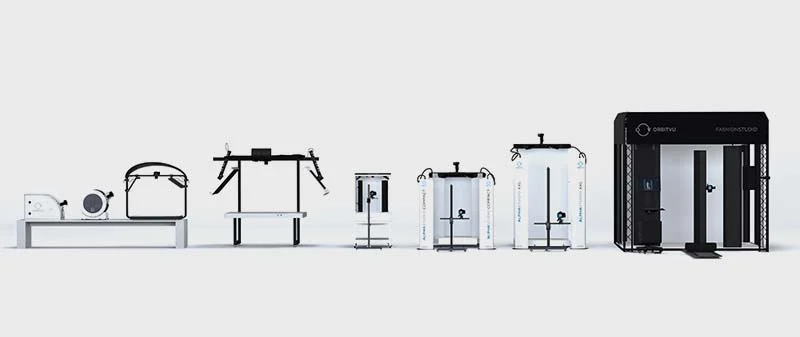
Another way to in-house clothing product photography would be to invest in automation technologies. This means hardware-software integrated photo studios for various sizes of products and model photography. These easy-to-use solutions lower the entry level for operators and with their background cutting options significantly speed up the photo process.
Automation would be the quickest way to ensure the repeatability of your packshots without the burden that outsourcing creates for logistics chains and human element risks it involves (holidays, illnesses). The photo process will gain clarity from the streamlining automated studios offer and you will be able to replicate it easily when you grow – just buy a new machine for more clothes!
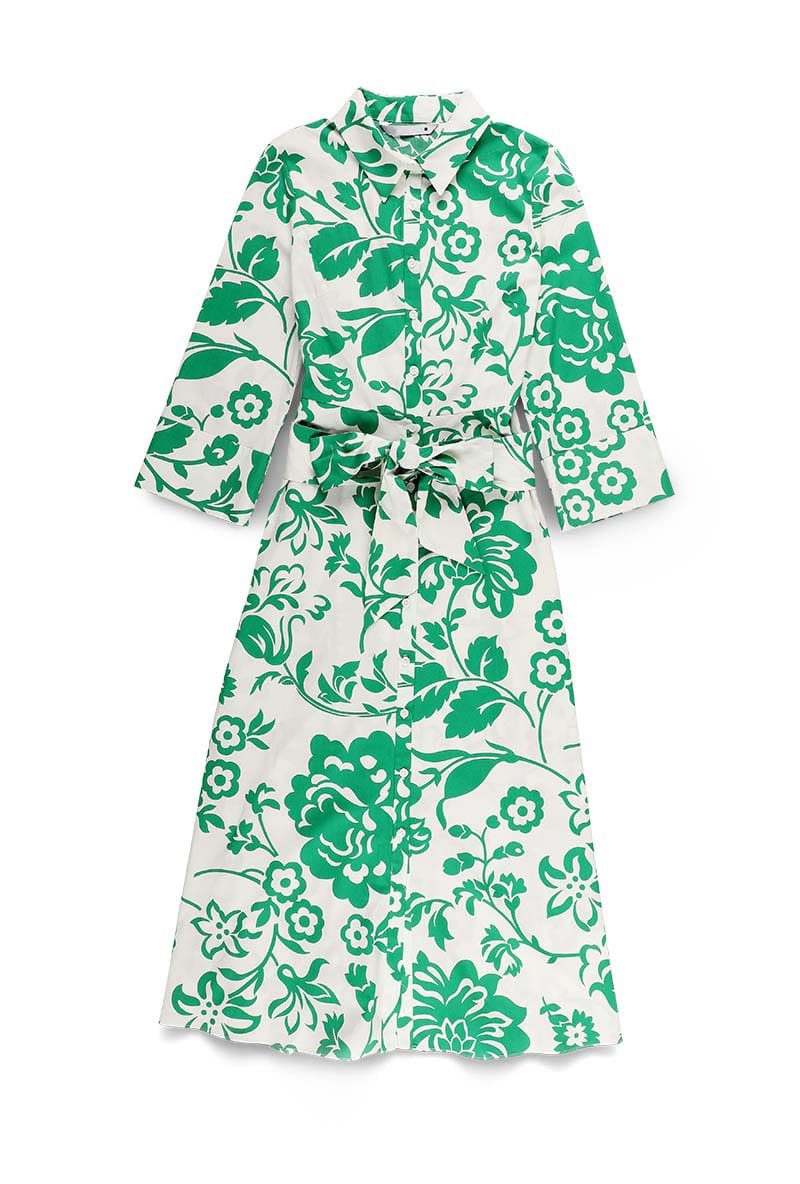
Flat lay as a solution
Photographing flat lay can be considered as a good idea for lower budget projects. It is simple and attractive and above all less costly. You shoot quickly with a good level of repeatability and do not need to employ models or mannequins. No studio needed and no contractors.
This last feature, however, is the main drawback of flat lay photography: the clothes lose the impression of three-dimensionality and may form unnatural shapes when laid flat. It will also be more difficult to give the impression of size without adding props and scales.
Starting tips for clothes photography
Mind the informativeness
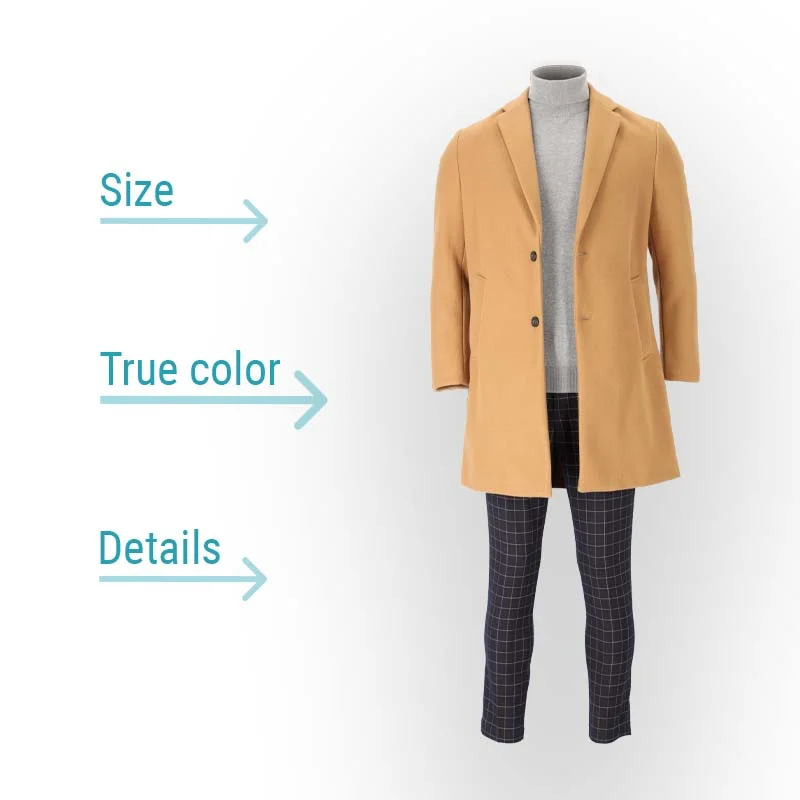
A good product photo of clothes will not lie. It will present the general look and the details of a piece just as they are. This refers to the color palette (beware of pumping it up for effect in post-processing), the texture of the material (think of professional lighting at a slight angle), and of course all the little details such as the zipper, the creases and the lacings.
Your one most important purpose when creating a packshot is to inform. It will be necessary not to refer to post-production tricks that improve the overall impression at the cost of faithfulness to reality.
What to do with the background?
The question whether to photograph with a background or rather aiming at its removal is an unavoidable one for all packshot photographers. We touched on this philosophical and technical topic in our article about how to remove background from a product photo.
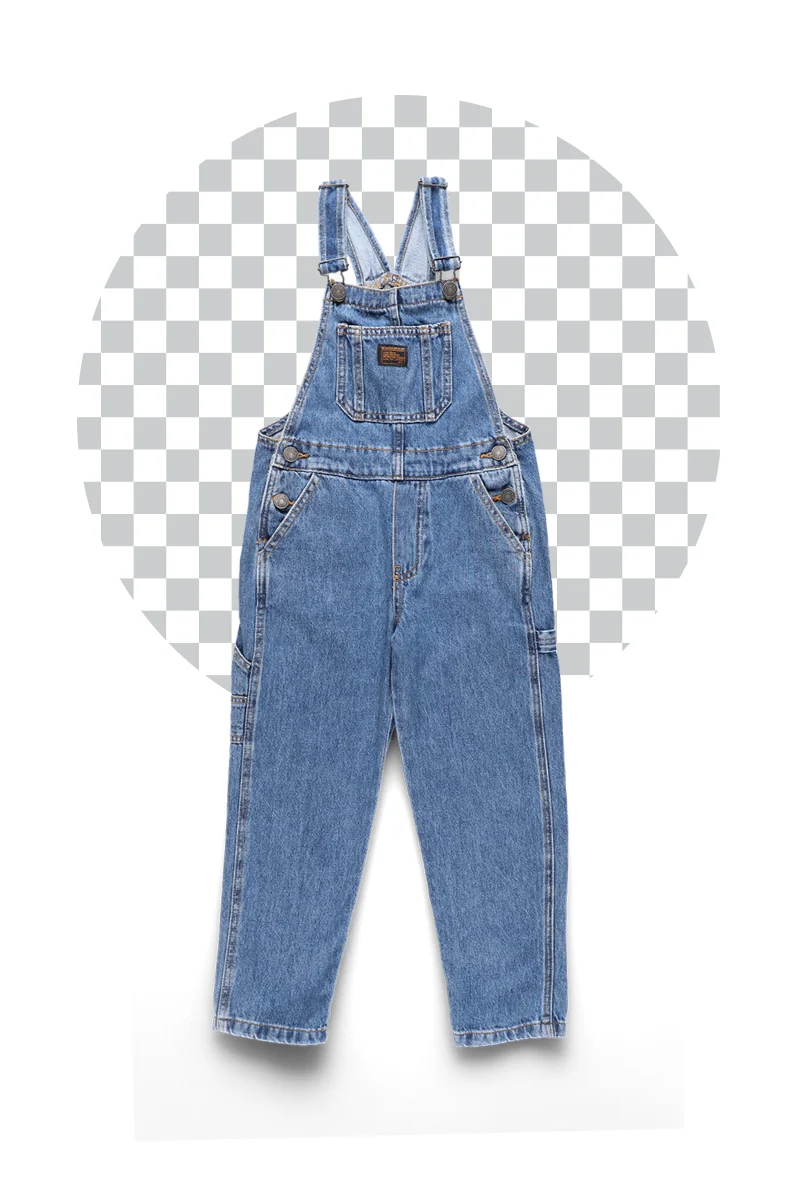
For garment photography, there is no one answer to the background question. However, you need to realize the risks that NOT removing the background will bring to the final photo:
- inability to focus on lighting both the product and the background. When setting up the lighting you need to choose a careful balance between the correct lighting of the product and the background. With the aim to remove the background, the choice is simple – you light the product first.
- contrast issues on the edges of the product. Shiny, glossy, and white products will lose the sharpness of the edges making them softly diffuse into the background. If you focus on lighting the product and then cut it – the problem disappears.
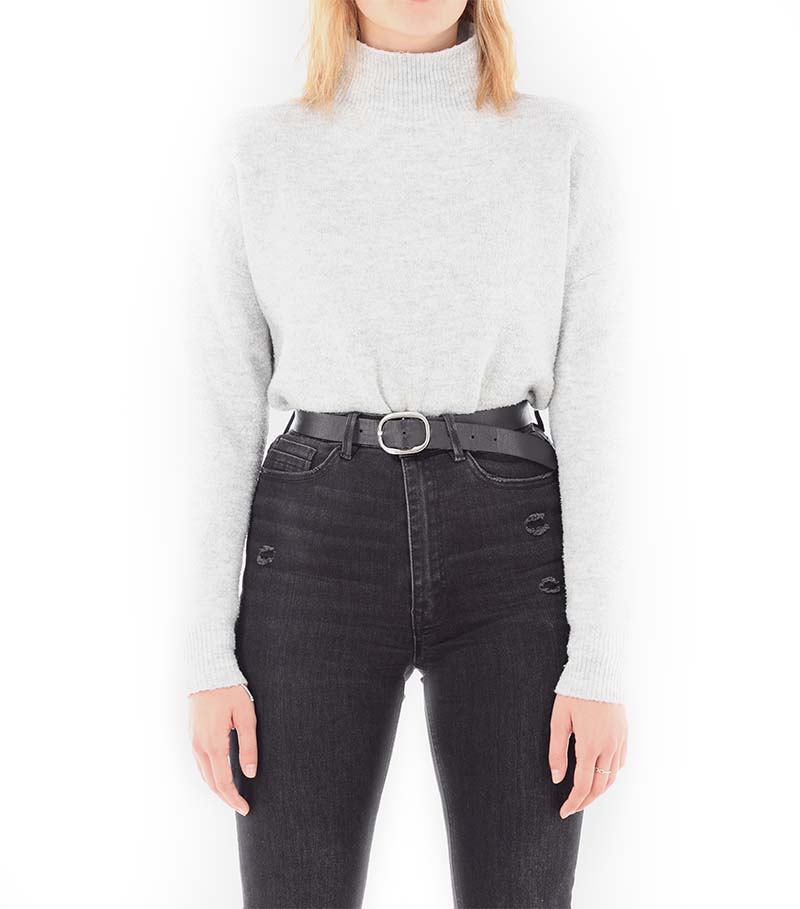
- difficulty to reach a clean RGB(255,255,255) background. Platforms such as Amazon or Ebay often require the sellers to use a perfect white background. Without careful post-processing this might be impossible to reach on a non-cut background.
- less versatility as to replacing the background with a colorful one or putting the photo in a catalogue. With clothes, you will very often need to place a photo in a context or use a non-standard background. In this case, there is no avoiding the clip of the product…
Packshots – categories of clothes photos
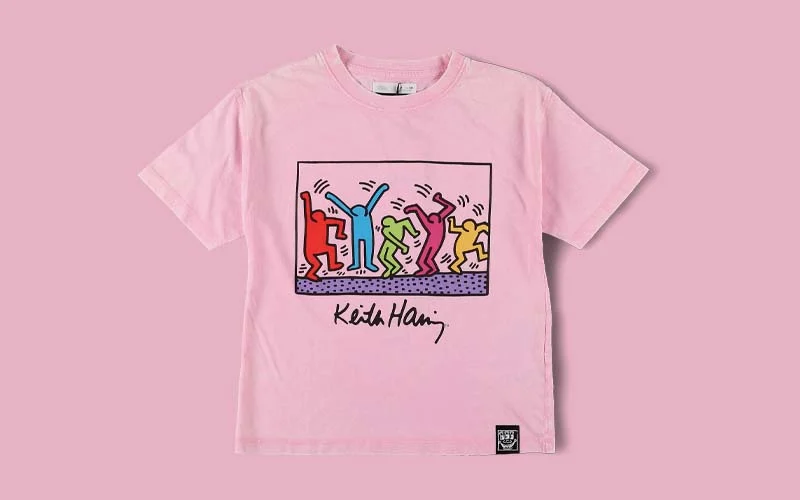
If your goal is to have a versatile clothes e-commerce business, you will consider the following categories of packshots to be included in your listings. We quickly list their advantages and disadvantages.
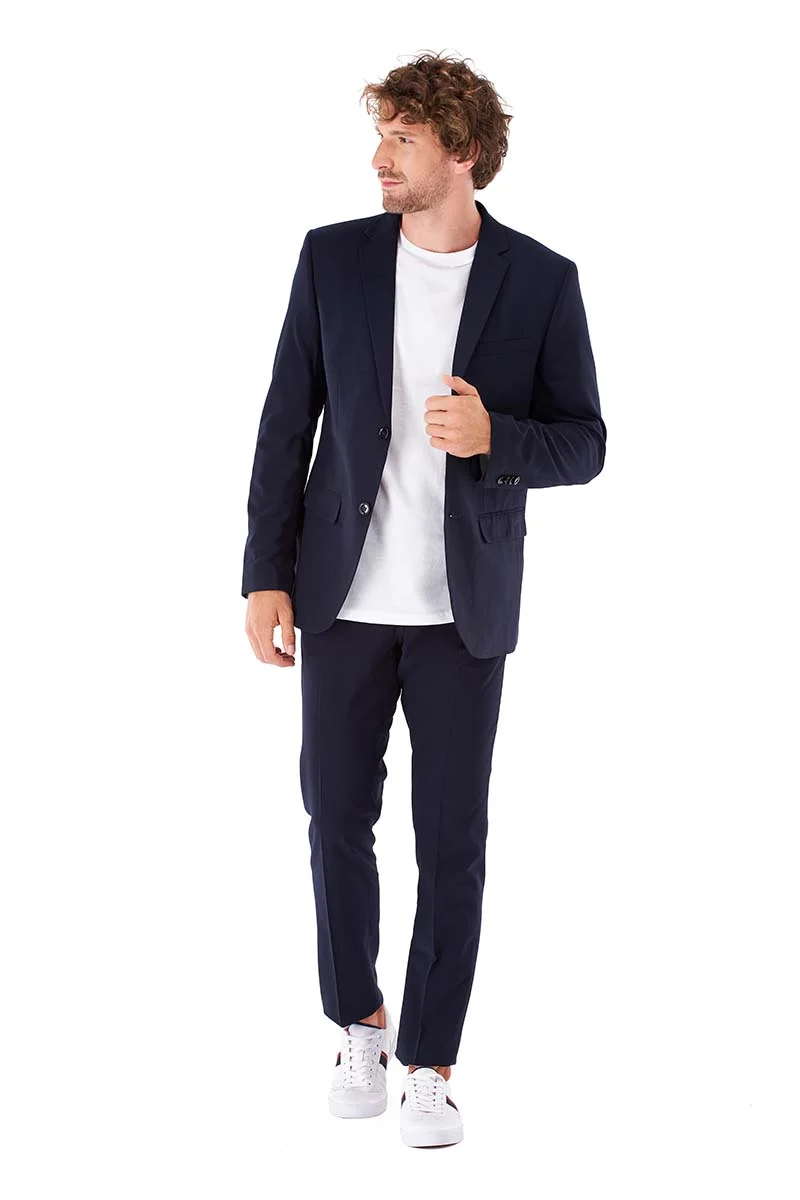
Live model photography
Presenting apparel in live situations or even on posing models will always have the advantage of illustrating the way material behaves on human body. The customer will see how it creases (questions like: “is this corduroy flexible enough?” will be answered) or flies in the air (“is the skirt light enough for summer?”).
What’s more, sizes will be displayed in proportion to human body, making it visible whether the sleeves are long or only elbow-long, whether the skirt reaches the knees, etc.
Live model photography will frequently be the deciding factor in your customer’s product journey.
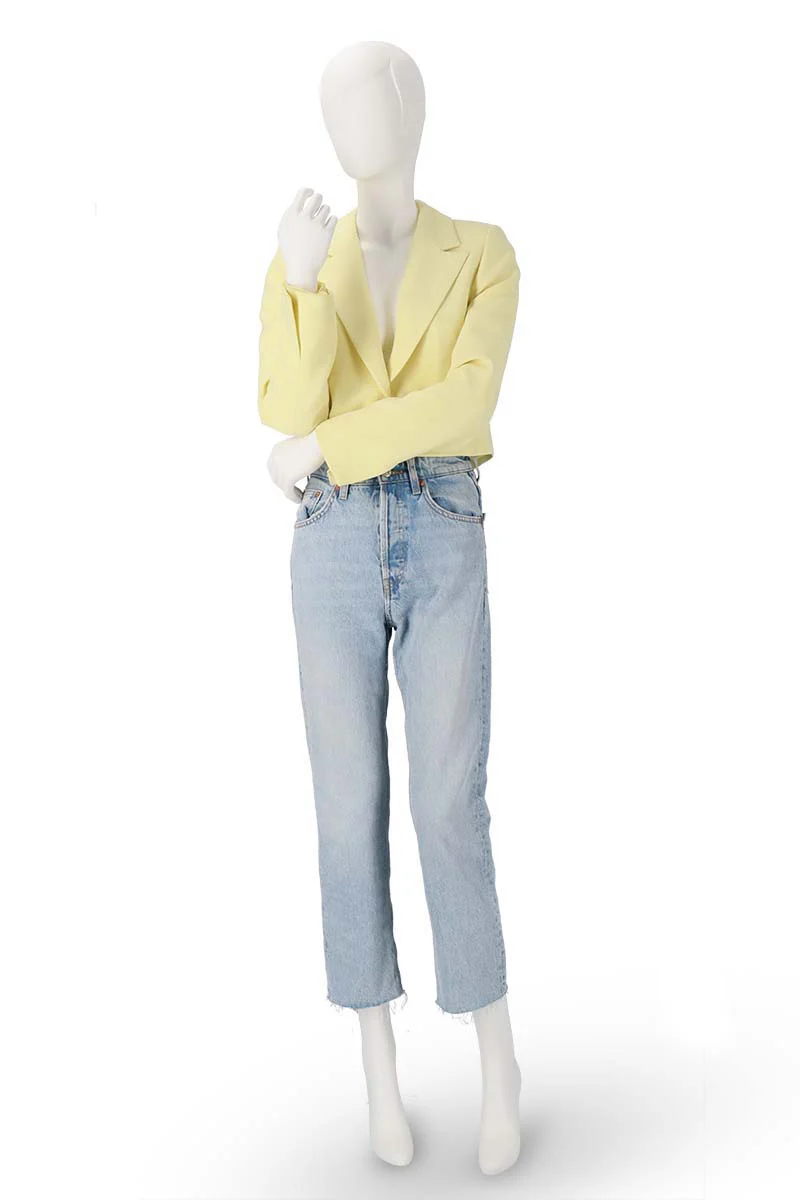
Mannequin photos
This style can serve as an alternative to presenting clothes on live models. A mannequin will answer the questions about size and creasing, however you will lose the additional information of textile behaviour in the move.
You also lose the chance to benefit from the attractive looks of the model and your presentation draws toward the “dry”, “boring” side. Still, this might be the cheaper way to achieve similar goals as with live models.
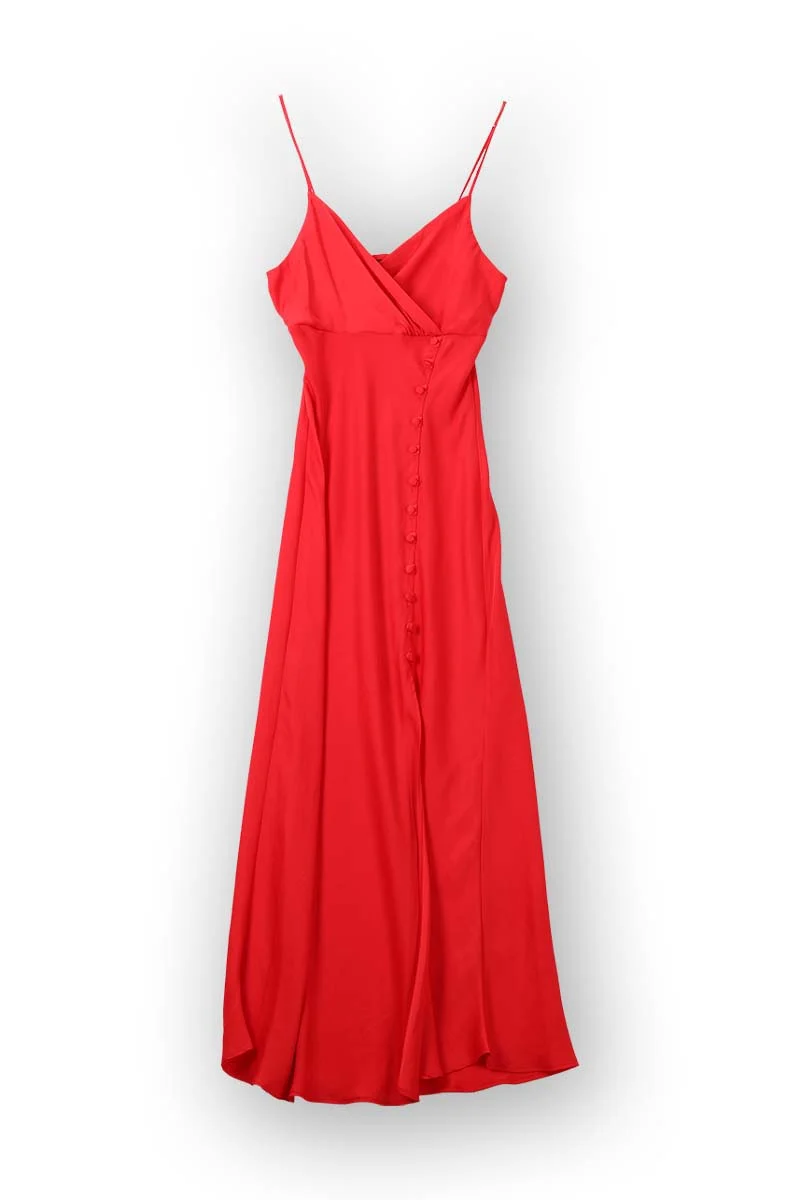
Ghost mannequin photos
Ghost mannequins are the same props as ordinary mannequins but with only a fragment of the body included. You can imagine a shirt or cap presented on a chest or head part of the mannequin figure.
Packshots of this kind are very popular in e-commerce apparel shops, as they allow the photographer to capture useful angles and close up on various fragments without movement distractions. Again, you gain some of the benefits of the human body presentation at a lower cost and less human resources work.
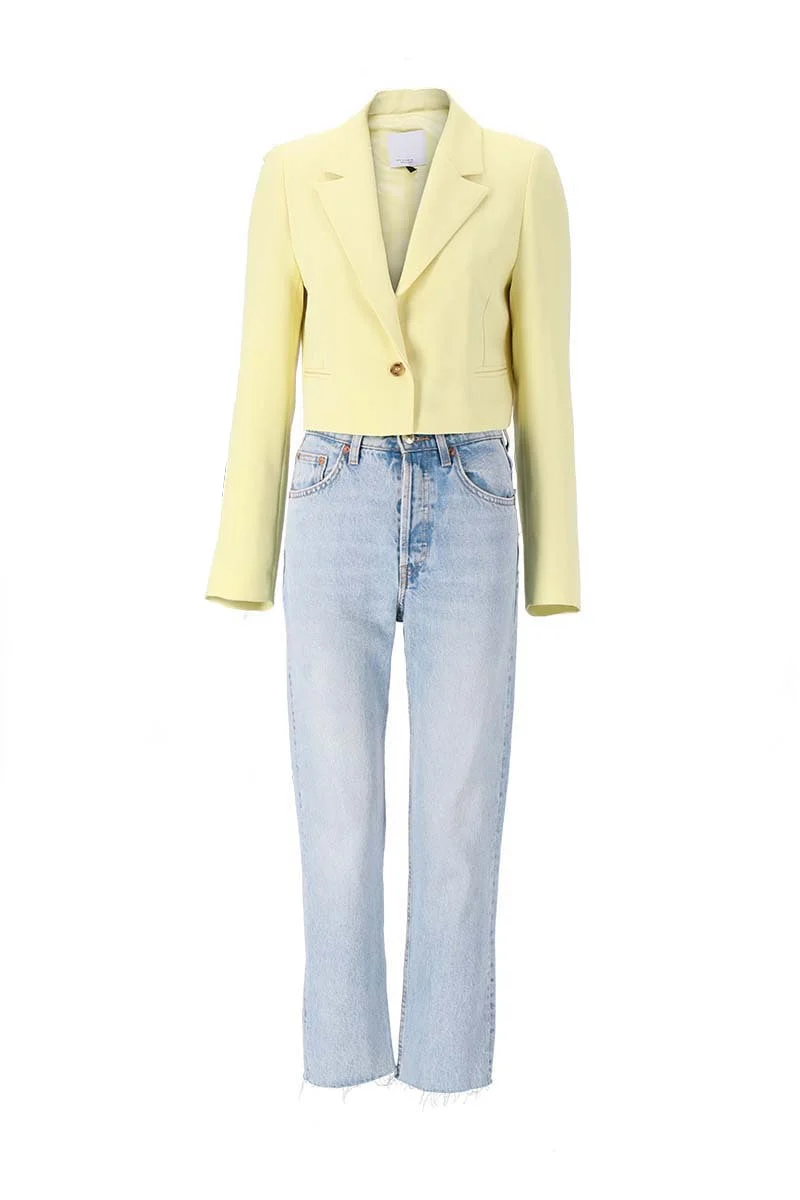
Flat lay photography
Flat lay is a common way of product presentation on social media and auction portals. It requires no additional props and only little product preparation.
Such packshots give a good general overview of the piece of clothing, however may lack information about its size and proportions. We described the best ways to flat lay photography in a dedicated article, where we touch on product preparation, shot angles, and camera settings.
Into rich media – a truly great online store
Recent trends in online marketing and e-commerce user experience have clearly revealed that users require more and more precise information about the product. So it is in the case of clothes: customers are aiming at a nearly live experience of the product. This trend has invited plenty of rich media, like videos and 360 degree spins, into online stores and it seems they are there to stay.
Rich media entails being able to see it from different sides, spin it, and look into its details with zoomed in shots. Virtual walks/presentations are gaining popularity, especially with finely finished and precisely built products like tourist garments or equipment. You should not forget about live model presentations for apparel, as it gives more information about the size and the general look and touch of the piece. You can refer to our guide on reducing the number of returns in e-commerce to get some useful tips on clothes presentation.
Isn’t it useful to be able to share a beautiful dress experience on social media in an attractive way? Posts that will keep the customer engaged for more than a few seconds and at the same time improve their knowledge of your brand and products? Again the answer is rich media.
Creating a full rich media experience for the customer can be costly and you will need to measure the benefits (like quicker and surer buying decisions) with the costs of producing a virtual tour or a 360 degree spin. Photography automation solutions can play an important role in this decision, as they allow one time investment for a significant reduction of all current photo costs.
More tips – make your apparel photography perfect!
To make your workshop of clothes photography reliable and productive you can use some general tips as to camera settings, studio lighting, and session organization. We collect many of them in our complete guide to product photography and throughout detailed articles about shooting various types of products.
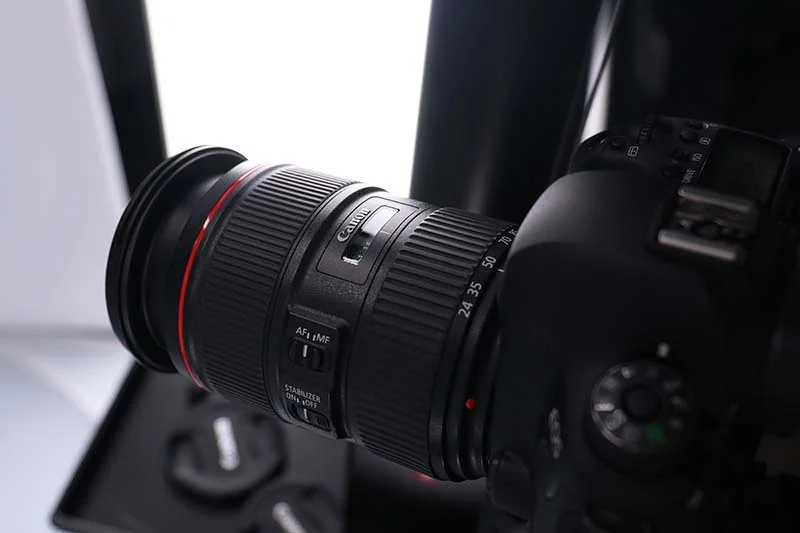
Keep the focal length at around 50 mm
It is recommended to photograph with a prime lens of focal length fixed at 50 mm. Due to the way lenses are built you can expect distortion to crop up at higher focal lengths making the products in the photo lose shape and seem bent.
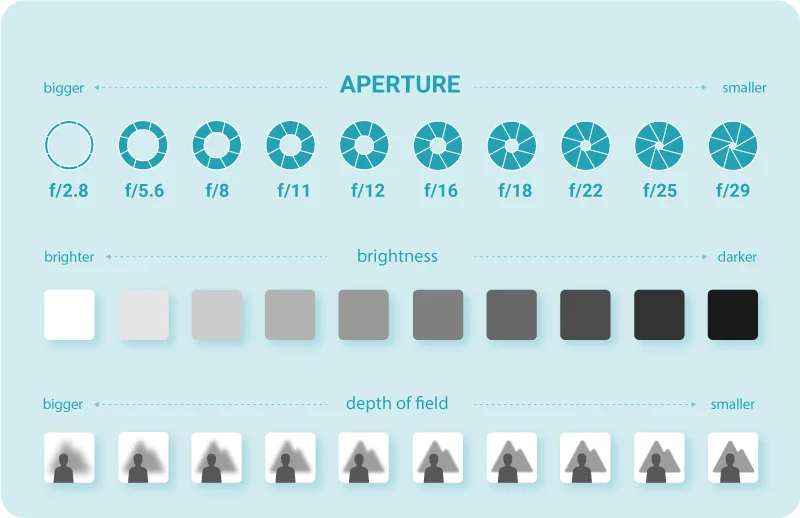
Keep the aperture at f/8 – f/16
Aperture values below f/8 and above f/18 do not guarantee the best possible sharpness of the item photographed. In general, lenses have a range of aperture values where they best render the image – check it with your equipment specifications.
Keep your ISO as low as possible
Lower ISO will mean less noise in the photograph. Your photos will avoid the grain effect at ISO 100 and this is the value recommended for shooting products. If you need to raise it due to programmed lighting effects, try not to exceed ISO 800.
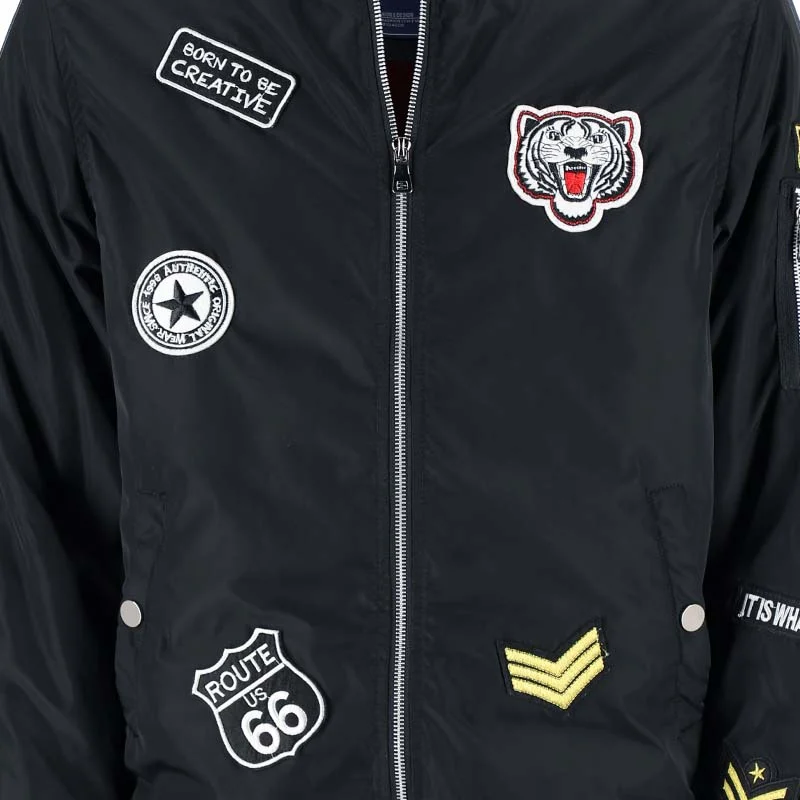
Minimal ISO
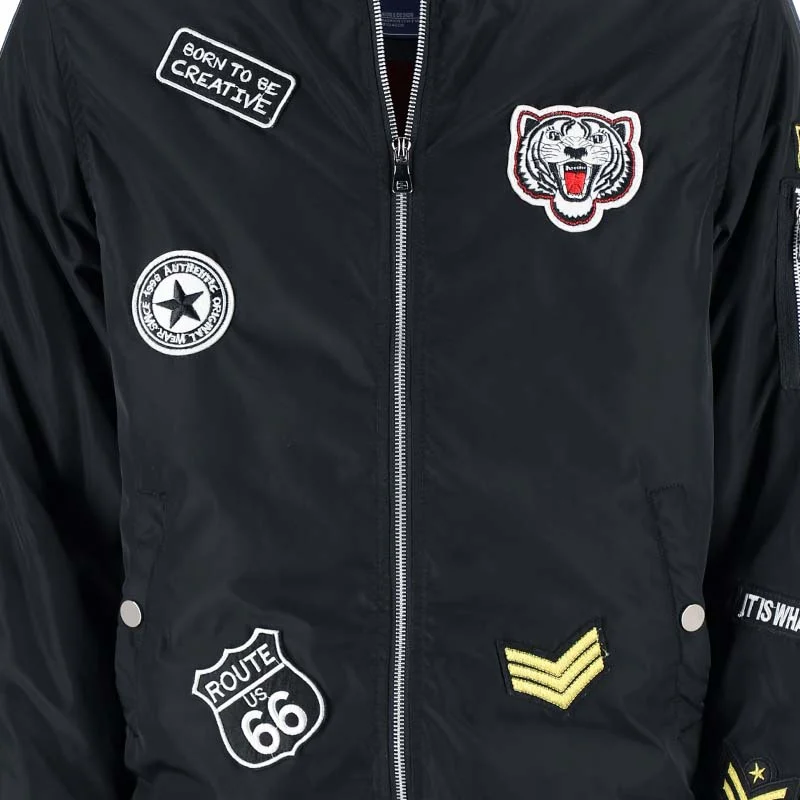
Maximal ISO
Use a tripod for lower shutter speeds
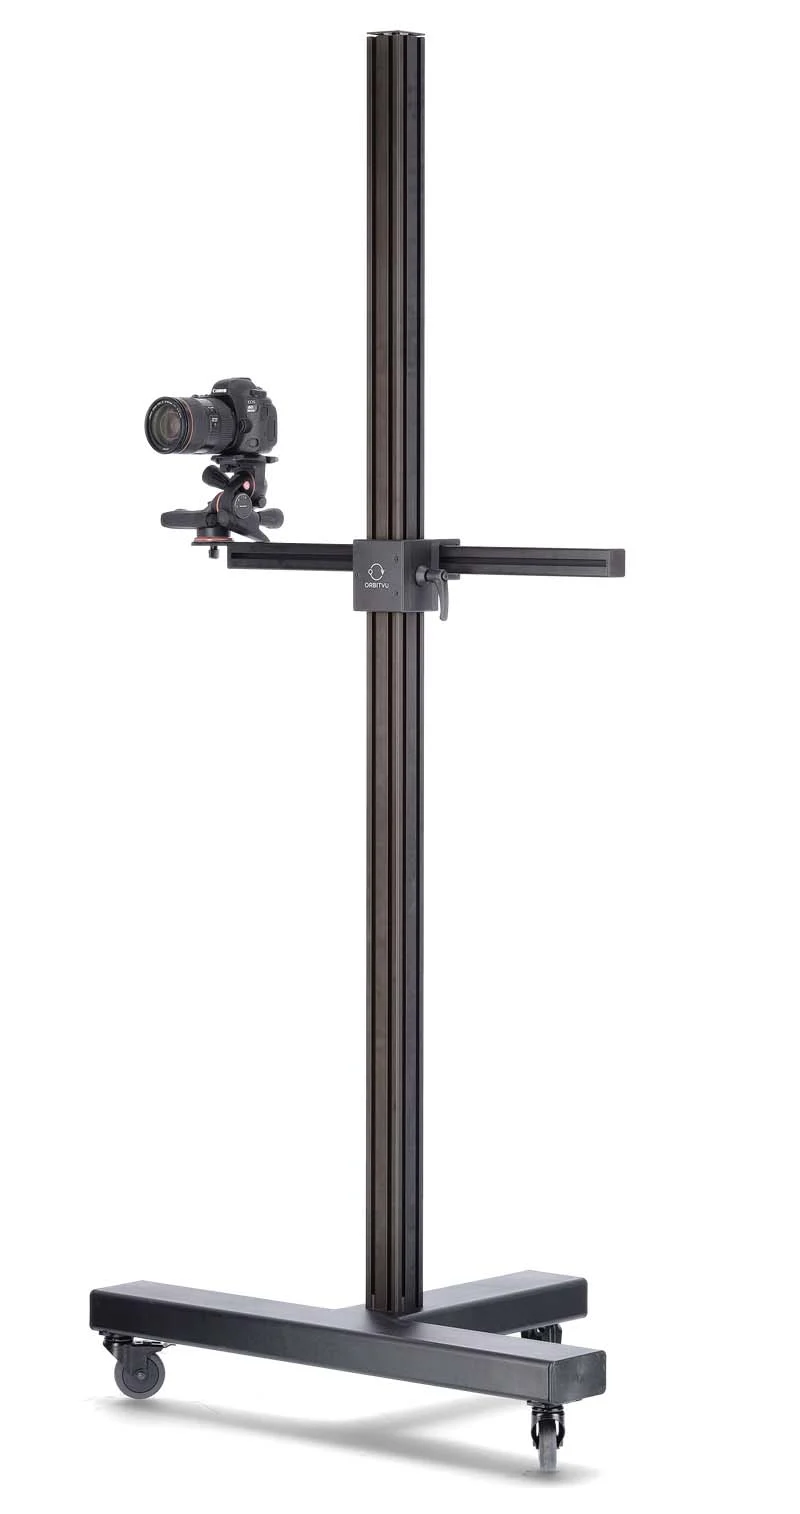
In the camera settings triangle (see the informative explanation in our camera settings article) you will often want to keep the shutter speed down (below 1/60 s), if you photograph with a hand-held camera. Tripod will come as a useful solution, if the lighting conditions require you to use longer shutter speeds. It will stabilize the image and guarantee the repeatability of angles.
Get the texture right with light manipulation
Setting your light up at a slightly acute angle will definitely help with exposing the texture of the product. Light at 90 degree angle, i.e. front light, reduces microshadows and makes the piece of clothing seem flat and smooth, while not always this might be the goal of the photograph.
A lighting kit with white diffusers will additionally soften the light and add personal character to your photo. Our tip is that you mind the light color temperature and white balance setting in the camera – they should be in line.
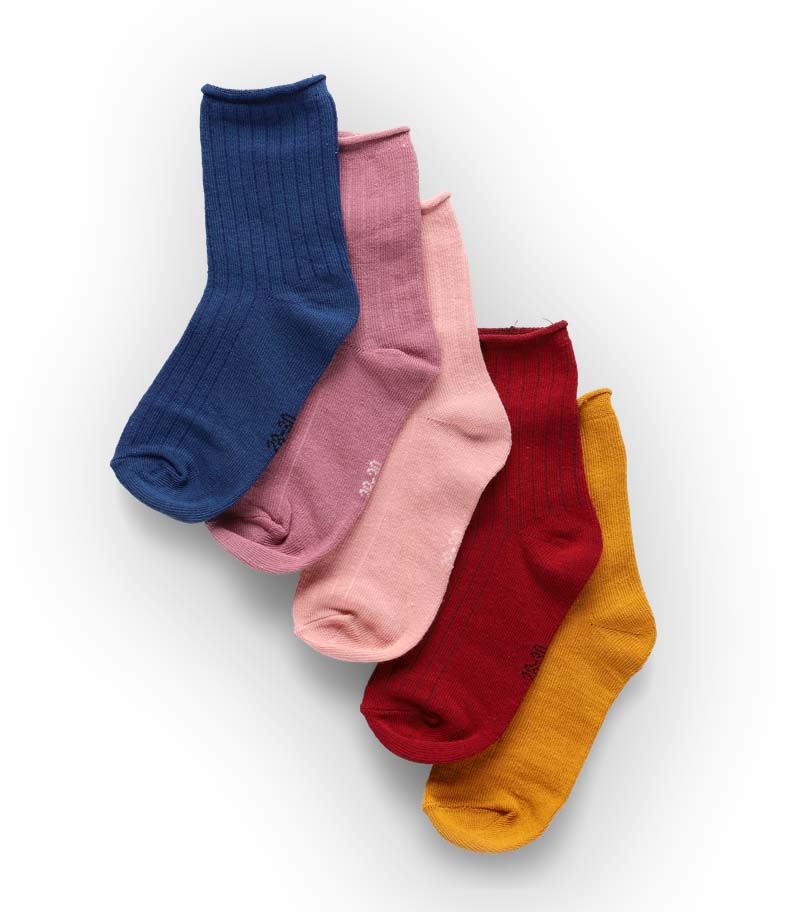
Reduce the shadow to minimum
When shooting with colorful backdrops it will be beneficial to manipulate the light in a way that the product will not throw shadows. This will pay off in the post-processing stage, if you intend to cut the product from the background, or simply give the final photo a more pristine look. Shadowless photography will also do a good job for close ups you eventually draw from the main shot.
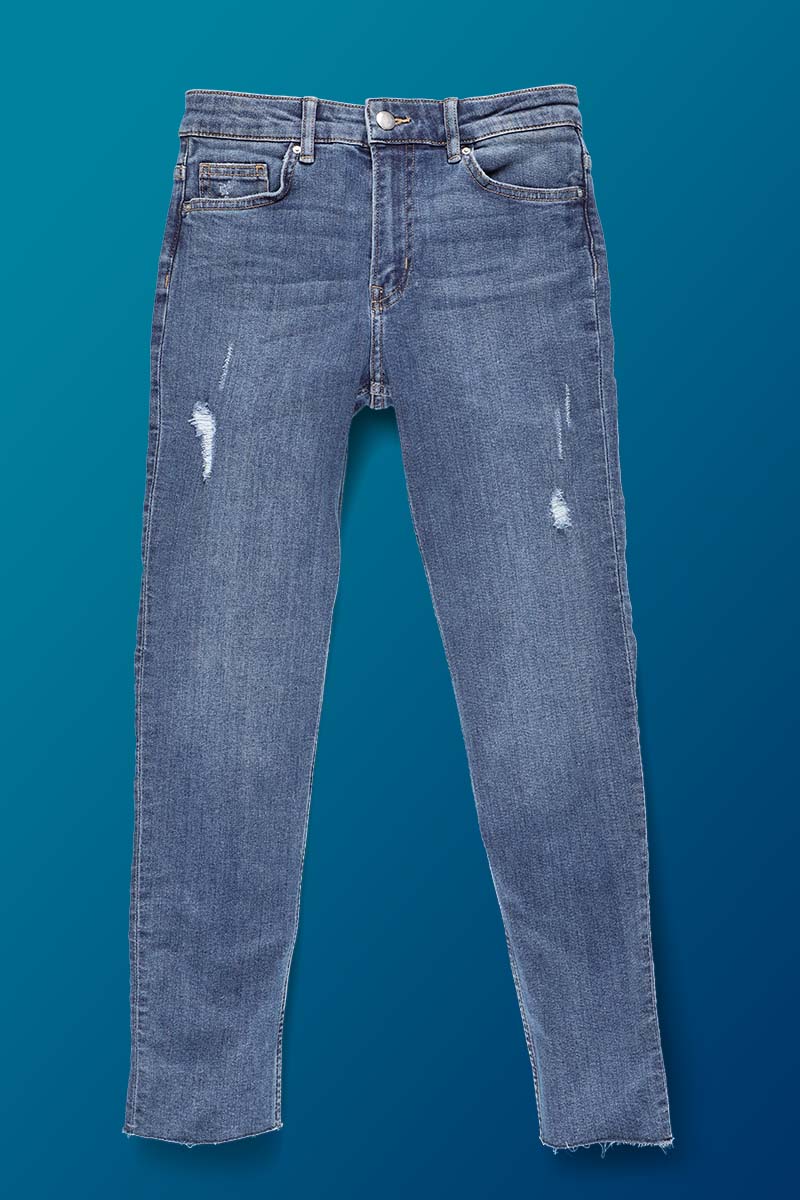
Unwanted shadows
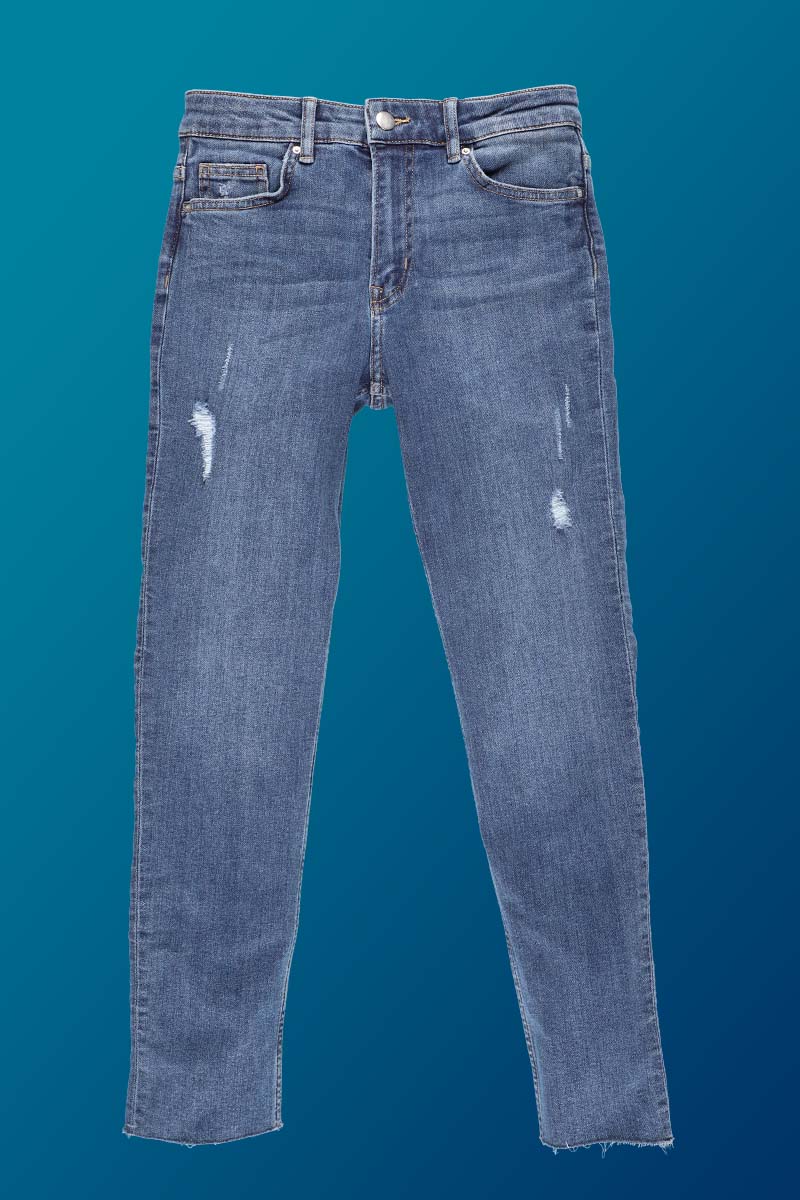
A clean packshot
The post-processing dilemma – how far shall I take it?
Digital photography allows useful paths to the correction of product photography imperfections. You can tend to the color palette, take care of the contrast, or remove spots from shiny surfaces.
Very often, as a retoucher, you might feel tempted to take the photo further than reality and show the better version of the product, right from the Photoshop studio.
In our article, on jewelry photography, we analyzed how much photo post-processing is just enough and helped you to learn your own limits. Treat this short set of rules as basic in deciding whether to use post-production enhancements and eventually how much:
- Does the item still look natural? Make the comparison between the real life product and its photo representation. When you discover that the photo looks visibly better than reality, retrace the post-production process and depend more on natural light.
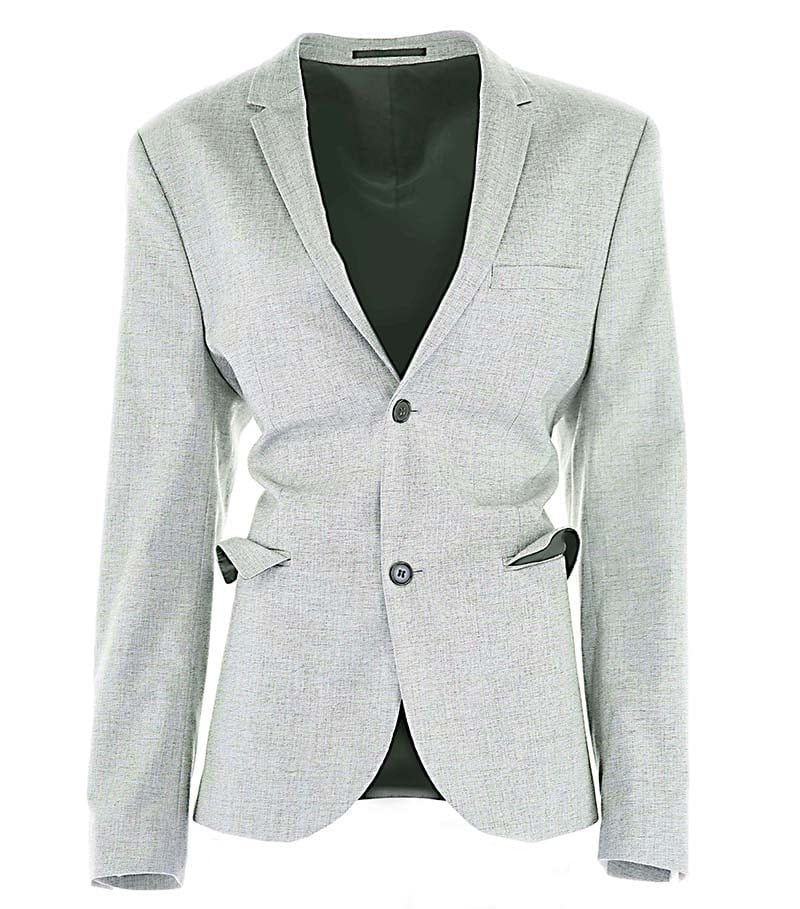
Too much post-processing
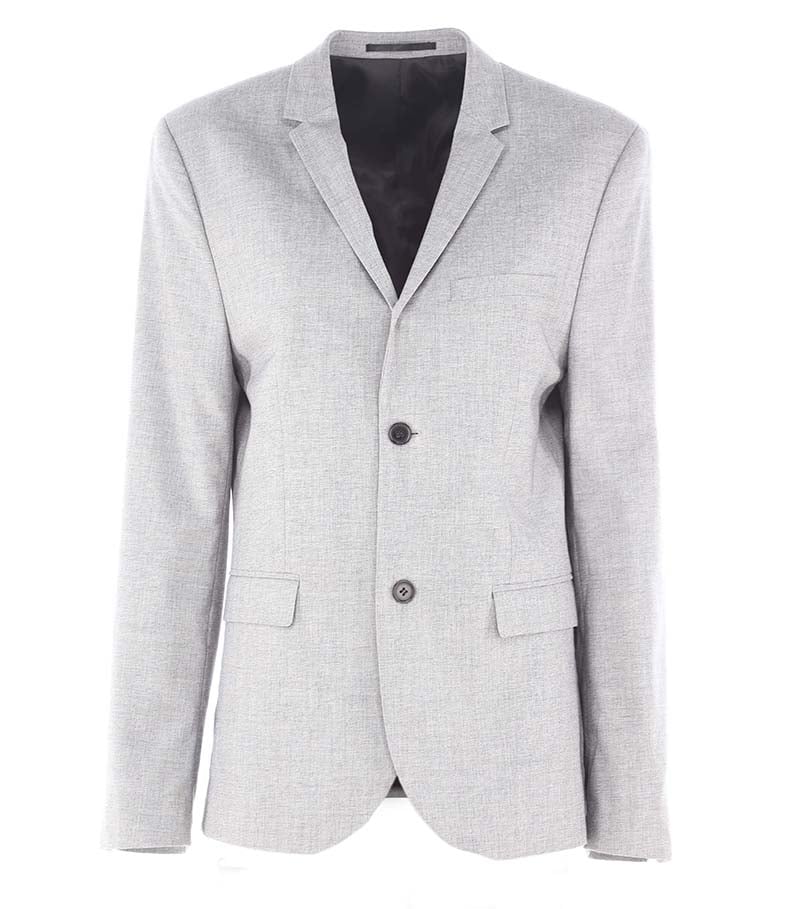
Optimal post-processing
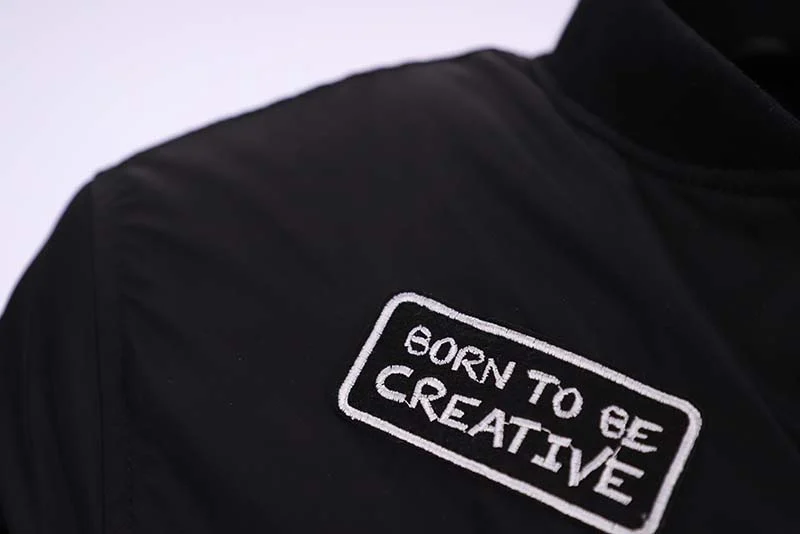
- Is the sharpness at the right level? Take a close look at the edges of your item and decide whether sharpening filters are necessary or the photo is naturally sharp. This will be easier with metal elements and with fine thread.
- Is the contrast satisfying? Sometimes the contrast level of colorful clothing is unsatisfying and you use filters to boost it. Or maybe you will be aiming at the reduction of the whitish fog around the edges of shiny items, especially when photographing without background cutting. Always mind not to overdraw the effect.
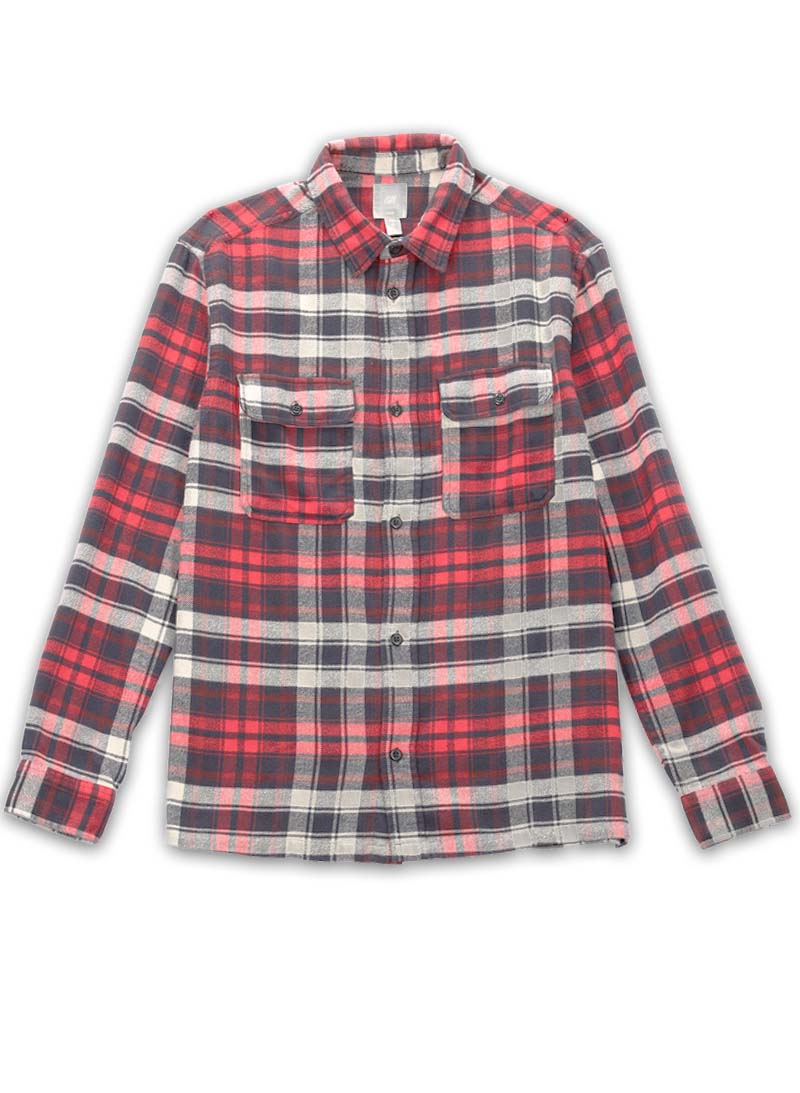
Contrast issues
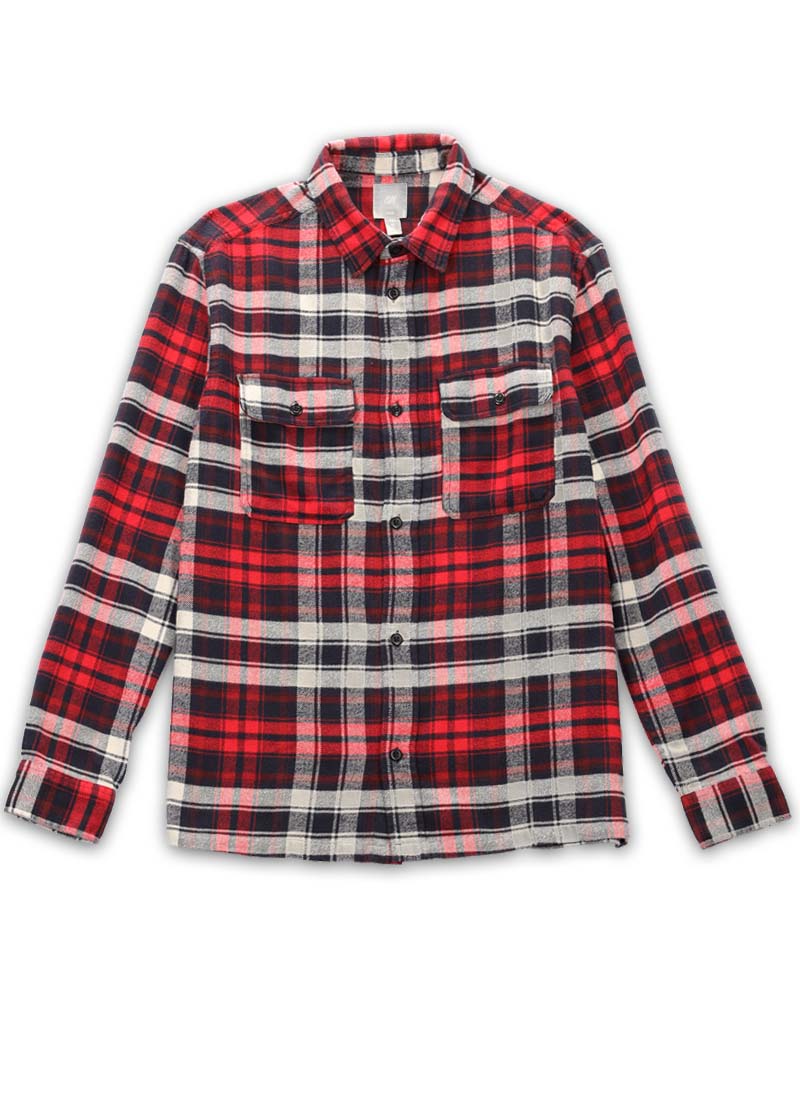
Correct contrast
- Is the color saturation at the right level? With saturation, the interplay is between attractiveness and informativeness. Different shop users and retouchers might agree on different levels of color correction but the general limit will be the truthfulness of the photograph (a quick visual comparison on a good monitor should suffice).
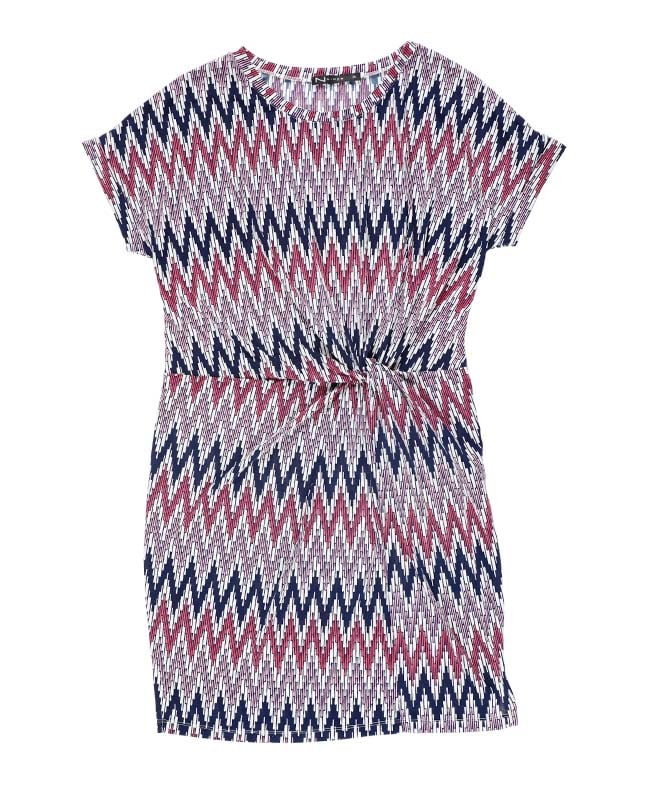
Correct saturation
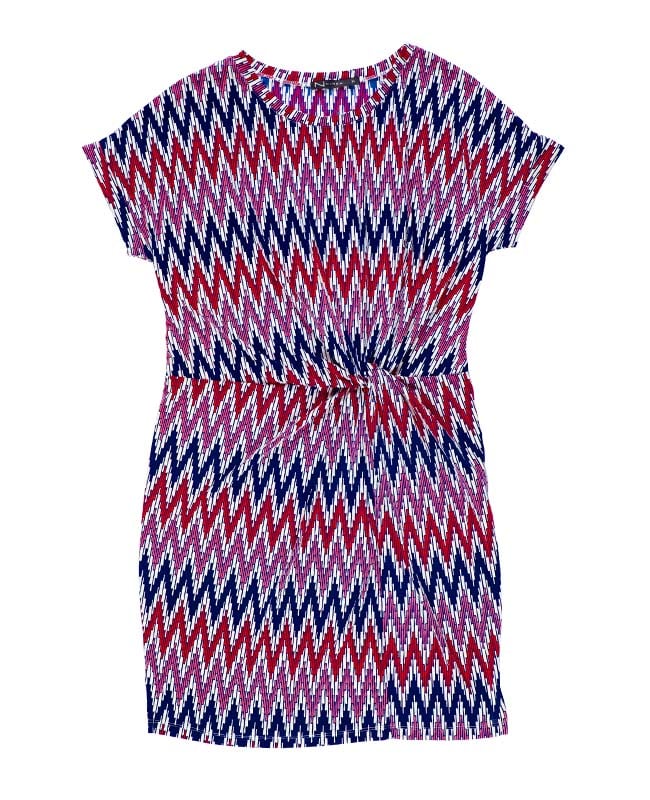
Saturation exaggerated
Final thoughts
You now realize that product photography is indispensable for an online apparel business. You probably have already chosen the path to an in-house studio or outsourcing.
With the resolution whether to shoot more in packshot or lookbook style, you will choose which approach to perfect more -precision or creativity.
In all cases, you will need to consider the application of rich media – clothes that can be spun and seen at close ups sell significantly more.
With our guide, you should have also learnt the limits for post-production of clothes images and memorized some useful studio setup tips.
Is this enough to start off your clothes photography journey in the right direction? Armed with patience, modern technology, and prepared to learn as you progress – you will cope.
Contact us
Contact us
Got questions? We'd love to hear from you. Send us a message and we will respond as soon as possible.
Products
Products
Articles you may also like
We all waited for the release of Orbitvu Station 21.2.0 “Fancy Biker” last summer. Now the software gets a revision edition i...
You walk, you run, you wear shoes. They are key products in a life full of movement. Anyone buying shoes online will know how...
This one trick has proven an extremely useful solution for product and portrait photography. It has recently been automated b...


