July 23, 2026
What is Orbitvu's AI OCR, and how does it work?
Meet Orbitvu's AI OCR: extract labels, part numbers, and product data straight from your images and turn it into structured metadata inside Orbitvu Station.
Learn how to take photos of shows like a pro, and boost e-commerce sales with this ultimate guide. Expert footwear photography tips and tricks. Start Now!
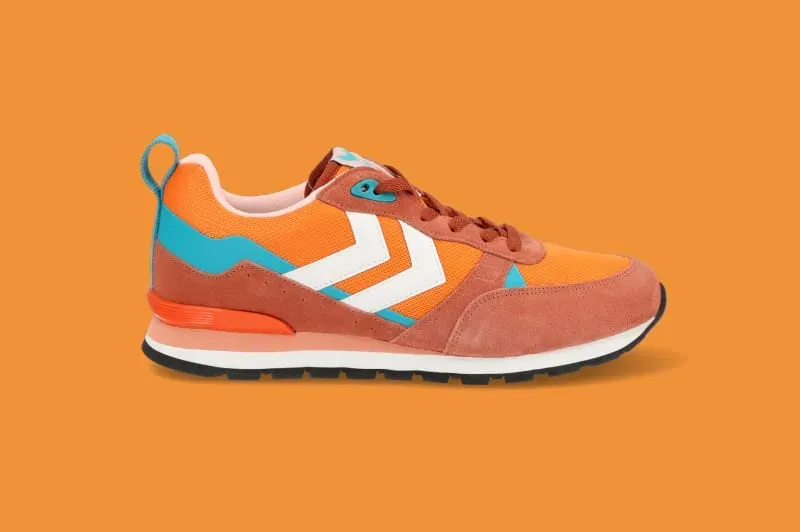
Table of contents
You walk, you run, you wear shoes. They are key products in a life full of movement. Anyone buying shoes online will know how important product photography is for making successful purchase decisions. For sellers, it will be important to show that their shoes are different from those of the competition and, as a result, boost conversions. In our quick guide on how to photograph shoes like a pro, we share with you photography tips to make your content look as professional as ever.
Shoe photography borders on both product and fashion photography. On the one hand, certain standards must be met. On the other, it requires creativity. As a result, you can create photos for online auctions and selling platforms with a uniform background or try to organize lookbook sessions with varied backgrounds and interesting surroundings.
Packshot
Depending on where they are used, both styles of shoe photography will prompt the potential customer to buy in different ways. Lookbook photography is meant to draw the viewer's attention and work as professional artwork by offering something new and interesting.
It can also act as a distraction – in an Instagram feed or as an online Google Ads advert. Have you noticed the new trend of marking shoe photos with the tag #shofie? It is exactly the lookbook-style photography that you will find collected under this trendy umbrella hashtag.
If you sell shoes via Instagram and social media, you wouldn’t be satisfied with a gallery full of stylish shoes with white backgrounds. Would you? You can assume your customers will have the same approach and be more inclined to buy if the presentation is attractive and vibrant.
A #shofie
A still life shoe photo
Platforms like Amazon or Allegro present a different challenge for footwear photography. Images with uniform white backgrounds and different angles (i.e., packshots) are among their requirements for a listing. There is little room for creativity.
Packshots of shoes also require neat post-production and background cutting. This involves drawing a clipping path in Photoshop or using the technologies described in our article about background removal.
Furthermore, shoes must be presented in an informative, neutral manner. Exposition of details, truthful colors, and visible texture will be key to shooting a good packshot of a pair of shoes.
You will need to consider special angles for exposing laces, logos, and material creases. Even light will help with general-view photos. For a clear texture presentation, you will apply light at an angle to create meaningful shadows. Very often, a top-view photo will be valuable to customers, so why not look from the bottom?
In footwear photography, it's important to maintain the repeatability of shots. If your shoes are photographed at similar angles, your shop will look consistent and professional.
The most common angles are the right-side view,back view, and 45-degree view. Additional photos will provide more information, and it's always worth considering introducing rich content, such as product videos, 360-degree spins, and virtual tours.
Back view
View from above
The look of your homepage will also depend on the main shoe images you use for the product pages. We can all agree that aset of miniatures with the same product shot is the best option here, just like in the example below.
Now, look at how low repeatability of shots can ruin the readability and aesthetics of a shoe gallery.
Achieving content repeatability requires both your photography technique and appropriate studio parameters. If you have a fixed photo studio, you're all set. You don’t move the lights or cameras, and with the support of lighting notes, you can establish a studio setup routine that ensures repeatability.
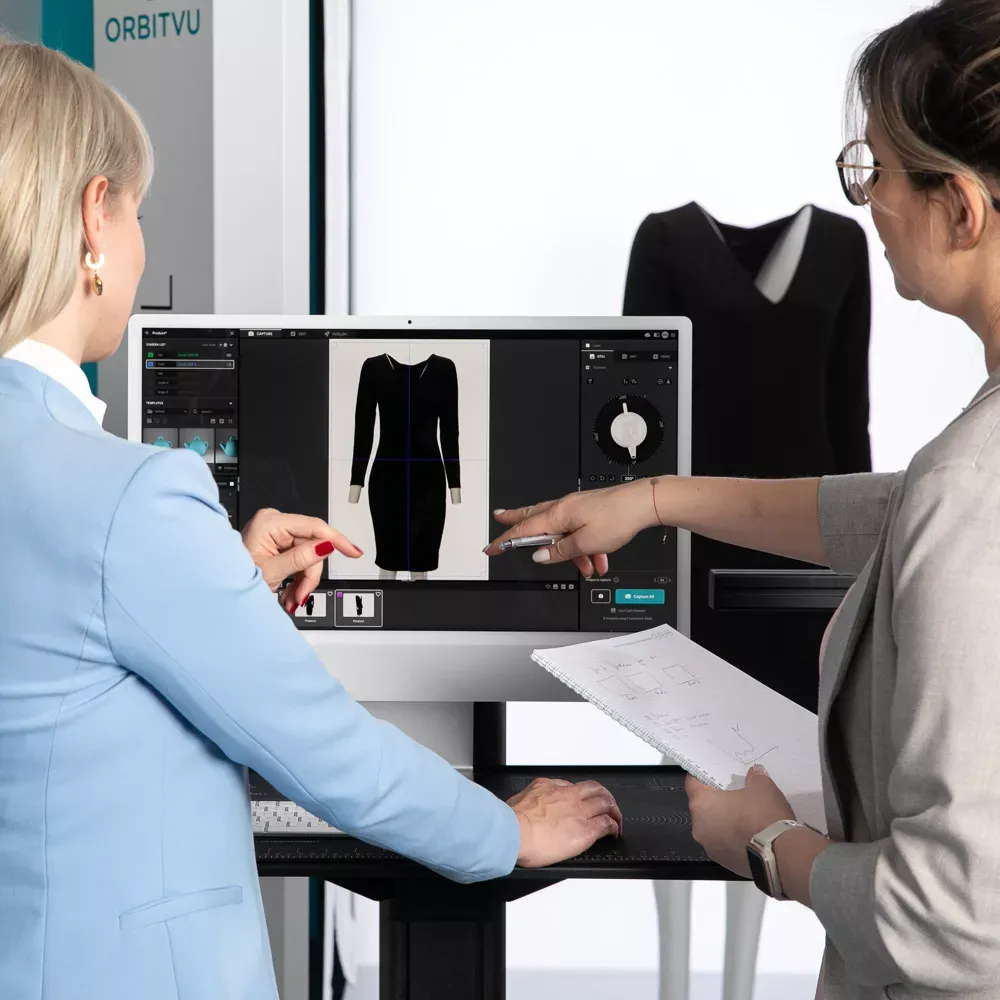
Another option is to utilize photo process automation. With Orbitvu, studio parameters (lighting, shot angles, post-production) can be saved in custom templates.
Photography automation will minimize the space needed for an effective setup and eliminate the need to remember the product angles if the studio has to be relocated. Want to streamline your shoe product photography? Simply add another automated studio, replicate the parameters with a few clicks, and enjoy the high repeatability of your shots.
Alphashot XL isan automated photo studio that produces stills, videos and spins for small to medium-sized products. Thanks to dedicated accessories and innovative software features, this solution will equip you with everything you need for packshots as well as creative commercial images!
Alphastudio XXL is a dedicated product photography studio for capturing middle-size and large products, including household, electronics, and clothes, on mannequins, as well as "live" models. Its size makes it the perfect option for a lookbook or lifestyle shots. Show it how your shoes look in motion!
The product you photograph should be prepared as best you can. Cleaning, polishing, and lint removal are a must for every item.
In the case of leather shoes, use shoe polish and make sure the object is attractively shiny. Suede shoes will benefit from a brush treatment so that their bristles are elegantly lined in one direction, best for photograph exposition.
Paying attention to details, like removing lint or spare threads, will pay off in perfect product presentation in the final photograph. If you have a whole batch of shoes at your disposal, choose the pair where the sole is most even and the lace holes most perfectly finished. Aim at the ideal and be ambitious – your photos will later entice more customers.
To make your shoelaces levitate in the photo, hang them freely on a transparent line (a fishing line will do perfectly!). Before you do that, build a simple rack above the shoe to attach the lines. For this purpose, you can use, e.g., a backdrop-hanging bar and two tripods. If you hang the whole shoe at its heel, you will get the effect of a walking shoe, which is another attractive presentation trick for your e-commerce.
A stand for headphones or a piece of thick wire with a base will help you place the shoe on the scene upside down. Try to photograph it from above. If you plan for more shots of this kind, attach the foot of a mannequin to a flat plexiglass plate/backdrop and use it for an upside-down shoe presentation.
The lighting you choose will be different for packshot and lookbook photography. Knowing the purpose and the final placement of a shot will define the light parameters you choose.
For packshot photography, we have four tips that will make light a little less of secret knowledge.
The light should be even and equally distributed to not dim any fragments of the shoe and avoid deep shadows. Set the lights both in the front and the back of the shoe so that your shoe heel is also well-lighted!
The light should be able to render the product's color truthfully. Think of keeping the color temperature of the natural light, around 5500K, and the CRI above 95.
The light should expose the product's texture so the customer receives the “near-touch” experience. Use double-side light and angles between 35 and 55 degrees for the best effect.
Avoid lighting the product "en face," that is, at a right angle. This will make it seem flat, and the shot will lose the whole “touch-and-feel.”
Before looking at the camera settings needed for a good footwear shot, you will decide which angles to choose. This means a decision about the focal length and camera placement must be made.
The optimum camera angle is usually between a very high and a very low position. Once you choose your angle, repeat it in all the shots. Below, we present the possible outcomes of different camera angle decisions.
The optimal focal length will stay in the region of 50 mm, allowing you to avoid strong distortion and minimize the lens limitations. In our article, we write more about camera settings for product photography. For now, let’s see what particularly relates to shoe photography.
It is worth noting that different aperture values affect the focus and depth of field of your photo. For shoes, the usual lower border on the aperture value of f/11 will be beneficially raised to f/14, while the upper limit stays at f/16.
To keep the whole shoe within focus, you will not need to use a higher aperture, forcing longer shutter/ISO speed or more light. Most probably, the focus stacking technique, which we covered in the article on jewelry photography, will also turn out unnecessary. That is because footwear is usually an item large enough to stay in focus at larger distances between the lens and the object.
The ISO speed should stay as low as possible, keeping the value of ISO100 as the golden standard and setting the shutter speed accordingly.
A tripod is recommended for shot repeatability and to allow the use of longer exposure times (like 1/50 or 1/30 s) with no risk of blurring the photo.
You have set up the light sources to maximum strength in your studio and the shoe photos still have dark areas? Confused? It might be worth trying to lower the power of lights and make use of the tripod to decrease the shutter speed. Feel free to manipulate the camera settings within a reasonable, non-extreme level.
A topic rarely discussed in shoe photography tutorials is how to take photos of shoes with a white background. Our dedicated article explains how to cut the background. We also provide a basic tutorial for Photoshop tools that might help you with this task.
Here, we want to stress that product photography with no background removal poses risks such as:
For white-background shoe photography, you will need the right equipment solutions. These include plexiglass tables, tents made of white cloth, and lightboxes. Plus, in case you want to diversify the background, a set of colored and textured backdrops.
<!--/--><![CDATA[/ ><!--/ <!--td {border: 1px solid #cccccc;}br {mso-data-placement:same-cell;}--> /--><!]]>*/
A shadowless plexiglass table
Manipulating the lighting in the session and contrast settings in post-production can lead to overburnt areas on glossy shoes. Also, a loss of sharp edges can happen in the final photograph. In all cases, the background cut solves the issue.
Contrast loss
It will be difficult to create an ideal RGB(255,255,255) background. Lens vignetting, unwanted item shadows, and overburnt areas are all risks you will face. If you cut the background from the final picture, you can easily replace it with any color you choose. You also improve the chances of repeatability when the products in focus change.
Non-uniform background due to vignetting
When setting up the lighting for a shoe scene with no background cutting in mind, you will have to decide where to put the lighting focus: on the product or on the background. It will not be possible to reach perfection in both areas at once, leading to either a badly lighted product or a non-perfect white background. Again, a simple cutting of the product might remove the issue and keep the focus of the light on the item.
Considering these limitations, you might want to use editing software, outsourced background removal services, or automation to make your packshots crisp and customizable.
No background removal, overexposed product
Background removed, correct exposure
Shoe photography shares all the tricky requirements with other branches of product photography, perhaps adding the need for a spark of dynamism in its lookbook version.
When photographing shoes to make them look their best, you must consider repeatability, lighting, and camera settings. Editing and post-production also require attention.
Online buyers will appreciate galleries full of similarly set-up shots, while Instagram followers will look for inventiveness, dynamic experience, and lifestyle options. The best way to learn lookbook and packshot shoe photography is to follow the creative masterminds and build your own experience.
Automation will help you with consistency as well as boost your workflow and speed up the time-to-market. Feel free to contact us - let us show you the power of automation for footwear photography.
Use the form to tell us what you are planning and what kind of product content workflow you need.
July 23, 2026
Meet Orbitvu's AI OCR: extract labels, part numbers, and product data straight from your images and turn it into structured metadata inside Orbitvu Station.
July 15, 2026
Meet Orbitvu's AI Masking: automatically remove the background from product photos in high resolution, right inside your Orbitvu Station workflow - no design skills needed.
July 14, 2026
Meet Orbitvu's AI Retoucher: automatically remove reflections, correct colors, and clean up imperfections right inside your Orbitvu Station workflow.