June 12, 2026
A Complete Guide to Flat Lay Fashion Photography in 2026
Learn how to shoot flat lay fashion photos in 2026: setup, lighting, camera settings, post-production, and marketplace-ready exports.
Learn to photograph jewelry like a pro with our top 10 jewelry photography tips. Improve your product images, attract customers, and boost sales. Read Now!

Table of contents
Whether you are new or already a practitioner in jewelry photography, you may already know that it is one of the most difficult branches of product photography. Slowly, as you move on in your journey of hundreds of jewelry shots, you are faced with plenty of technical questions and difficult choices. We are here to guide you on how to photograph jewelry like a pro with our series of practical tips.

We will pay attention to the product itself, the camera settings and the studio setup. You will find answers that will start you on a sure path in jewelry photography. We ask questions such as:
Before you set off, let’s understand the difference between traditional and automated photography and how it may influence your approach to jewelry.
Jewelry shot at its best – gemstones and gold together in the game!
The traditional way to shoot jewelry would be to assemble a relevant traditional studio setup, organize the session and then engage in advanced post-production to obtain a maximum of product sharpness and pure white background.
If you wish to present jewelry in an attractive, more sophisticated way, you will aim to have the product cut from the background. This will allow you to place it on colored backgrounds of your choice or use it in a catalogue composition. On the other hand, the needs of e-commerce, like quantity and informativeness, suggest pure white background. White or colored background, still life or packshot, the traditional product image production requires precise knowledge of lighting manipulation, a good understanding of the interplay between the camera settings and the studio setup. In most cases, you also spend hours on photo editing software to deal with the small depth of field or background cutting.
A traditional studio set
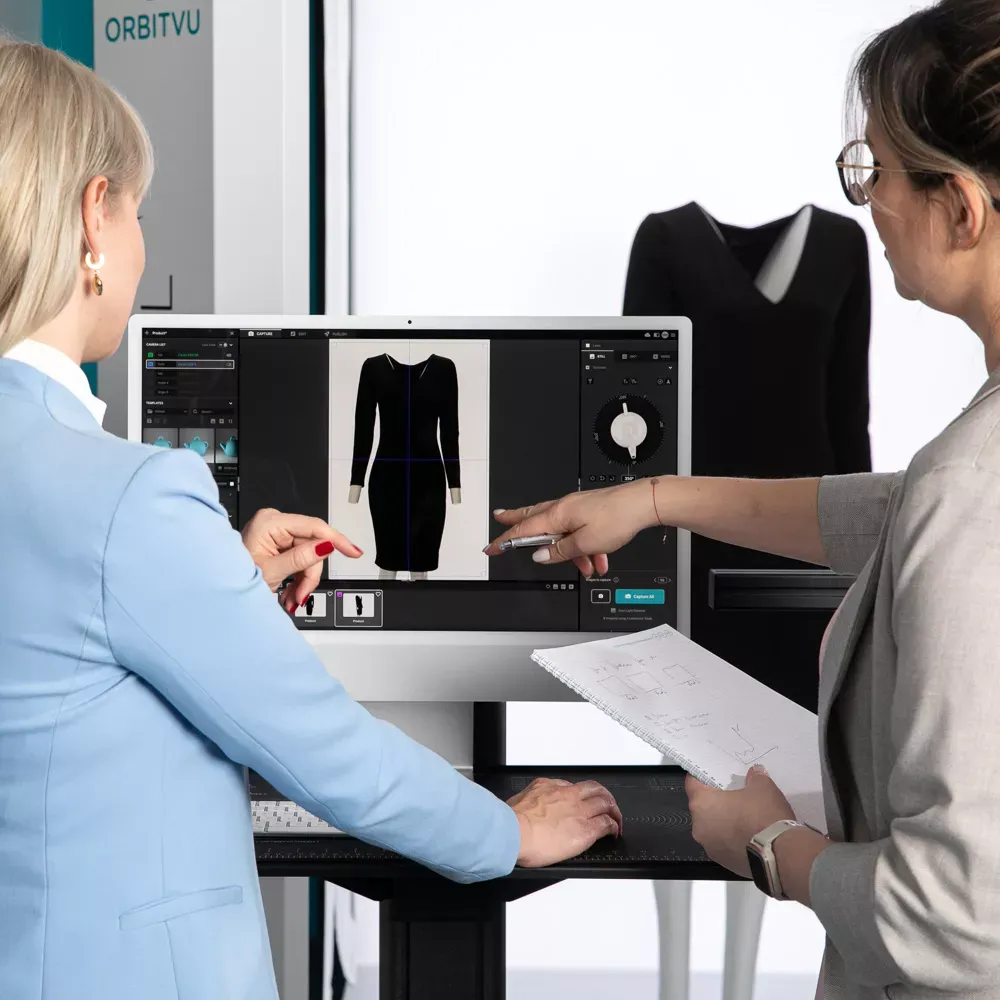
As an alternative, the automated approach involves a pre-set photo studio with a streamlined workflow of shooting-publication. Devices from leading manufacturers provide templated lighting and a rotating stage. This comes together with control software, which offers all the basics of post-production. The background is cut automatically through masking, while the super-focus option takes care of the depth of field.
Whether you decide to embrace traditional or automated jewelry photography, much will depend on the scale of your needs and factors such as the desired throughput, time-to-market or price-per-photo.
In both cases, you will encounter similar challenges at the level of the photo session. Let us break them down to a manageable list that will help you to become a jewelry photography pro.
Alphashot Micro Pro v2
TIP:How to get a fully sharp product?
Shooting a small product at a close distance between the lens and the object causes the resulting photograph to lose the depth of field. In other words, the ring or a bracelet is not sharp at its full extension.
This major problem of jewelry photography is remedied by the focus-stacking technique applied in the post-processing stage.
First, several photos are shot consequently with changing focus so that it covers the whole item in stages. A tripod is necessary to keep the camera focus steady. Next, the photos need to be combined in photo-editing software by an operator to produce one clear and sharp image of the object.
It takes precision, skill and time but guarantees the sharpness and informativeness needed for e-commerce jewelry photography.
Focus stacking technique as applied in Photoshop
Automated solutions offer a significant improvement to this workflow. The shooting of the differently focused photos is programmed automatically (the user can control the number of steps) and, most importantly, they are juxtaposed in the controlling software in an intelligent process that produces ready images.
Low depth of field and focus on various depths – photos ready for focus stacking.
TIP:How to prepare jewelry for images?
One of the most annoying features of jewelry photography is the visibility of all the shortcomings of the product when it is shot at a close distance. All tiny scratches, fingertips and fuzz become prominent in the final photographs.
A way to fight that can be found in the right preparation of the product before the photo session. Follow these four simple tips to achieve the cleanest product possible:
TIP: What kind of background for jewelry?
It is customary in e-commerce to present jewelry on a uniform background, whether colored or white. The key requirement for the background is that it should stay neutral and not draw focus away from the item. The customer will be expecting the highest possible detail rendering level and the background will be there to expose it.
Two methods to achieve that can be considered. First, you can choose backlit white Plexiglass backgrounds such as those offered in studio shooting tables. White paper backdrops can also do the job to a satisfying degree. However, direct white background photography is extremely challenging, as it runs the risk of contrast loss on the item. The backlight falls straight into the lens to produce an unwanted foggy impression around the edges of the product (the overexposure effect).
Second, you can dedicate less precision to background color/uniformity and cut the product in post-processing. You will then be able to paste it onto a full RGB(255,255,255) background or use any color of your choice without losing contrast on the item surface. This method will generally serve better for jewelry, as glossy surfaces and reflective gems often come into question.
This is exactly where automated photography solutions gain the upper hand with their automatic background removal based on intelligent masking. You can read more about the various ways to a pure white background in our dedicated article.
The product was cut.
The product was not cut – overexposures.
TIP:Do I have to use a macro lens for photographing jewelry?
Most of the equipment challenges of jewelry photography will lie in the lens and the sensor of the camera. We decided to address four most characteristic questions.
It is recommended to shoot jewellery with a macro lens. What you need to pay attention to is the magnification ratio of the lens. We wrote more extensively about this parameter in our “Best lens for product photography” article.
In short, small objects should be thrown on the sensor of the camera at a good magnification, at least keeping the same size they represent in reality. Look for a magnification ratio of the lens that starts at 1:1 and goes higher. This will be a reasonable guarantee to obtain detailed photos of jewelry in a high resolution.
A macro lens (left) and a standard lens (right)
The size of the sensor of the camera remains closely connected to the type of the lens used. Two most popular sizes of the sensor are Full Frame and APS-C.
Assuming that the aperture and the field of view are the same, an APS-C sensor will render a higher depth of field than a Full Frame one. Depth of field is of key importance to shooting small objects and thus when using a full-frame camera you might be more reliant upon the focus stacking technique we wrote about. APS-C sensors armed with dedicated lenses will also require a larger distance from the objectto keep the same field of view compared to Full Frame. This may play out as an advantage in some jewelry photography studio setups.
Full-frame
APS-C
Tripod will be a necessary accessory in a traditional studio setting. It will allow the choice of higher f-stop values of the aperture and a lower ISO speed. The result will be more depth of field and less noise in the photograph.
Tripod or a stable mount will be indispensable for the application of focus stacking, as the field of view needs to be identical for all the consecutive shots to be later combined in one. This cannot be achieved with hand-shot images.
Furthermore, attaching a cable release to the camera will keep the set immobile while pressing the release button. At manual release, micro-vibrations might influence the focus of the photograph and reduce the benefit of a tripod.
The recommendation for inbuilt lens or camera stabilization is to keep it OFF at all times.
If the camera gyroscope senses micro-vibrations, it might initiate the stabilization process, slightly modifying the autofocus point of the photo. This may be the cause of incorrect functioning of the focus stacking technique, as it needs constant focus.
Keep this simple detail in mind in order to save time on your macro jewelry photography – photos with stabilization ON and focus stacking might turn out to be incorrectly focused and cause delays during the session.
TIP: What aperture f-stop value should I use for jewelry photography?
The recommended aperture f-stop value for product photography is somewhere in the mid-range of the lens. It usually means f/11 or f/13. You will then obtain the best focus parameters of the camera-lens set.
At the same time, shutter speed remains less important as in most cases you will be using a tripod, which eliminates the risk of movement-induced blur in the photo.
As for ISO speed, the general recommendation to keep it as low as possible remains valid. This setting is responsible for the amount of noise in the photo, which grows the ISO speed. It would be most beneficial for jewelry photography to stay at ISO 100 or ISO 200.
To achieve a higher depth of field, you may feel tempted to use aperture f-stop values such as f/22 or f/32, depending on the lens specification. This, however, may not deliver the desired result, as the distance between the camera and the object is relatively small and the object itself often measures just a few centimeters. You will still see the rear parts of the item as blurry and out of focus.
Here, again, is where focus stacking comes to help you. When it is used, you can safely rely on mid-range aperture f-stop values. To learn more about the best camera settings for product photography refer to our ultimate guide.
TIP: What is the best lighting setup for jewelry?
The best light for jewelry photography has two characteristics: it is diffused and never too strong. You should try applying it from the front or at a slight side angle. There will be items which can benefit from light sources above.
What remains key, is to photograph in shadeless environments such as white-cloth tents or automated studios. This way, you prevent any additional source of light from causing unwanted reflexes and influencing the parameters.
Lamps with light diffusers
TIP: How important is colour for jewelry photography?
As a starting point you need to control the color temperature of the light you use for your jewelry photography setup. Check this parameter for every lamp you use and make sure it stays the same across the whole set. This will allow for the repeatability of the shot, especially when you decide to use strobe lamps.
The photo below presents an example of mixed light color temperature applied from two sides of the product – a situation you should aim to avoid.
Warm light (from the left) vs Cold light (from the right)
TIP: How to control reflections on jewelry photos?
For shooting jewelry, various light diffusers for the light sources will come in handy. Diffused light will treat the shiny surface more gently, reducing the number of reflexes and overexposures in the photograph.
Soft light
Hard light
If you photograph gemstones, adding attractive light reflexes that highlight their structure is what you might be looking for. Snoot light diffusers would be the solution in a traditional studio. Automated studios (such as Alphashot Micro Pro v2) often deliver additional directed spotlights.
Point light
No point light
TIP:When to apply post-production and how much?
Before setting off to apply post-processing touches to your jewelry photos you need to answer the basic question: how far can you move with the improving of the shot so as not to lose its faithfulness to reality?
The answer will stay subjective but five directives may be useful in approaching the decision:
Photographs that give a false impression of the product will increase the risk of returns in your e-commerce. When in the product there is LESS than meets the eye, you will know that post-production effects need to be reduced. Read what we share about effective prevention of returns in e-commerce in a special article.
Intensive polishing of the surface in post-processing can lead the item to look unnatural and not exactly like a photograph. Hold your “repair” post-production when the photograph gets closer to a software render of a digital model than a photographer’s effort.
Natural, no post-processing
After intensive smoothing
In most small jewelry photographs you will apply the focus stacking technique to ensure full sharpness of the item in question. Using sharpness tools in post-production software might also turn out to be useful for minor corrections. Your aim should be to achieve the most detailed and informative representation of the product. Do not hesitate to expose all these engravings and inscriptions that the ring might bear.
Contrast manipulation, especially in case of “no-cutting” white background photography, has the risk of losing the colors on the product. Reduce the whitish fog on shiny surfaces as far as possible and beware not draw the light areas of the item into overexposure.
No contrast manipulation
Contrast improved in post-production
Highly saturated colors have become a popular feature of social media photography. Customers are getting used to intensive and appealing colors and they might expect them in product photography. Your task is to answer this need with post-production and keep the informativeness of the photo at the same time.
Natural saturation
Too much saturation
TIP: How to remove scratches on the jewelry?
The simplest way to remove scratches on an intended smooth surface is to use the Photoshop tool which you find in Filter > Noise > Dust & Scratches.
Removing scratches in Photoshop
The disadvantage of this simple filter is that it slightly blurs the entirety of the photo, just as in the example below. As an alternative, however one that requires more Photoshop knowledge, you might try to remove all the imperfections manually with correction tools. The precision of such a solution is much higher but consumes an operator’s time.
How an intensively applied filter changes the photo…
Photography is a journey of light and mind. To shoot perfect jewelry photographs, stay aware of the light you use and keep an eye on how your camera tracks it.
It will be an adventure of plenty of adjustments, innumerable corrections and lessons learned. Jewelry product photography will be difficult due to the small size of objects and very reflexive surfaces. We hope our tips serve you as a base to start with. Enjoy the progress.
Together with you on this journey, there will be studio equipment and devices that were created just for the perfect shot. Whether you choose to work traditionally in a studio or go for the cost-effective way of automated solutions, jewelry will stay a challenge.
The good news is: it is possible to make it manageable with knowledge and technology.
Use the form to tell us what you are planning and what kind of product content workflow you need.
June 12, 2026
Learn how to shoot flat lay fashion photos in 2026: setup, lighting, camera settings, post-production, and marketplace-ready exports.
February 18, 2026
Learn how to photograph antiques professionally - from manual techniques and the right gear to automated product photography solutions that save time and deliver consistent results.
February 6, 2026
Discover how automated photography transforms museum digitization, industrial quality control, and product documentation, delivering consistent and scalable results.