A complete model photography guide
Model photography is simply more than just photography. With the first session you arrange, you are in for a world of extra-photographic conditions. You will deal with human models and the weather is never controllable. Even if you have mastered light, camera settings and exposition, expect that a surprise will come to pose a spontaneous challenge in the least expected moment. We invite you for a deep dive into model photography, where we will have a look at both interpersonal and technical aspects of this difficult trade.
A complete model photography guide
Preparing for you modeling photography session
The moments you spend on laying out the aims and plans for a session with models will never be wasted. Good planning, paired with clear goals, will save you plenty of time and unnecessary misunderstandings.
Assuming you have a product in mind and have just set about organizing a session, you need to tend to a few questions. Do it well and your work will be easier later.
First, define what you want to show. At what kind of photos you are aiming? Is the model themselves the main theme of the session, as in portfolio photography, or maybe the clothes or accessories should be the highlight?
Second, do not forget to plan the shots you want to achieve. In most cases, you will have requirements clearly set by marketing or PR purposes and the content of the shots will be pre-planned. As good as a level of spontaneity may be in modeling photography, you need not forget why and for what kind of photos the session is held.
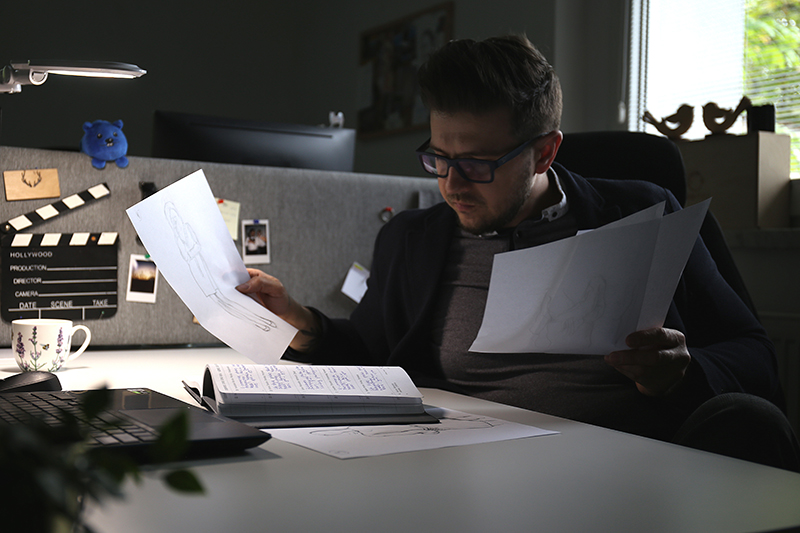
Storyboard, a solution from video filming, might be a helpful solution for drafting what should find its way to the photos. In it, you will be able to sketch the consequent shots or prepare notes describing the approach and content. Among questions to cover you will find the focal length, the need for close-ups, the lighting parameters, and the movement of the camera.
Although storyboards were designed for motion pictures, they perfectly fit in the role as session-organizers for bigger model photography projects. If you have a set of inspirations for your photographs, either from the staff or the client, do not hesitate to print them out and include them in the form of a grid.
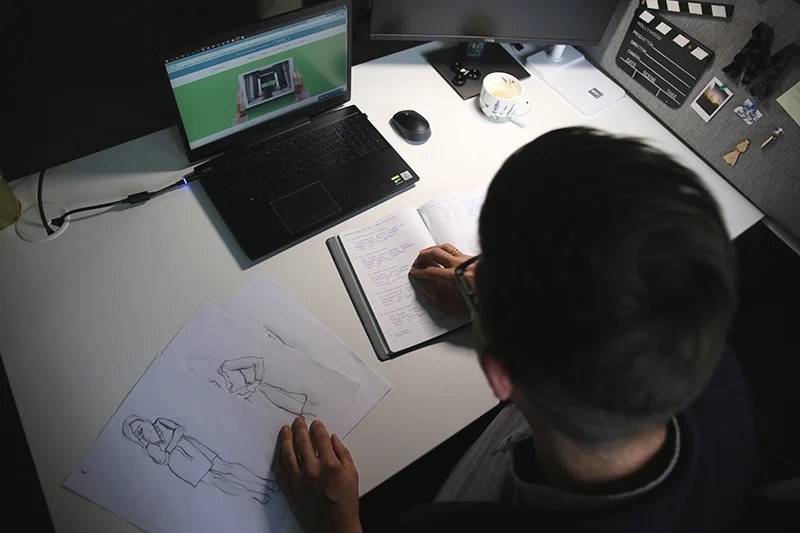
Quite naturally, it is not recommended to copy someone else’s work but using it as a source of inspiration and tips for your own purposes will come as an invaluable help.
Third, you need to ask yourself: “what can surprise me during a model photo session?”. Would it be props necessary for a shot that weren’t taken care of? Or maybe the presence of a stand-in model in case of illness or unavailability?
A plan set out this way, step by step, will ensure that you cover all the goals of the session and will handily serve as a standard to keep your work up to. Questions like “is it all done?” or “why haven’t I foreseen it?” will have no place at the end of a shooting day.
Types of model photography
Basically, there are two ways to photograph models for business purposes. They differ in goal, sometimes in their setting, and in the key highlight of the photographs.
The first type of model photography is realized during lookbook sessions. A lookbook is usually organized around an idea – to showcase a model, a line of clothes, or a photographer, to bring out the most of some beautiful settings, to illustrate the fashion for a season. Lookbooks aim at only a general level of information and much more at impressions that photographs make.
To organize a lookbook session you will need to pay attention to relations between the photographed items: which clothes fit together, which accessories add the desired edge to the photo, and how various items work with the given surroundings. Think of a session of suits shot high in the mountains or female elegant dresses in an industrial suburb. The same missed effect would be achieved with irrelevant props or a model dressed incongruently.
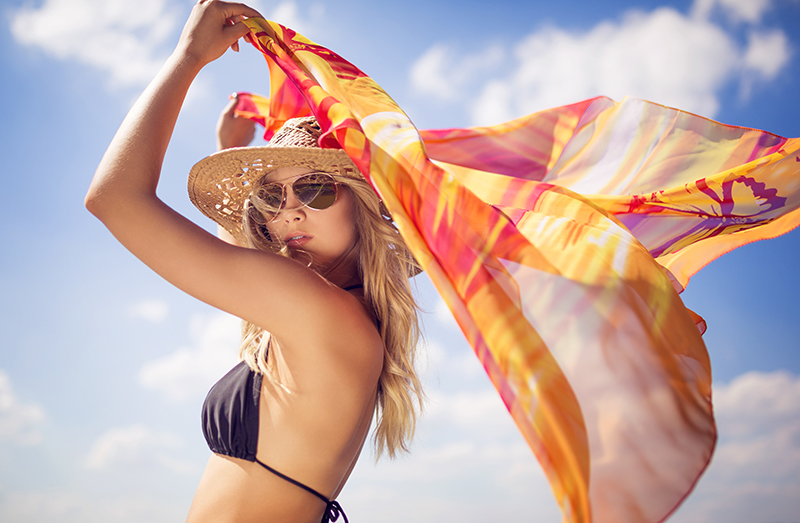
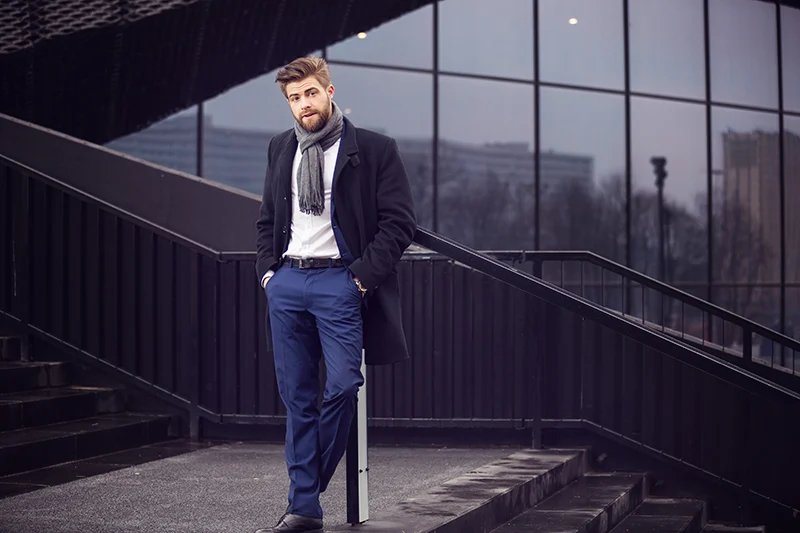
Very often, lookbook sessions take you to far sides of the globe, which requires additional logistics – airplane traffic, moving of the equipment, transportation on location, accomodation and life conveniences for participants. Among these, the correct organization of the stage might seem a small task. With away lookbook sessions a serious expenditure for staffing will surely appear and has to be taken into account.
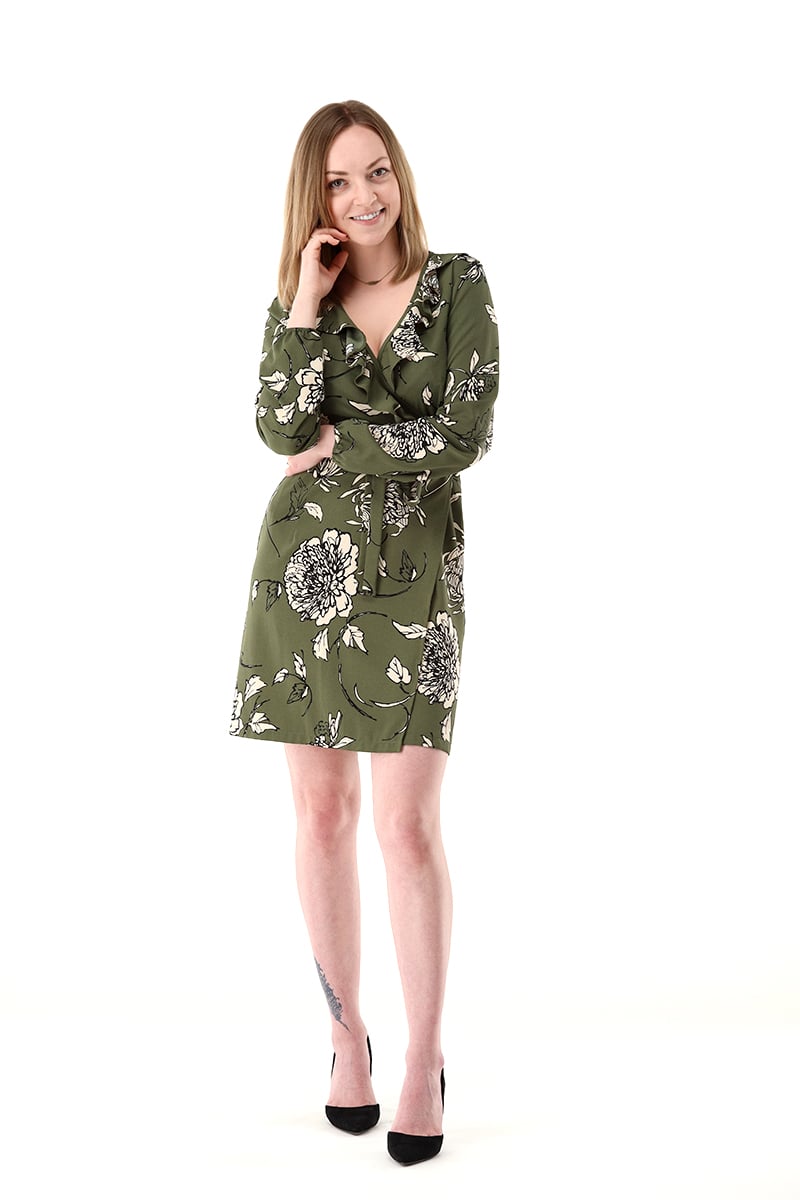
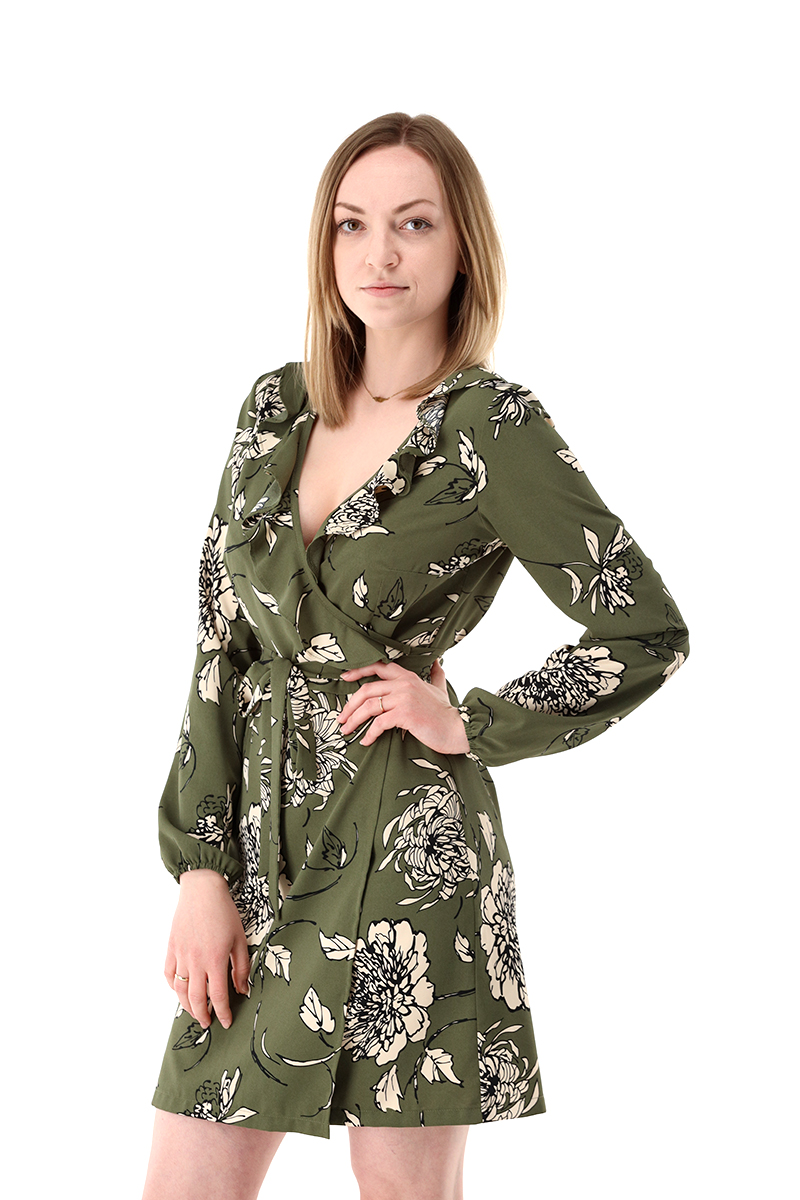
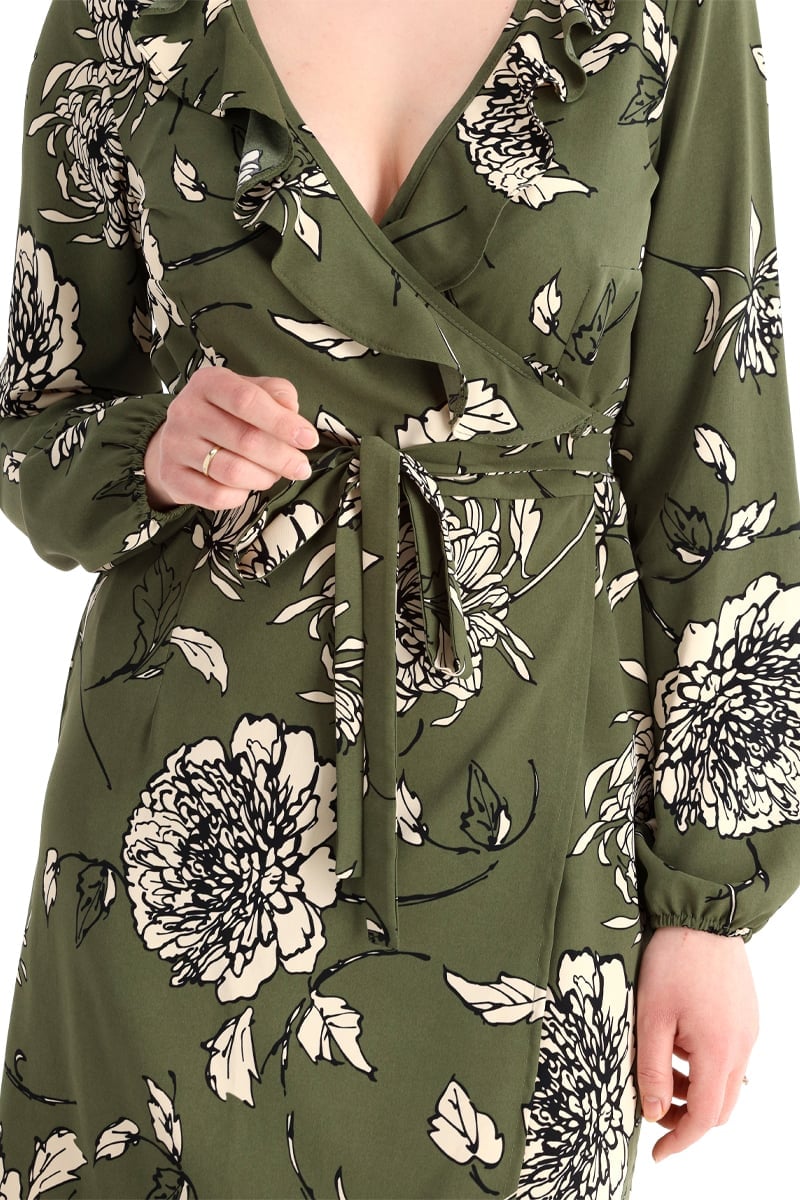
The second type of model photography is realized during product photography model sessions. The aim switches from promoting a collection to pure e-commerce information. You will try to show the folding of the clothes, the location of pockets, and the feel of the material. Sometimes you may resolve to shoot flat lay or mannequin photos instead.
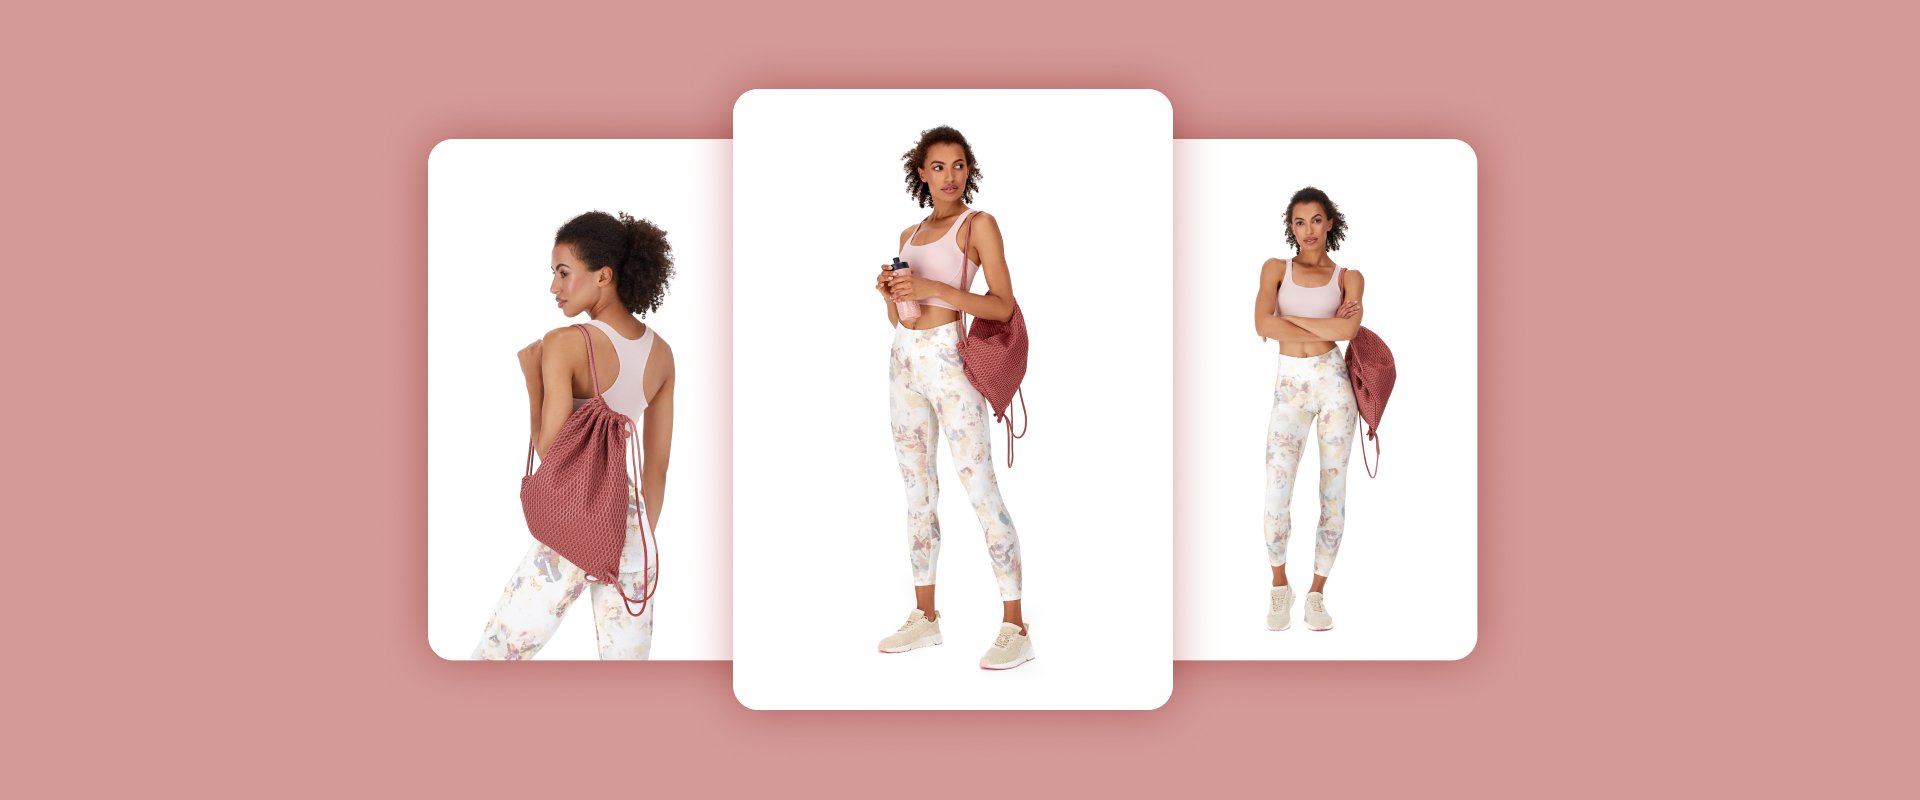
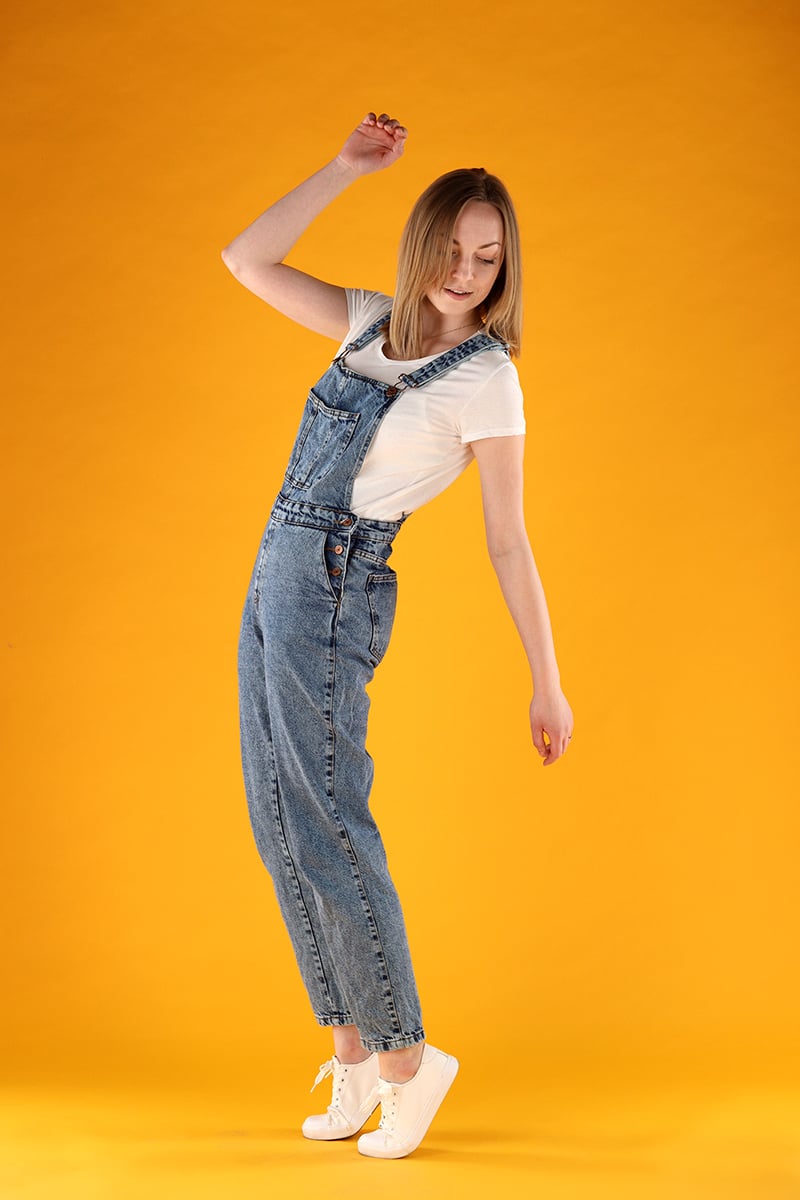
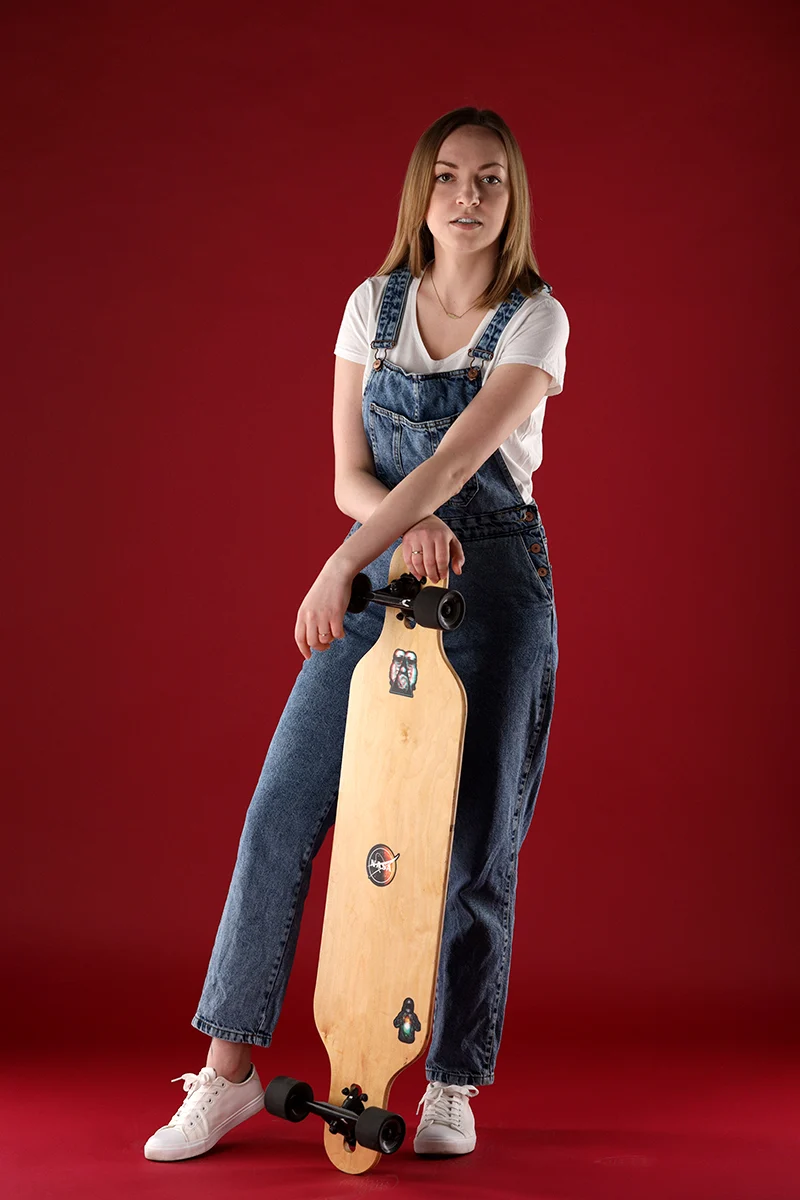
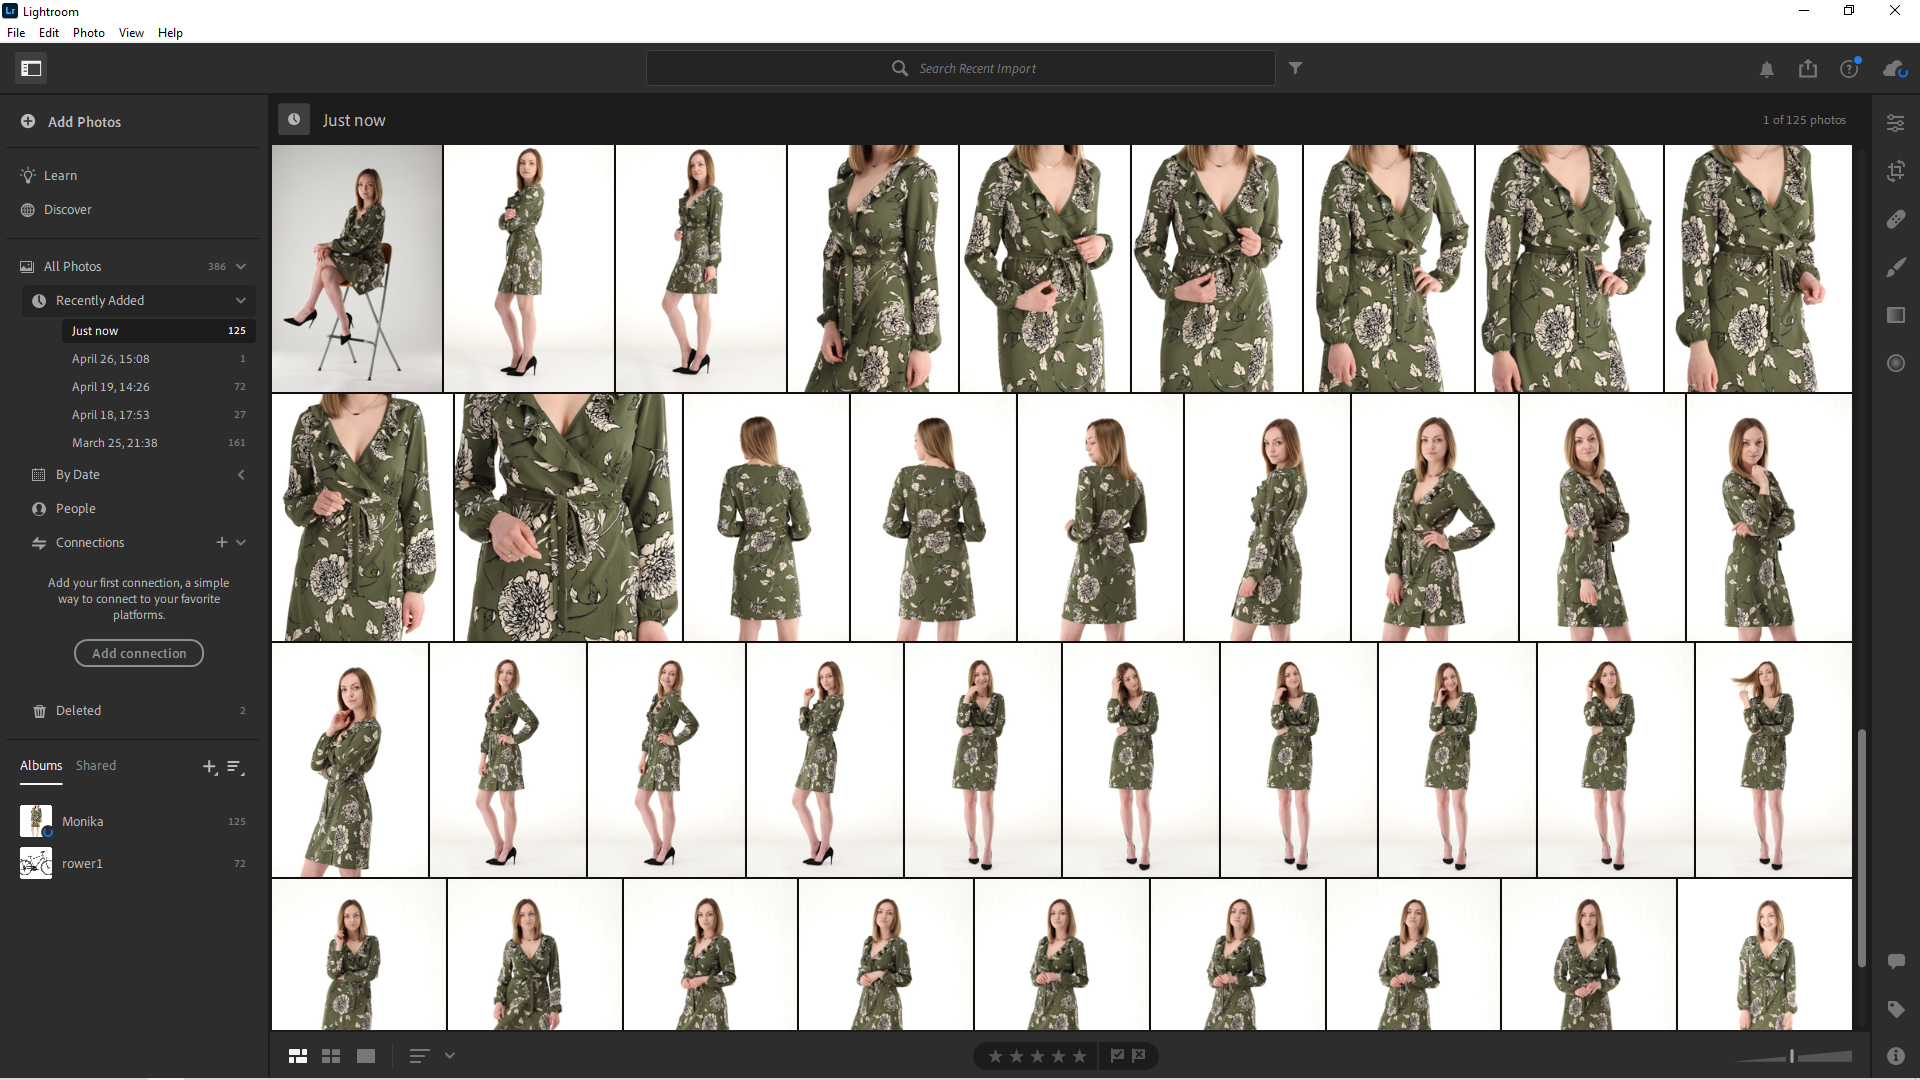
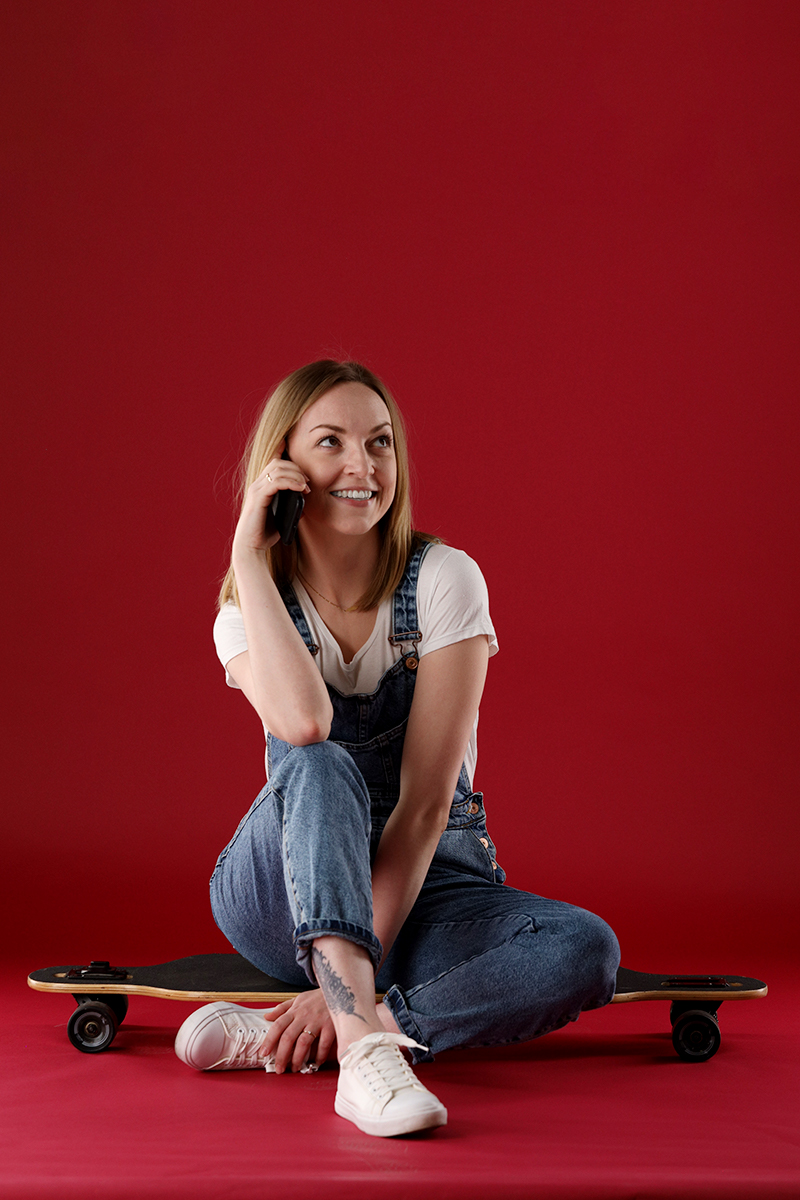
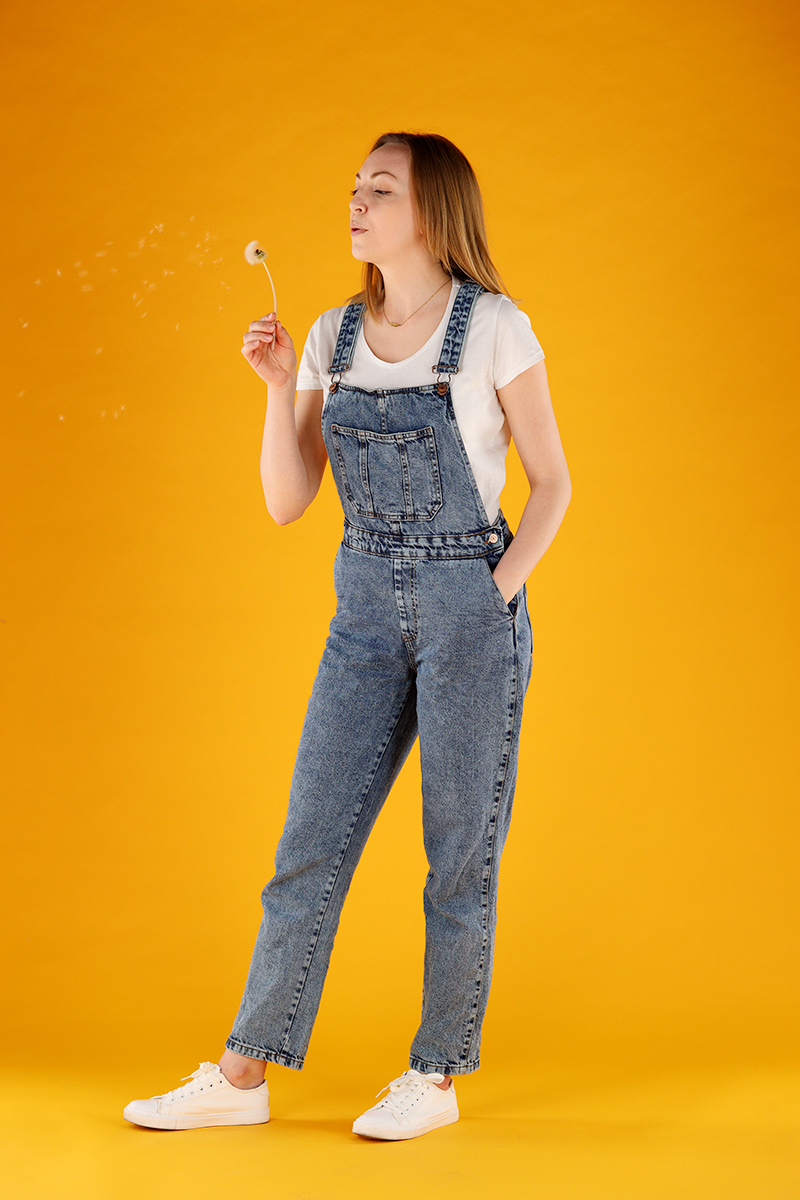
Product model photography will very often make use of white backgrounds, which allow for the clearest presentation of the item. E-commerce platforms such as Amazon have made pure RGB(255,255,255) background a requirement posing additional challenges to model photography. Of course, creativity and business purposes may lead you to choose colored backgrounds, just as we did in the session below.
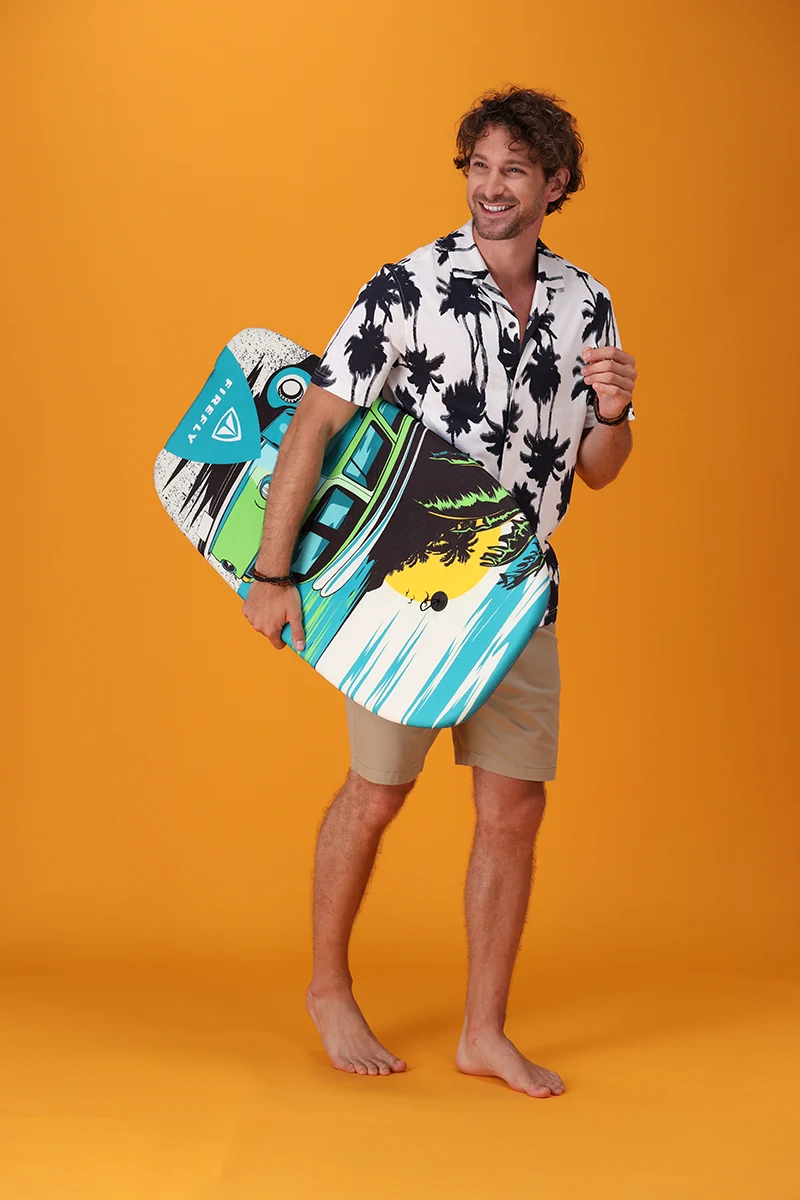
By way of summary, you can say that a lookbook session is organized to shoot photos that pin the attention of the viewer or convey an idea, while a product session serves informative and sales purposes. One is to vaunt, the other to sell.
TIP: How can I take pictures of models at home?
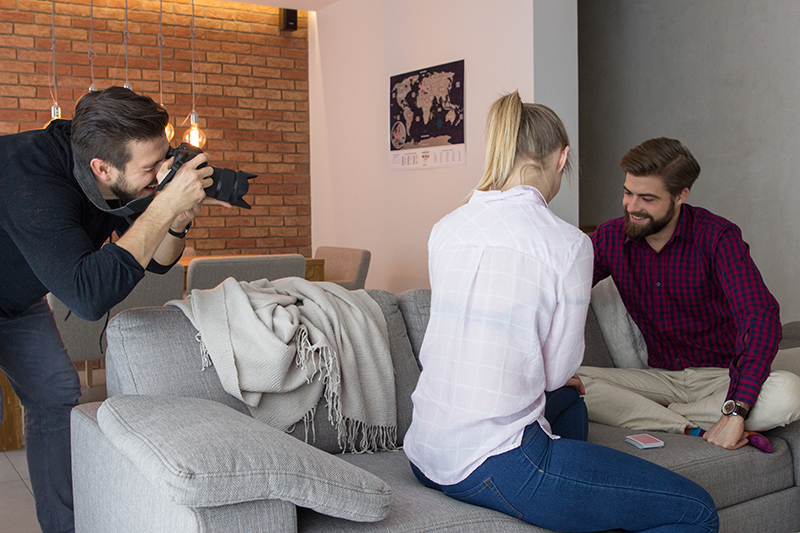
A model photography session can be organized at home aiming to build up a portfolio or showcase a product. Mind however, this will happen at the cost of professional lighting and space/time organization. On a home session try to follow as much of advice for professional settings as possible and count serious post-production in.
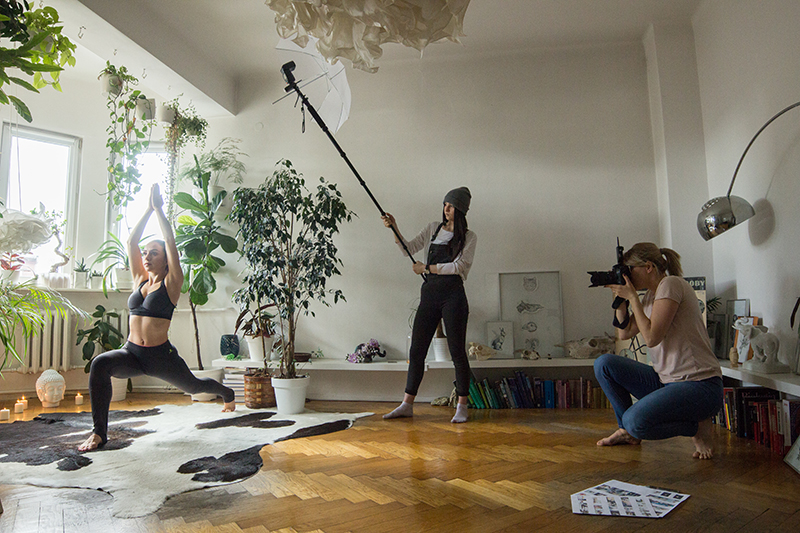
Work with models
aka: How do you take pictures of models?
Working with models has the potential to be more difficult for a photographer than work with the most challenging lighting. It involves plenty of human interaction and leaves space for unforeseen factors such as moods and illnesses. We aim to hint at several hacks that will make your model photography easier – for you and the models.
- Do not ignore details!
The moment you notice an irregularity in the look of a model (a dangling label, an unironed shirt, wrong hairstyle) – react. This will prevent repeating the shots and build a better, more honest relation with the model. You may be asked to show them the photos on the display screen of the camera and this way an opinion is shaped as to your precision and professionalism.
Remember that models care for their general image, even if the session is only about a simple set of clothes. You may refuse to show the photos, but then think of the atmosphere it generates…
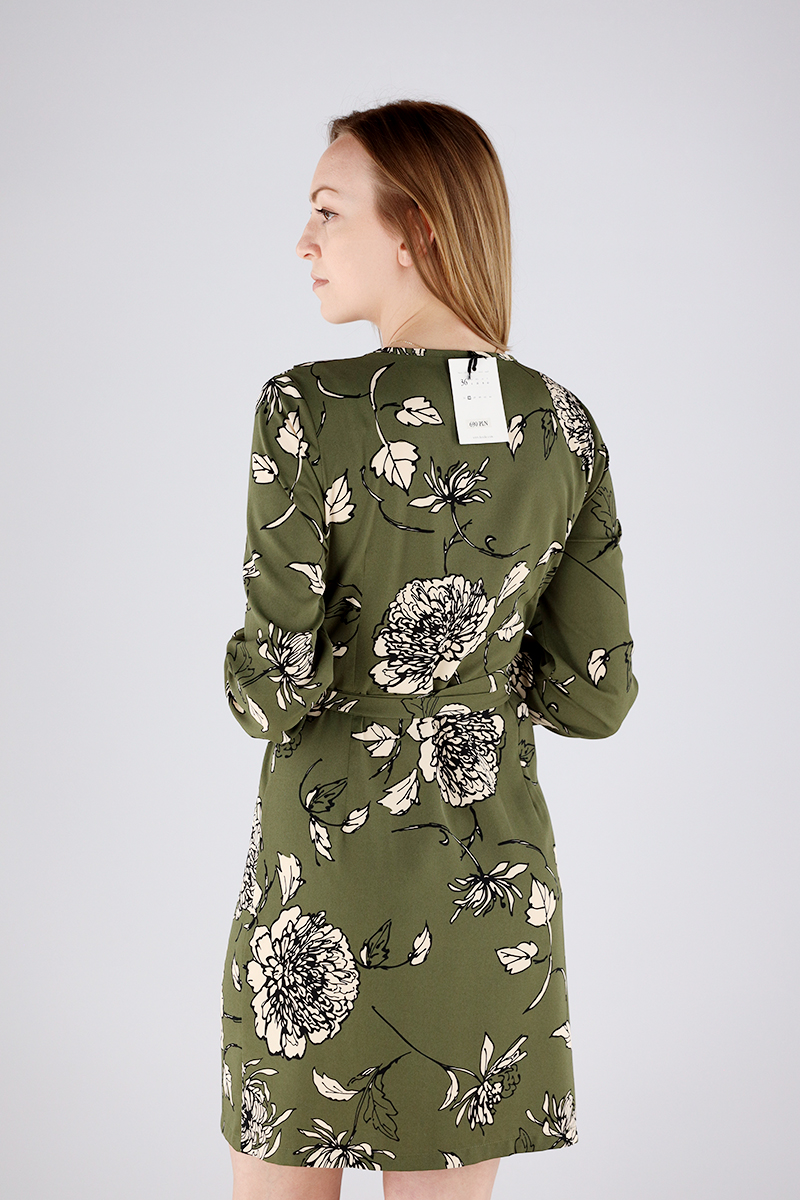
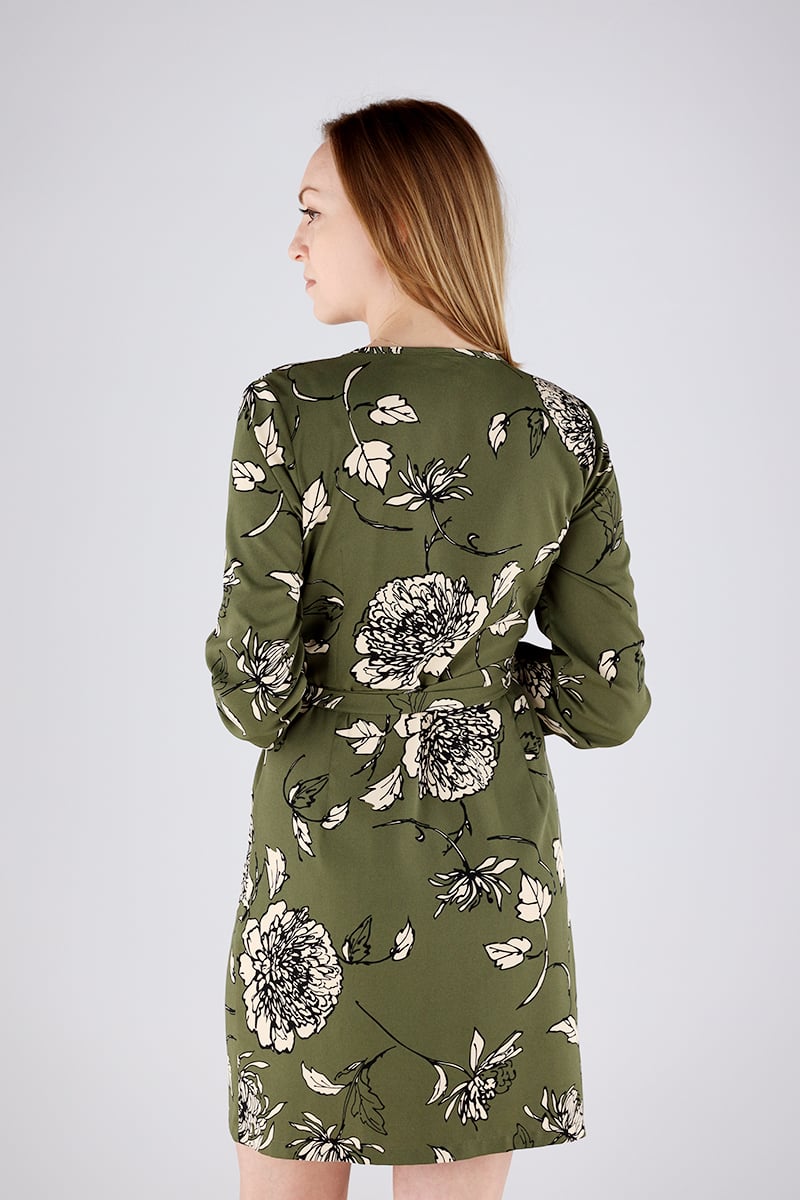
A detail taken care of early enough will also release you from the tedious duty of correcting them in post-production. And it is usually double the amount of time spent on communication that you need to iron out the detail in Photoshop.
TIP: Background in open-air sessions
If your setting is open air, you will find it useful to test ahead the parameters you will be using during the session. After setting the exposition, point the camera towards the place where the model will stand, extend your hand in front of the lens, catch focus on it, and inspect the background you obtain. What is the play of light in front and in the back? Is the background correctly blurred? Make adjustments and only when everything is up to your expectations, start the work with models.
- Care for relationship and atmosphere.
Minor behaviour details such as a warm welcome, a galant introduction, or a tour of the premises, often work miracles when it comes to creating a rapport with models. Don’t forget to tell them in general, right from the beginning, what you will be expecting and how long the session will last.
Precise information fosters the feeling of security at the side of a co-worker and builds the impression of professionalism and experience. Simply talking slowly and with assuredness will do a huge job for you.
- Don’t forget about the meal.
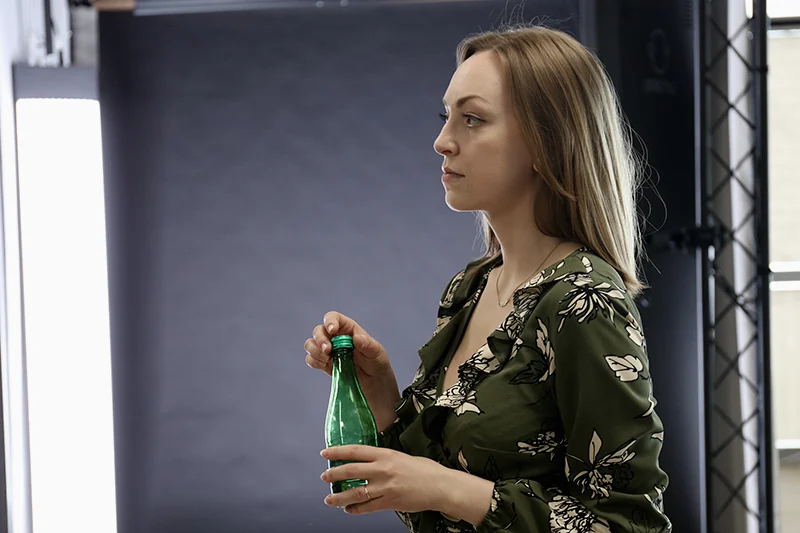
If the session takes more than 4 hours, a meal is a necessary convenience. Ask the model at the beginning of a shooting day what kind of food they prefer and organize the relevant food service. Avoid fast-food (although pizza has for a time been popular) and low quality meals.
Models pay a lot of attention to their shape and weight and having sessions a few times within a week makes the question of food very important. It is often advised to ensure smaller refreshments and water/tea/coffee for the duration of the day. Furthermore, shade and breaks might come very handy in hot weather when you are shooting outside. Above all, take into account that cheap solutions simply do not make a model’s work easier.
- Attend a lot to communication.
This is regularly the most difficult part of a model photographer’s job. You take many technical things for granted, while this may not be obvious at all
on the other side of the lens. Expressions such as “left” or “right” gain double meaning depending on whether you speak from behind the camera or about the desired effect.
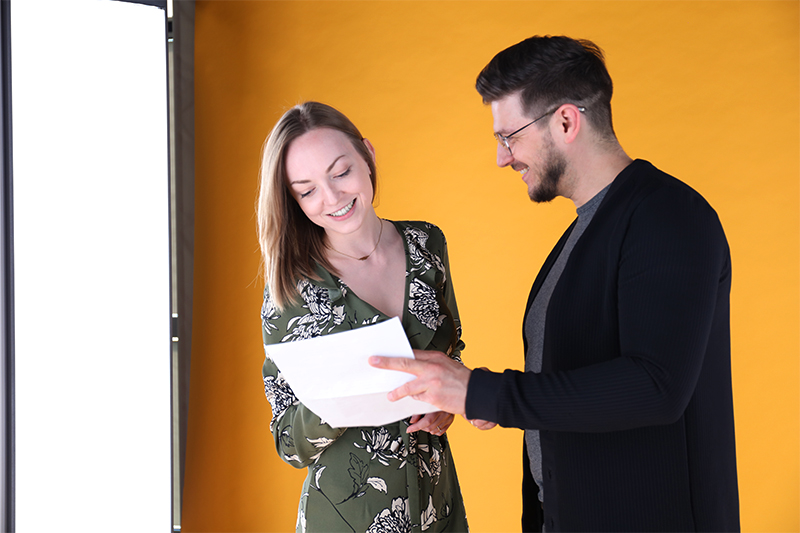
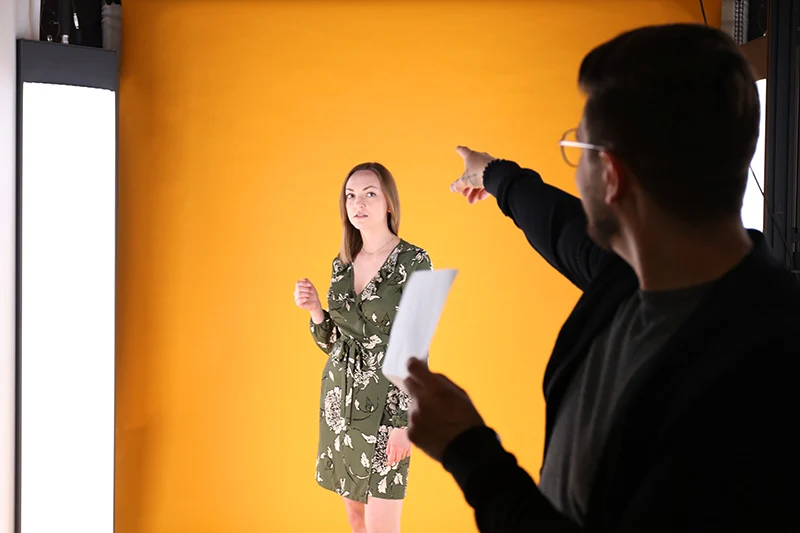
It is worth showing the model the pose you expect yourself or via a drawing or a photographic example. It is here that a grid of inspirations from a former session will become useful.
If you expect emotions to show in the photo, describe them at the outset. The face moves in three dimensions: right-left and up-down. The second axis is influenced by the position of the chin and forehead. Set a clear naming convention for the commands you will be using.
E.g. “forehead left” will mean a turn of the axis of the face, while “chin up” will change the tilt of the face. It will be very useful and time-saving to have it explained early, rest assured. You can arrange a small test before the start to check the coordination of command and movement between you and the model.
In short: How do models pose in photography?
The way models pose in photography depends on the aim of the session (should it be casual or formal? luxury products or everyday accessories?). Individual models also differ in style when it comes to facial expression, body posture, or scenic movement. Your requirements might be to jump fully dressed into a swimming pool or try climbing a rock, so prepare for verbal negotiation regarding the poses you expect as a photographer.
Lighting for photographing models
aka: How to make the best of what you have.
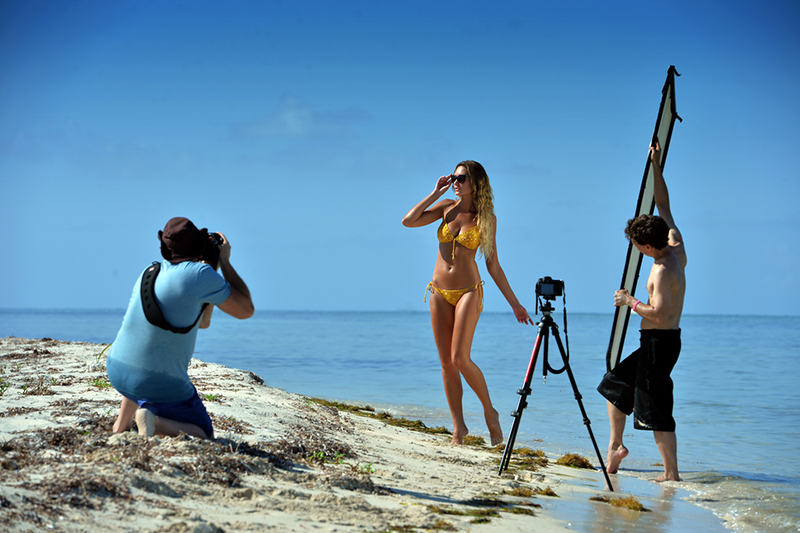
Working with light in model photography has everything to do with craft. A photographer organizes space with the light-regulating equipment at his disposal and works to make the best of the light source available. Some sessions rely on daylight, while others, especially outside, use the help of artificial flashlight. What are the tips for each of them?
Daylight – an ally to use
- While using daylight it remains important not to distort the color palette. Try shooting away from strong sunlight, which can have effects on tones and colors of the photo.
- Avoid zenith hours, when shadows get deep and light very contrasting.
- Use light diffusers to place the model under diffused light. This will prevent deep shadows under the eyes and distribute the light equally on the whole silhouette.
- If the model stands in shade, use light reflectors. They will guarantee a more natural and delicate lighting.
Flashlight – a challenge
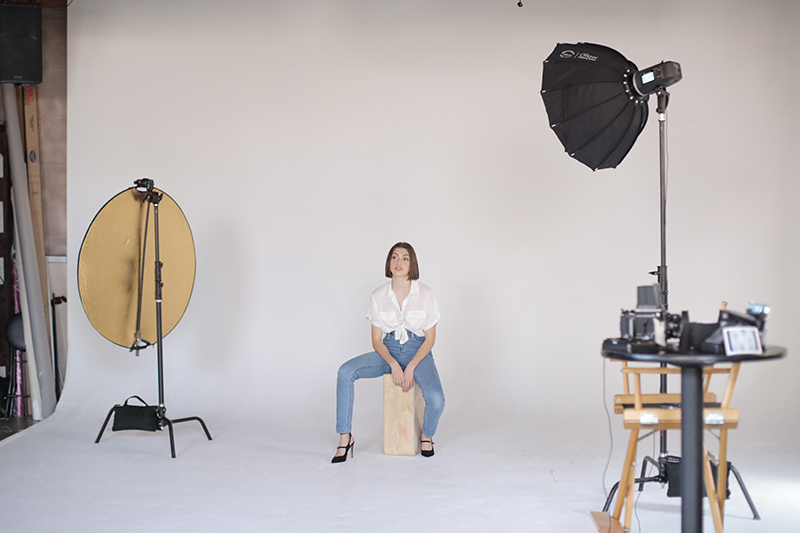
It is common to use flashlights both indoors and outdoors. The second option is much more demanding, as it requires lights with their own power sources and a solid portion of photographic knowledge. Manipulating daylight and flash together adds dimensions of difficulty to any outdoor session. What are the tips for using flashlights in model photography?
- There might be occasions when a grey filter on the lens will turn out necessary.
One of them would be when you expect a blurry background (a low aperture f-stop, the aperture is wide) and the amount of light is significantly too big. What’s more, if you are using flashlights, your space to manoeuvre with shutter speed gets limited. The lack of High Speed Synchronisation in lamps will set the upper limit of the shutter speed to 1/250 s. Then, a grey filter helps to cut the amount of light that gets into the lens and onto the sensor.
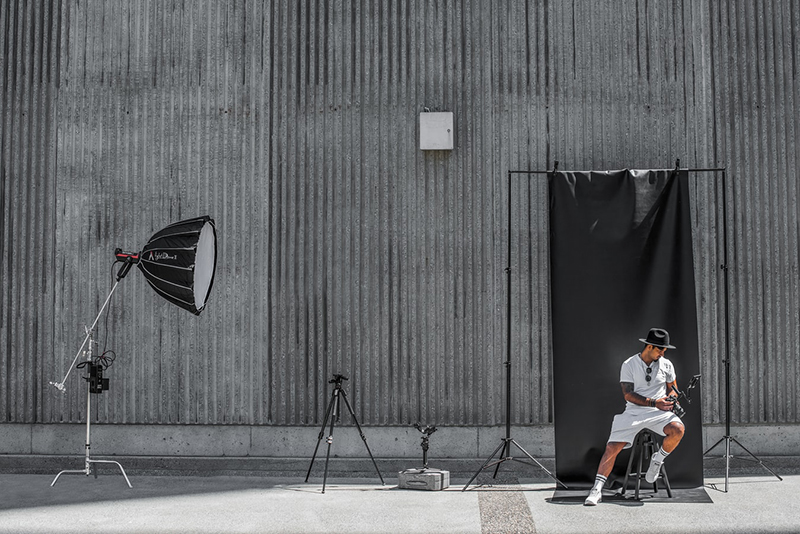
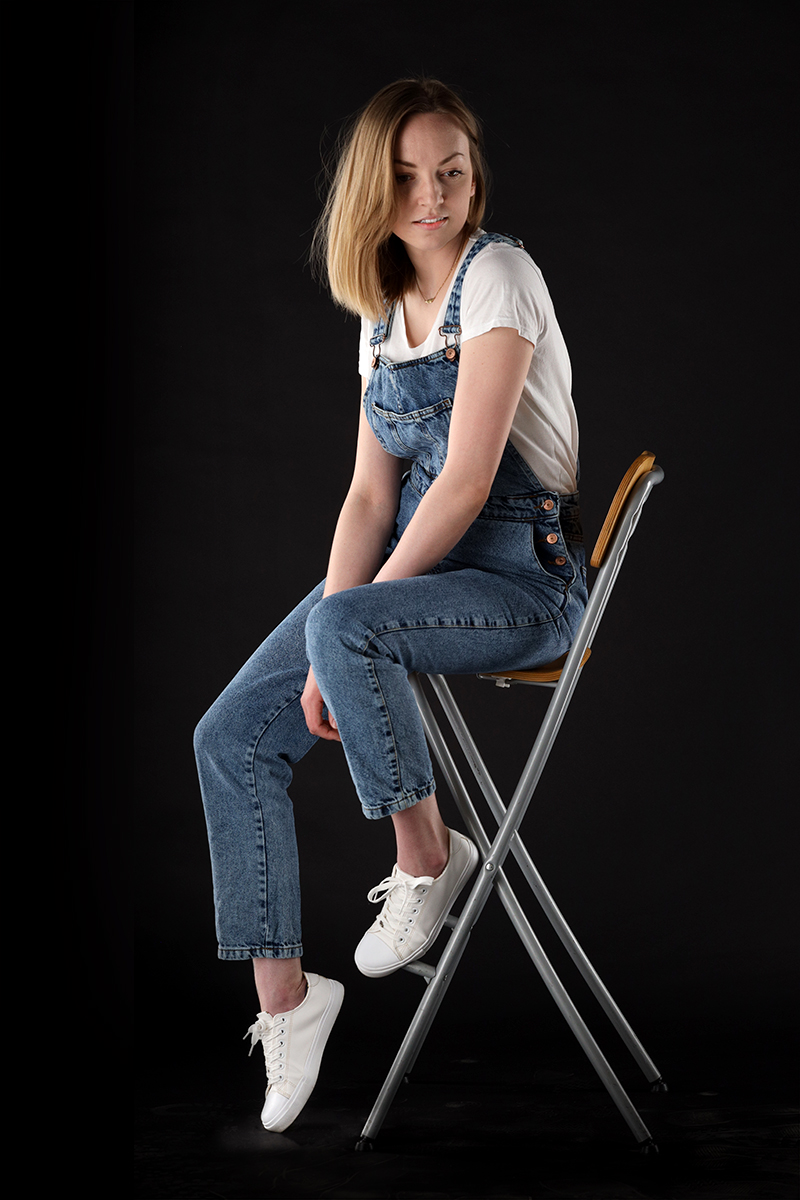
- It is important to have knowledge on the combination of background and lighting. Below you will find examples of the same lighting and different backgrounds used.
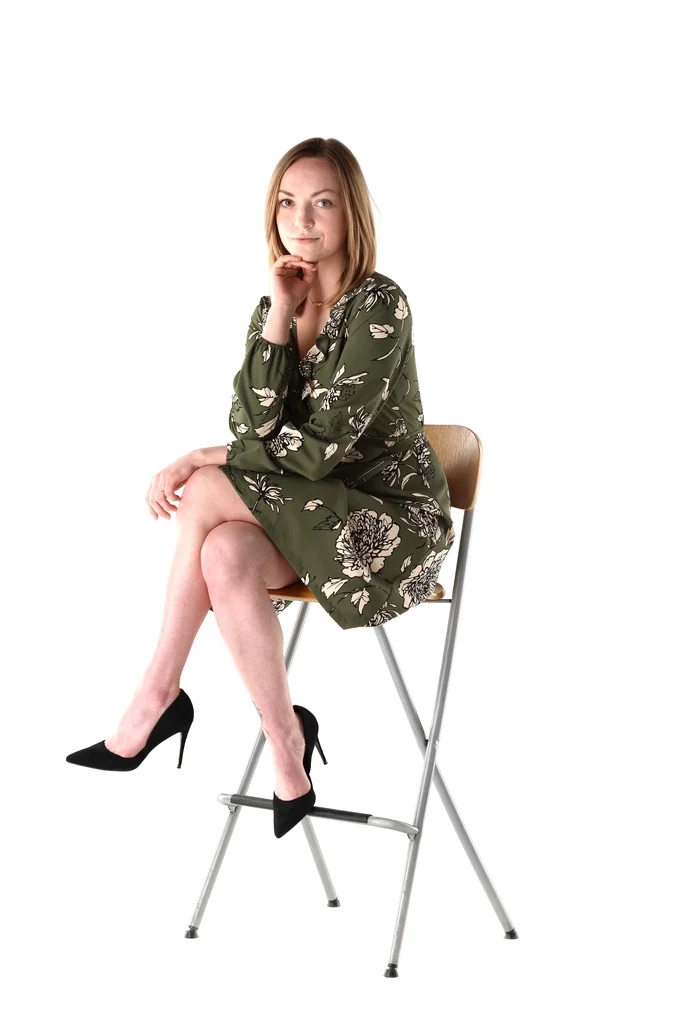
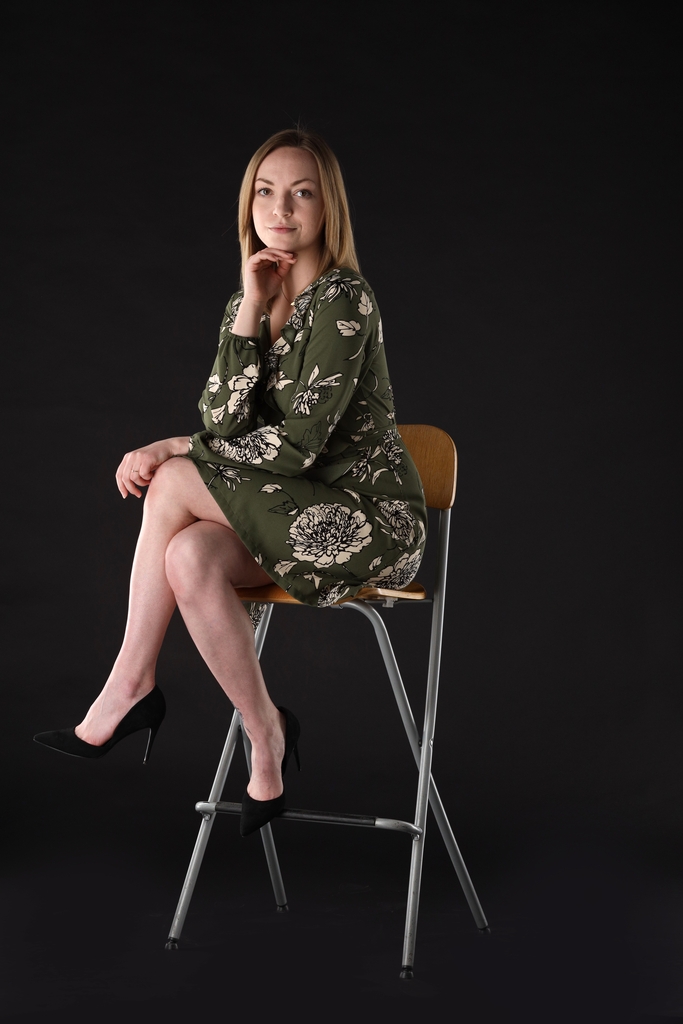
Mind how black background exposes the backlight and gives the impression of more contrast. If you are aiming at atmospheric, more mysterious shots, it is worth using a dark background. Whereas if you prefer to focus the attention on the product or its details, white background is recommended.
Continuous light – a convenient solution
In case of continuous light you operate analogically as with flashlights, however gaining the advantage of live view in the camera. It is also easier to manipulate, as the conditions it creates are visible continuously.
Equipment
It remains important to be informed of what concerns the camera and the lens used for model photography. In most cases, photographers will be well equipped technically and knowledge-wise for the challenges of shooting both models and products. We will aim here to point out three questions that equipment raises in lookbook and product sessions.
Distance to the model
The question of actual distance between the camera and the photographed model will be key to successful model photography, even more than the adjustment of focal length. Let’s analyze it with the help of an example.
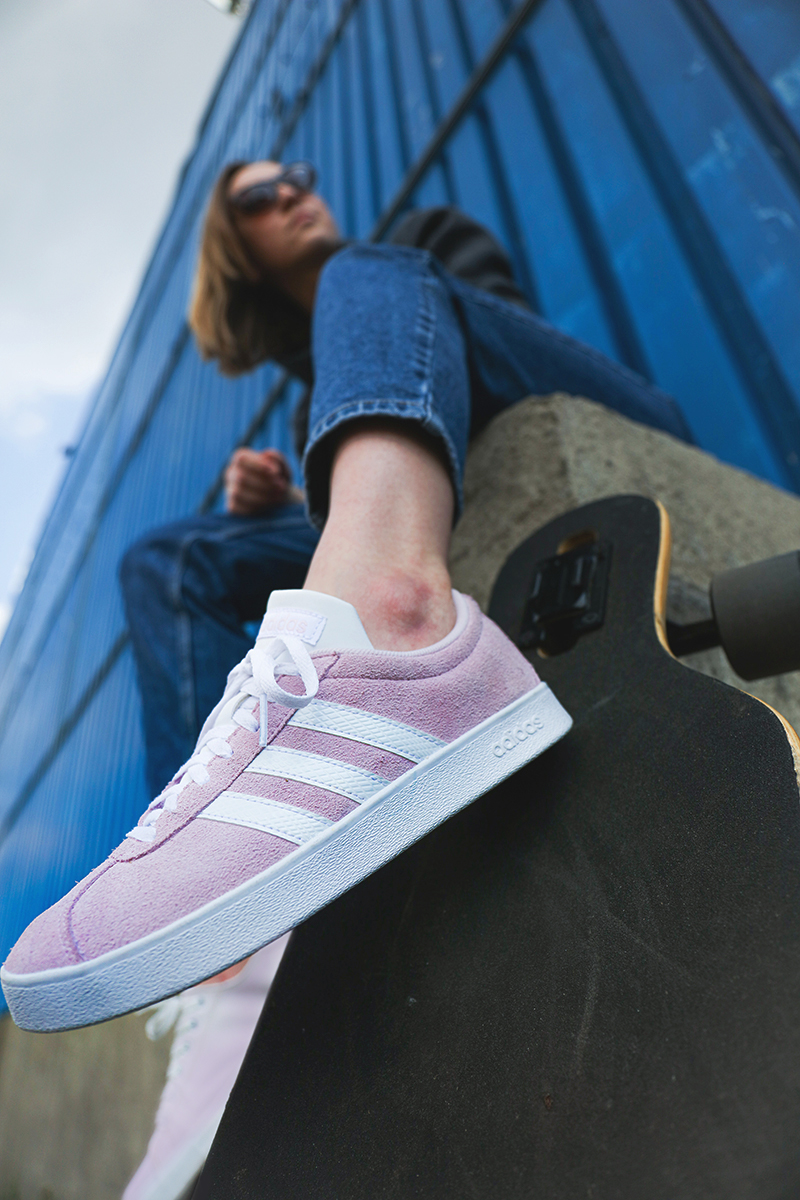
If you use a 135 mm lens or a 35 mm lens without changing the position, the main difference between the resulting photos will be the amount of background in the frame. If you get closer to the object/model to eliminate unnecessary background (which may be needed with the 35 mm lens), you risk distortions of the image, as the distance gets smaller.
Therefore, if you are not aiming at a distorted perspective from the onset, it will be best to choose lenses of focal length around 50 mm. They will let you keep a balance between the distance and the level of distortion. If the lens is over 50 mm, you will need to operate more with increasing the distance.
A distorted perspective may look like that:
Aperture and fashion photography
There are no universally accepted standards for aperture in fashion photography. Depending on the type of session you organize, lookbook or product, the recommended aperture will change.
For product fashion photography, the aperture f-stop will take higher values. This is a way to ensure the sharpness of the product throughout the whole depth of the photo.
For lookbook photography, a lower f-stop might be an advantage, as sometimes blurry background adds a creative feel to the photo. In any case, you will need to carefully consider what the aim of the shot is and adjust the aperture accordingly: lower for blur, higher for sharpness.
Camera type and resolution
Camera type can influence the resolution of the final photos. The first question you will ask here is whether to choose a full-frame (FF) or APS-C sensor camera.
Full-frame cameras will offer higher resolution, which makes them useful for lookbook sessions. Some of the shots may be chosen for print as large as the bill-board, so achieving a high level of detail will come as a help.
On the contrary, product sessions may require lower resolutions due to the risk of unnecessarily showing the imperfections of the product. Then, an APS-C camera, offering a smaller sensor and a lower resolution, might be an ideal (and cheaper) solution.
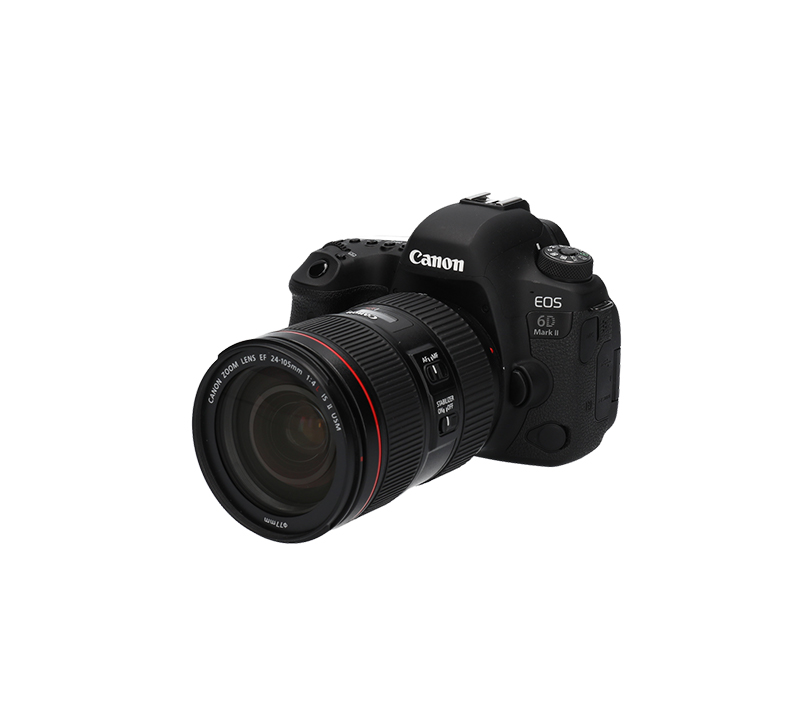
Full-frame
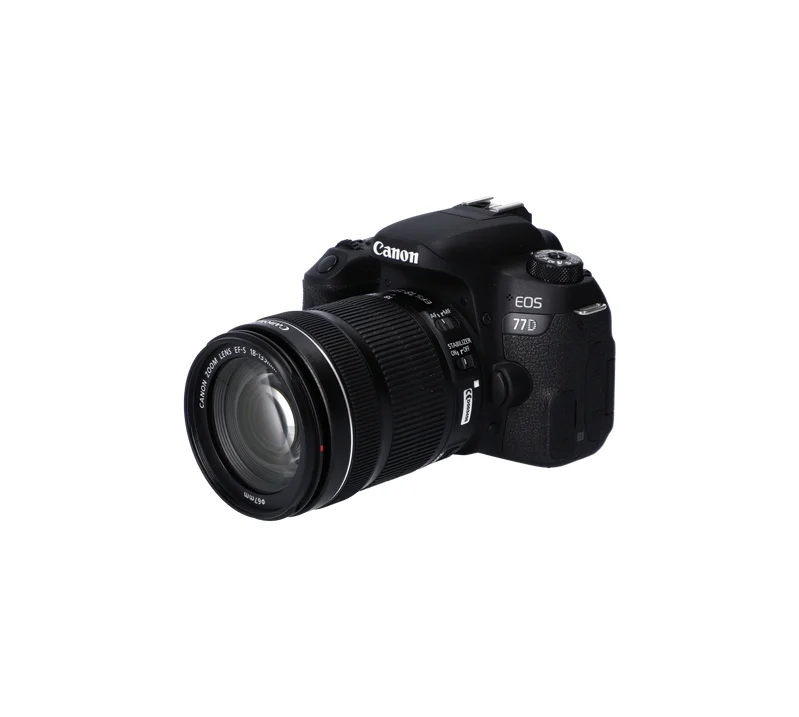
Crop frame
Support team
There is no serious photo session that is organized without handling a thousand seemingly unimportant support questions. A disciplined, creative support team will be of great help to any photographer on the way to fully realizing his ideas in model photography.
A support team will bring together assistants who take care of the look of the model (hairdressers, make-up artists) and those who help the photographer with the technical details of the scene (a production manager and their assistants). The better you manage their coordination, the quicker and more efficient the session will be.
Take care to inform all the support staff about the physical details of the scene you aim to photograph. The order in which you plan to proceed with the settings, the additional gadgets in the model’s look, which items you plan to use in the scene.
An experienced support team will know which questions to ask you to make their work useful and the session fruitful. Stay prepared with what regards details of the plan to answer in a concrete, assured way. It is an exercise in imagination and forethought indeed.
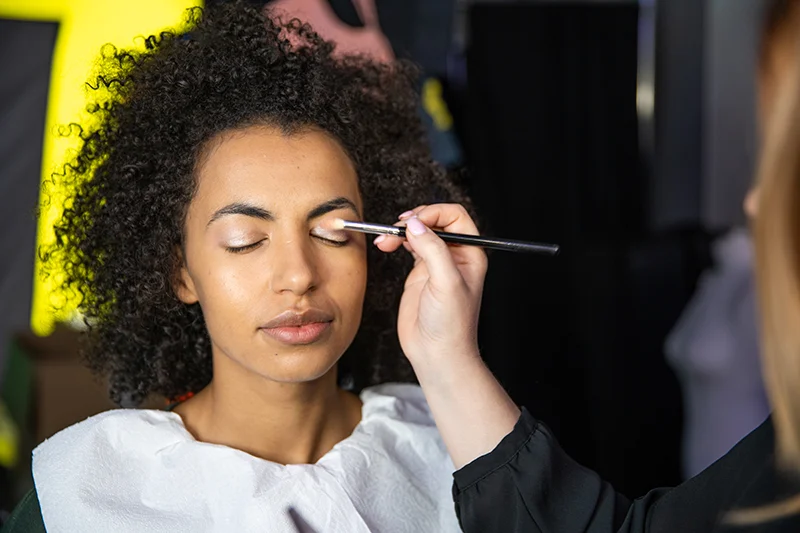
Preparing the products
When organizing a professional photo session, the preparation of products might be outsourced to the support team. However, if your work scope and the size of the session are minimal, you will need to remember a few basic details as to product preparation.
The key piece of advice will be to keep all the photographed products clean, new and attractive. This will mean exercises in polishing the jewelry, ironing the pieces of clothing and dusting the glossy parts.
You will find how helpful compressed air is to remove dust or white linen gloves to leave no fingerprints. For clothing, lint removal rolls and all kinds of mannequins or hangers will help you eliminate unwanted creases and spots.
In product sessions, your model will need to be perfectly groomed, unless you are aiming at a level of chaos in the final impression. Their general look would better stay attractive or neutral as not to draw attention too strongly from the product. We strongly recommend employing a stylist in the team, who will lift the burden of model preparation from the photographer.
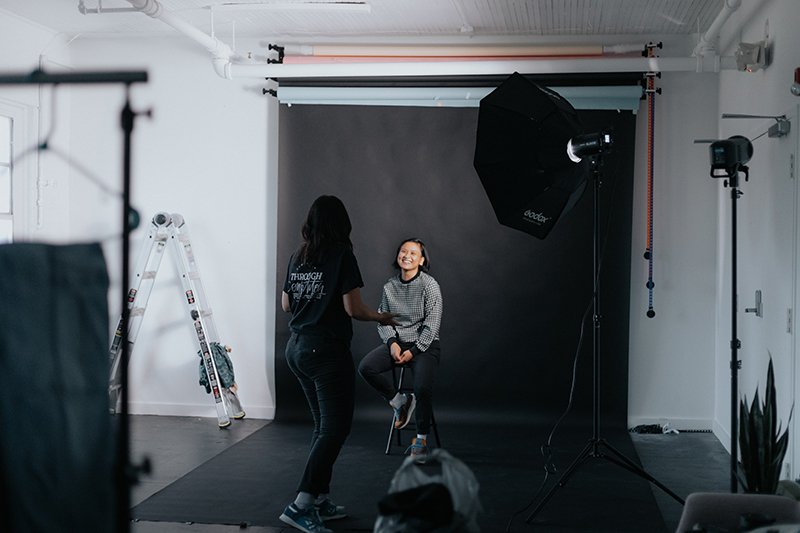
Post-production
The full answer to the question of how to photograph models will extend beyond the session itself and refer to post-production as well. We have laid out the basic recommendations for post-processing of photos in our article about jewelry photography.
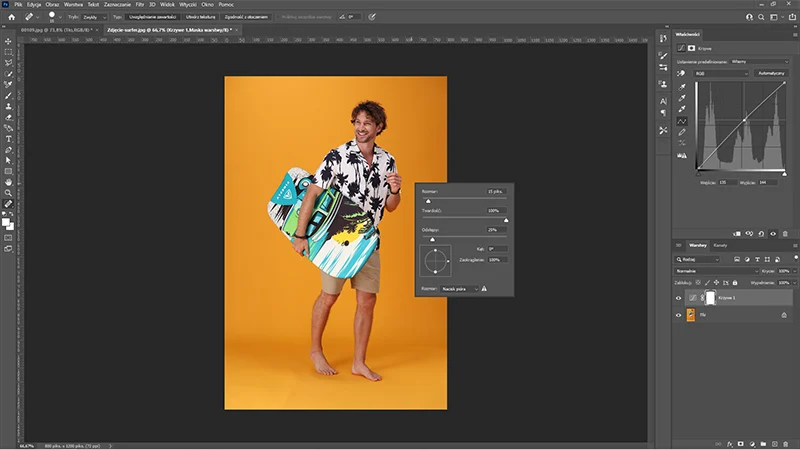
In fact, the rules of post-production stay the same for human models and still life or packshot photography. Above all, you will need to mind the general aim of the photo and proceed with the Photoshop adjustments according to the effects on the viewer you want to achieve.
Five rules will help you keep the post-processing a simple task:
Rule 1: 2 minutes more work in the session will save 10 minutes in post-production.
Minor details omitted during the session may result in major challenges in editing. Pay attention to little things such as dust, model’s clothing, or light reflexes.
Rule 2: Try not to lose faithfulness to reality by overmanipulating parameters in photo editing software.
Too much editing can increase the chance of product returns, when the photo is used in e-commerce. Try to keep it to a minimum.
Rule 3: Control the tonality of the photo and the depth of the shadows.
It is a variant of rule 1. If you control the position of the model in relation to the sun, you will avoid deep shadows under the eyes and thus a lot of tonality corrections in post-production.
Rule 4: Do not exaggerate color saturation or vibrance.
Increasing saturation and vibrance beyond natural levels is the most common mistake in product photography post-processing. Show the result of your post-processing work to a neutral pair of eyes to assess the impression that colors make.
Final thoughts
We have shown the basic possible sources of surprise in model photography. They will come from missed preparations, shortcomings of human communication and incorrect use of equipment. Even post-production may pose a challenge, if the session was executed without relevant care for detail.
Knowing the potential threats will help you create your personal routine of photographing models and keep you safe from time-consuming mistakes. Our advice is to keep track of those you do not avoid to make and draw as many positive conclusions from them as possible. Building experience on the way in model photography will in the end take you to a moment where managing a lookbook or a product session will be well-ordered and efficient.
Take your time to plan, stay professional and friendly in human interaction, and master the art of camera and light. From there on, it is only a path to producing creative, beautiful model photos.
Contact us
Contact us
Got questions? We'd love to hear from you. Send us a message and we will respond as soon as possible.
Products
Products
Articles you may also like
There is an increased demand for packshots, which appear in catalogues, billboards and e-commerce sites, in all sectors of ma...
With 8.9 million photos collected under the hashtag #flatlay on Instagram (early 2021), there is certainly a trend in product...
See the power of product photography automation for yourself – after all seeing is believing! Orbitvu USA will open their Atl...


