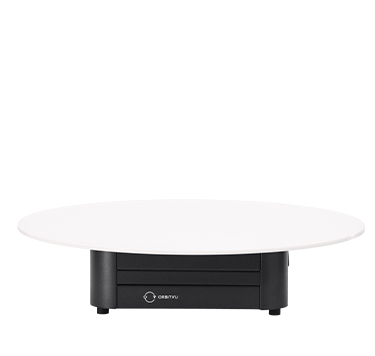
A complete guide to flat lay fashion photography
With 8.9 million photos collected under the hashtag #flatlay on Instagram (early 2021), there is certainly a trend in product photography to speak of. Plenty of e-commerce businesses decide to choose this way to present their fashion and beauty-related products. To let you learn more about flat lay photography we have created a compact guide with tips regarding product preparation, the photo session, and post-production.
A Complete Guide to Flat Lay Fashion Photography
You will learn about the most convenient ways to flat lay photos and catch useful knowledge on how to light the product correctly, how to set the camera, or how to retouch effectively.
In case you are still wondering what flat lay is, let us come with a handy Cambridge definition:
The key to flat lay product photography is found in the possibility to photograph from above. It is necessary to spread out or arrange the product on a flat surface.
The decision which background to choose will be influenced by the desired effect. Will you focus on informativeness or search for the wow-effect? It will also help you to categorize your shot as a packshot or a still life photograph.
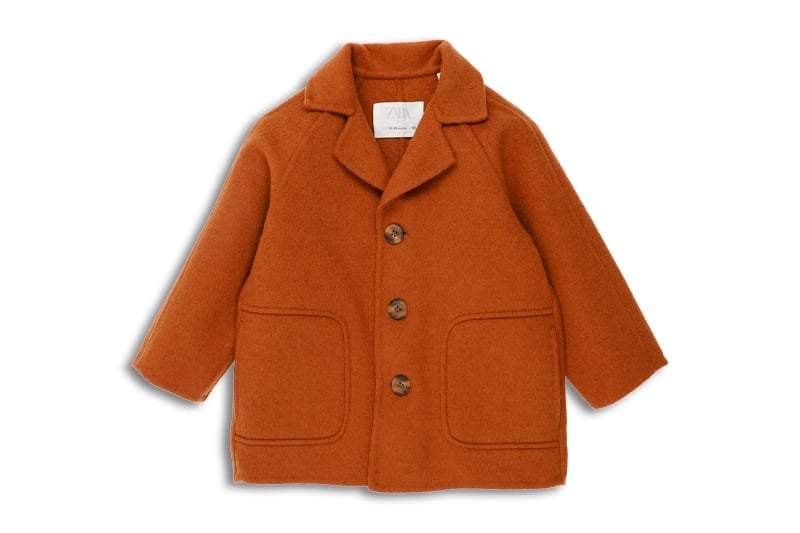
Packshot
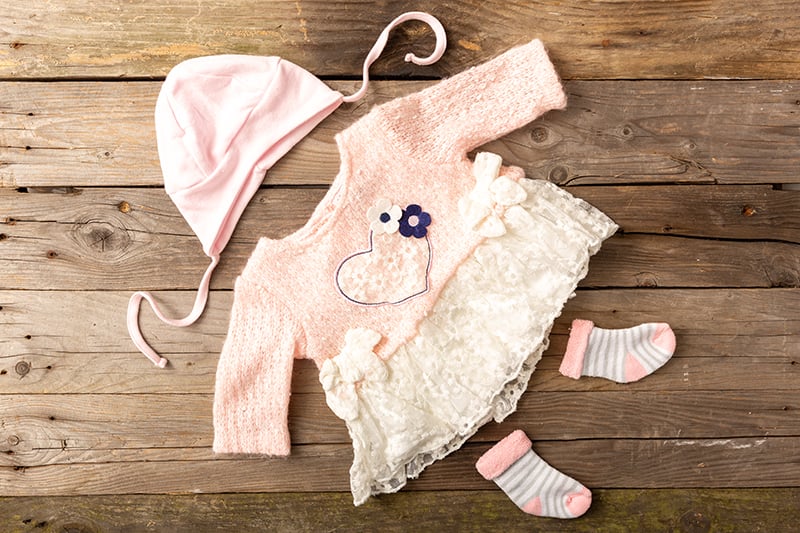
Still life
Packshot or still life?
TIP: How do you take pictures of flat lay clothes?
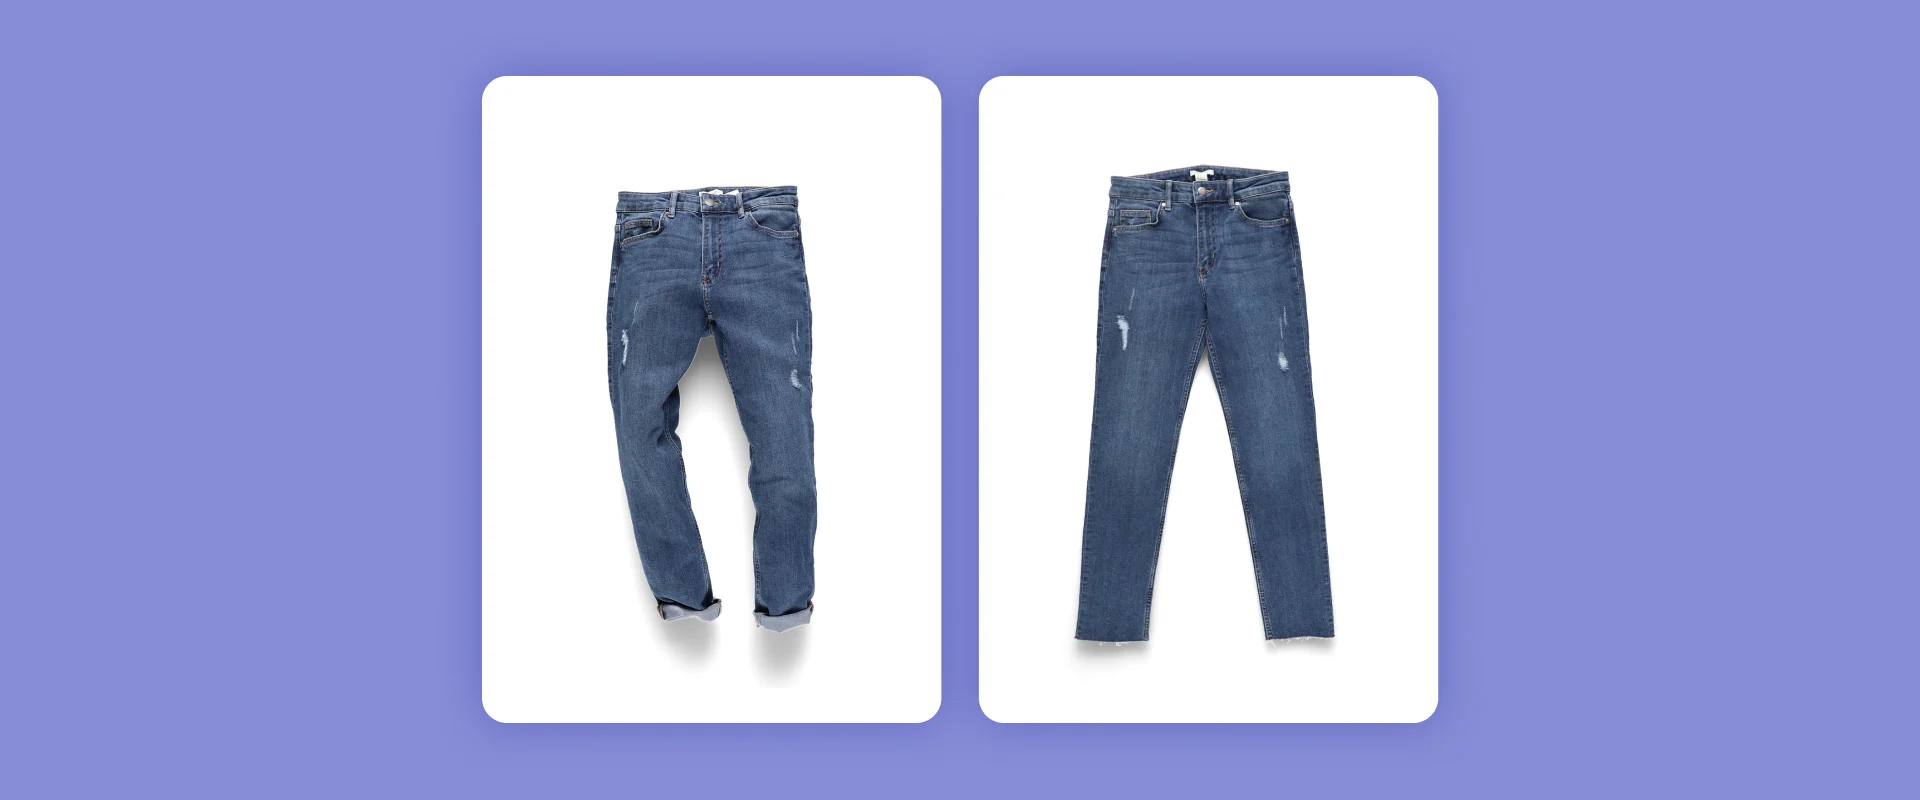
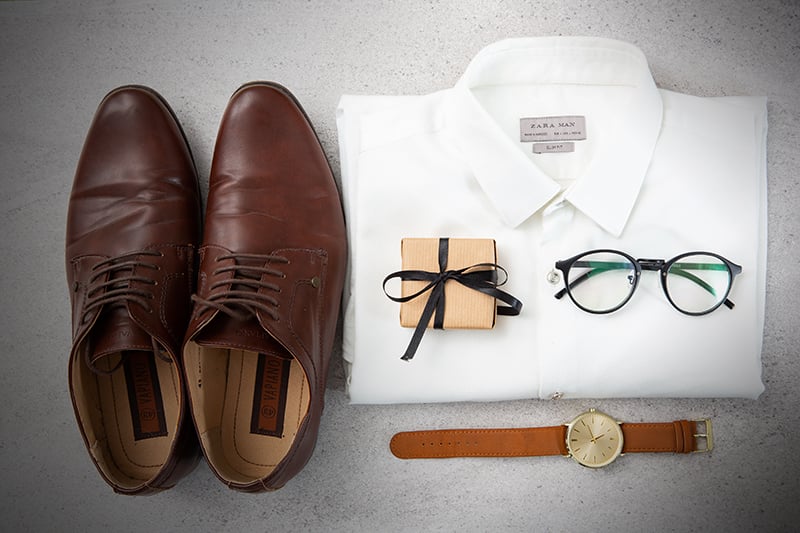
In flat lay fashion photography the background will play a key role. You can decide to expose the details and not draw the attention away from the product. Uniformly colored backgrounds, usually white or grey, will do the job and if your product is presented alone, your shot will classify as a packshot. On the other hand, in still life photos, the items frequently extend beyond the frame and the viewer sees only the partial artistic vision.
For the purpose of giving the most careful and exhaustive information about the product, a packshot will have a central composition with the full item in view and a good, natural contrast level. White paper or a backlit backdrop will be the most relevant solution here.
Should you decide to get the most of the interplay between the background and the product, or to throw in additional flat lay props, you will think more of a still life photography approach.
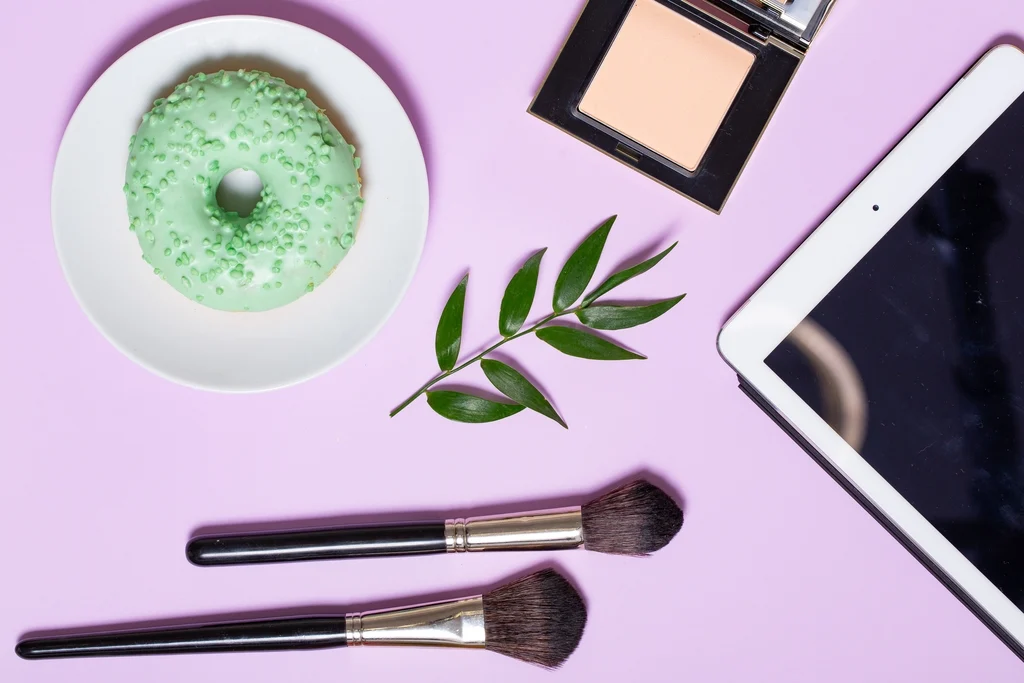
Backgrounds such as multicolored and differently textured papers or intricately woven fabrics can enhance the aesthetic impression of your customer and add a lifestyle feeling to your flatlay shot. Furthermore, making use of the thirds rule is well-seen in still life. There will be more freedom to arrange the products.
Much will depend on the entirety of the system you decide to apply to your flatlay sessions and the equipment you will have at your disposal. Read more about the differences between packshot and still life photography in our complete guide to product photography.
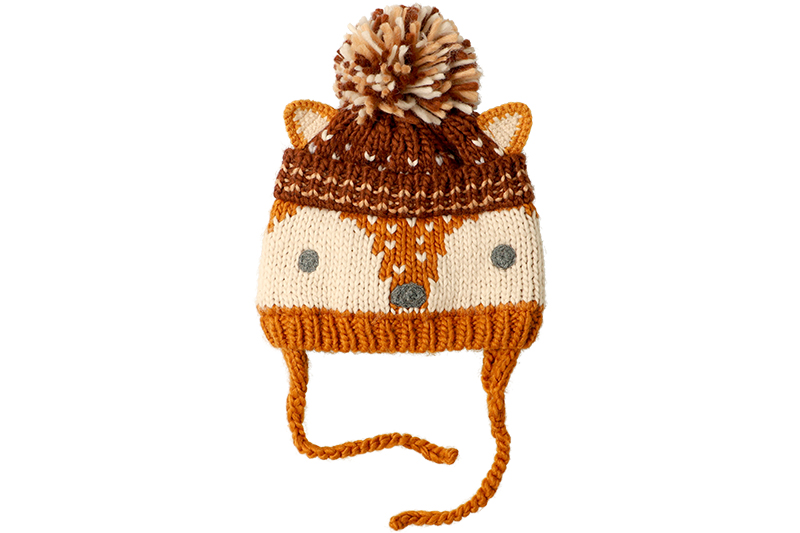
Central composition
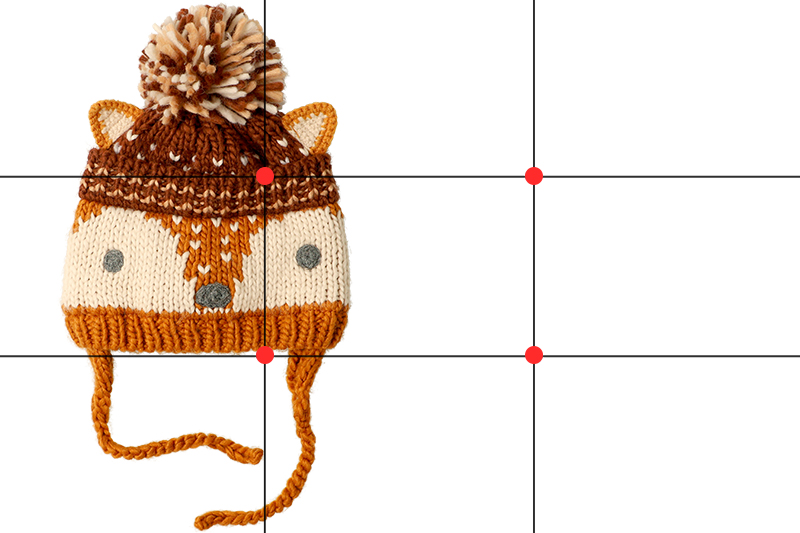
Rule of thirds
What does a flat lay clothing photography setup consist of?
TIP: How do you take good flat lays?
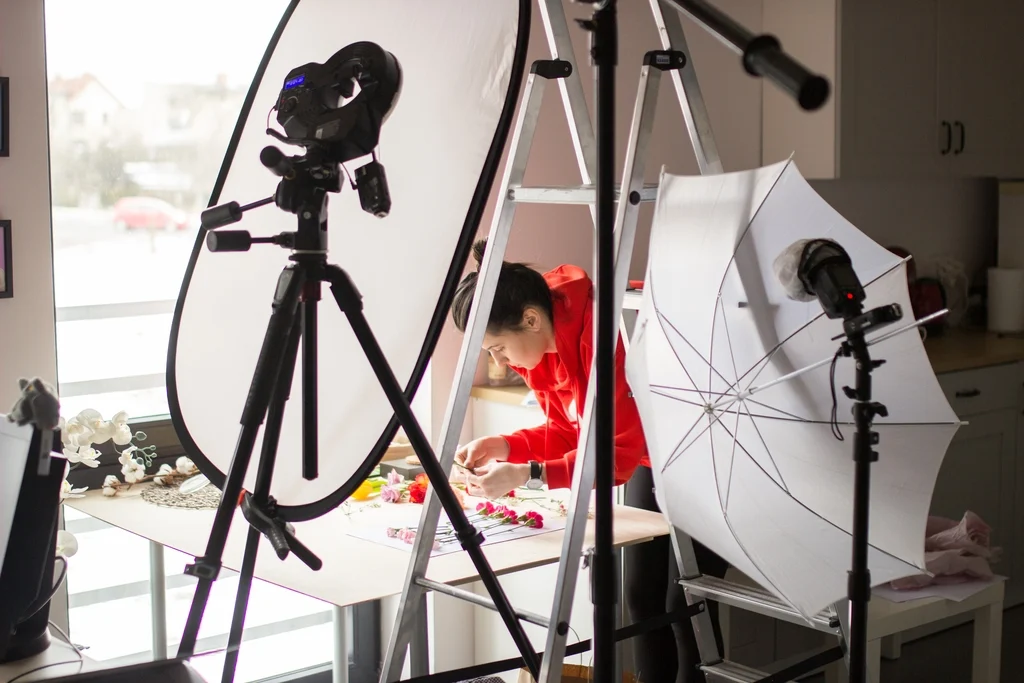
Photographing flat lay can involve a degree of automation or stay a fairly manual process. There will be four basic methods to arrange your studio space.
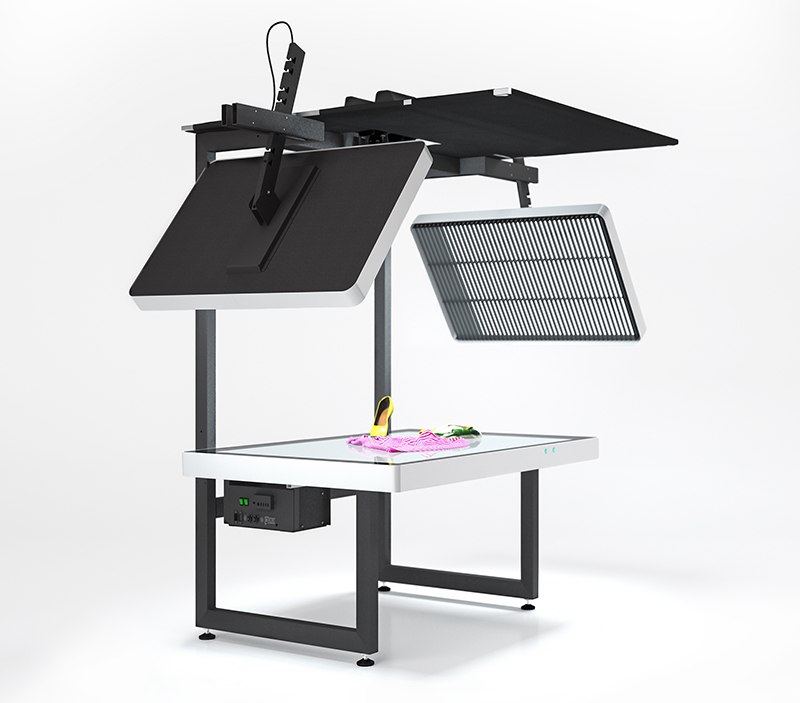
- A dedicated flat lay photography table.
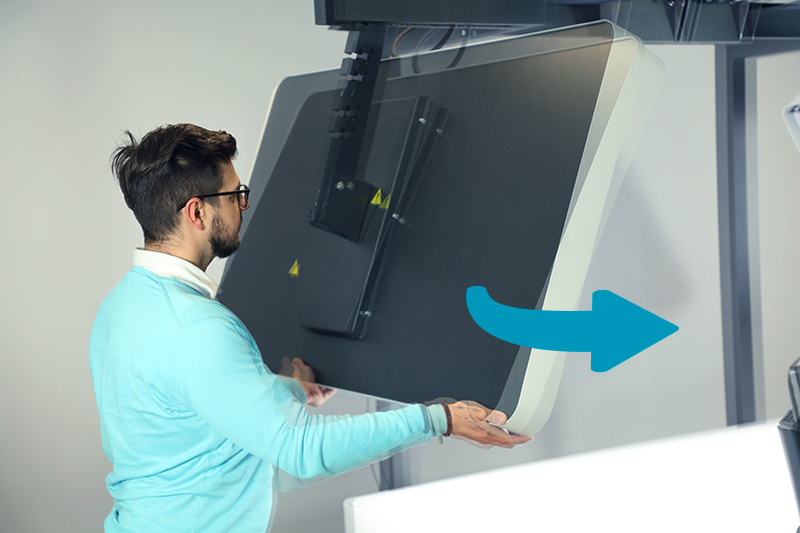
With the aid of devices dedicated to flat lay photography you can install the camera on a special mount above a backlit table. Lateral lighting is provided and controllable as to intensity and range.
A software suite streamlines the session and keeps all the steps of the photo workflow in one place. The product can be automatically cut from the background within seconds and your photos published to a platform of your choice just as quickly.
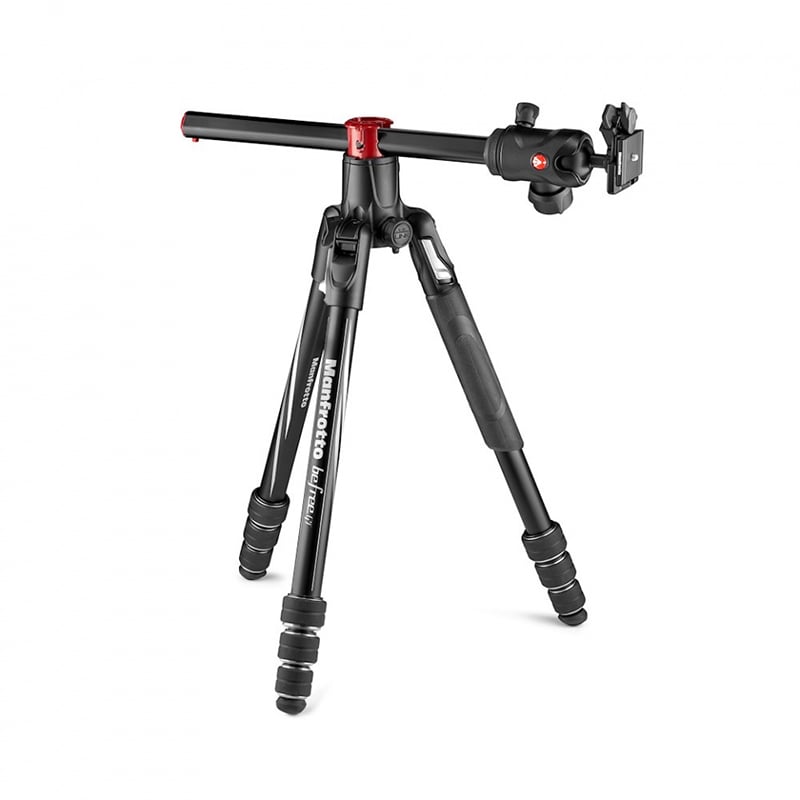
- Flat surface and a camera on a tripod.
In this case, the operator will be limited by the construction of the tripod. It will be important that the camera lens can be directed downwards and perhaps movable in a horizontal axis as related to the stand.
Sometimes, due to tripod height limitations, products will have to be arranged on the floor to ensure the right distance between the lens and the item. This method will suffer from the lack of backlit surface and little mobility. Post-production in photo editing software may be necessary to achieve white or correctly colored background.
- Manual shooting from above.
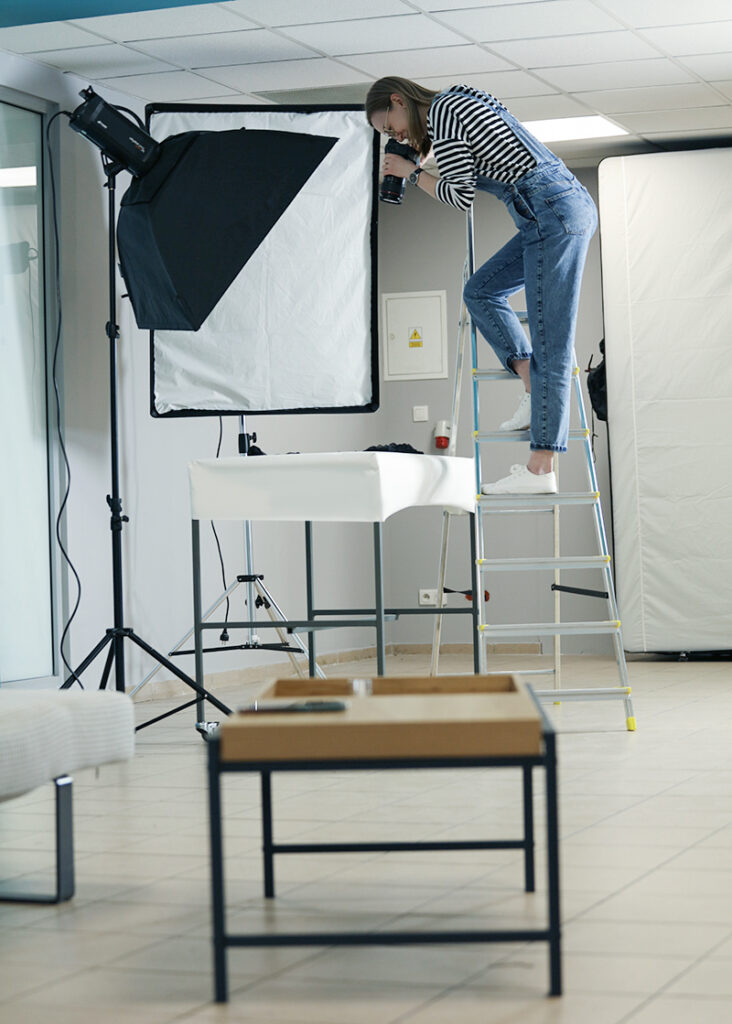
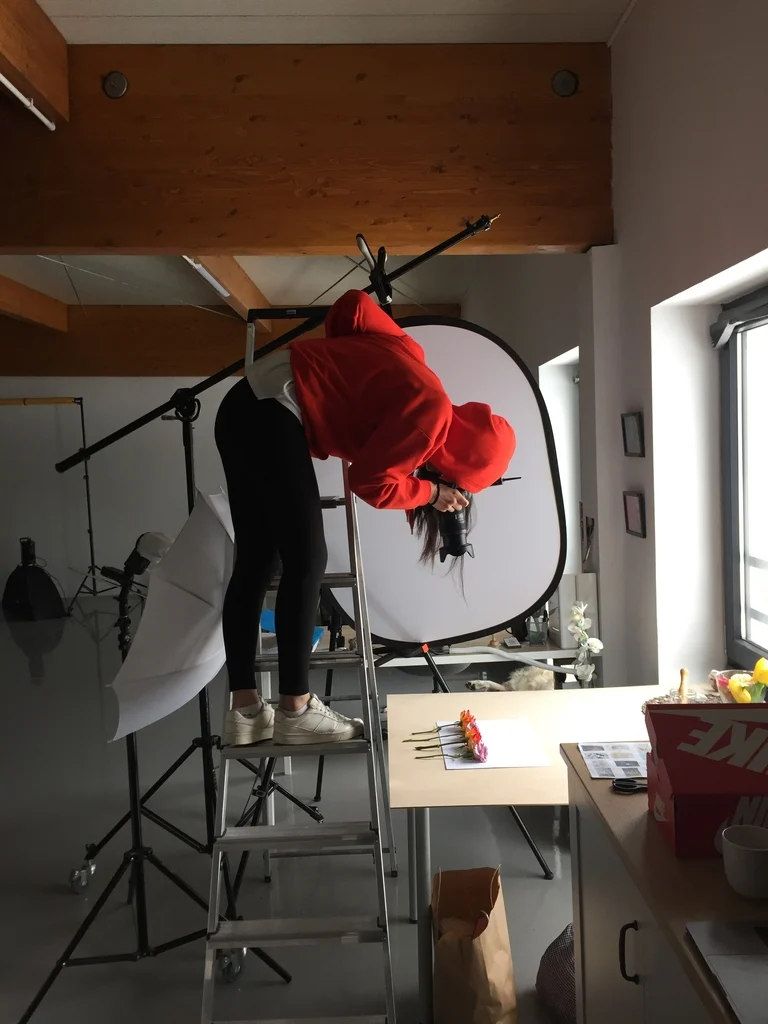
A simple solution to flat lay may be the application of a ladder and a hand-held camera. You will be able to shoot products on the ground or on a table. The lighting can be arranged freely around the scene and the whole flat lay clothing photography setup reminds of a traditional photo studio.
The downside to this method is the low repeatability of shots, as the operator slightly changes positions with each new approach. Also, a hand-held camera introduces limitations as to shutter and ISO speeds, binding you within a smaller range of camera settings. The rule of thumb is that when you hold your camera, the shutter speed needs to be twice the number of your focal length, e.g. 50 mm -> 1/100 s. Plus, the aperture should stay above f/8 to guarantee a relevant depth of field. Otherwise, if the lighting stays the same, the picture might turn out too dark or badly focused.
Quite naturally, manual post-production will be needed to arrive at RGB(255,255,255) background (in case of packshots) or adjust the contrast levels of the photo.
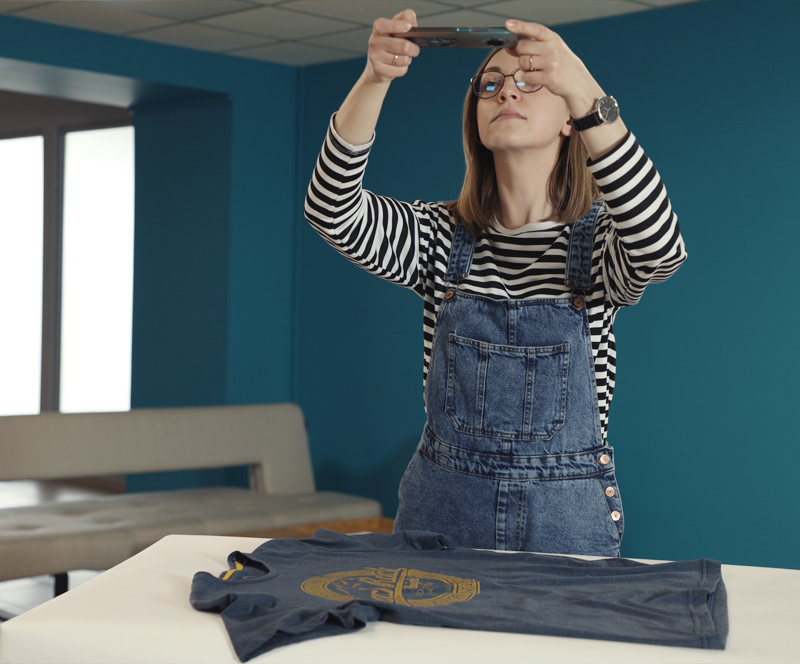
- Mobile phone and manual operation.
This simple method is especially popular with Instagram and auction app users. Many photos you find on Vinted or eBay will be taken with the use of a manually operated mobile phone camera.
This method does not pass the exam where a high repeatability of shots is required, i.a. for e-commerce platforms. The field of view changes with each move of the hand and the automatic exposition interprets the light differently at different angles, so that it is hard to achieve consistency in brightness and color.
Mobile phone flat lay photography is quick and easily available but not recommended for professional purposes. Its instability may direct you towards the use of a tripod in a traditional studio or a dedicated flat lay photography table. Convenient automation solutions will provide time-effective workflows, consistent results and high quality photos.
Let’s get to clothing – preparation
Flat lay clothing photography is not significantly different from the photography of other products. Most differences will be found in the preparation stage and later in light operation. For all stages the goal will be set by the general aim of the session – it’s either informativeness/precision or impression/creativity.
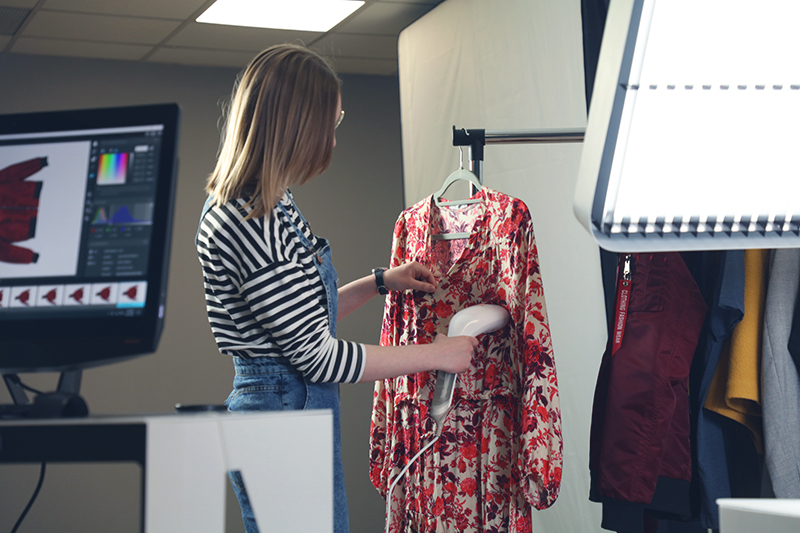
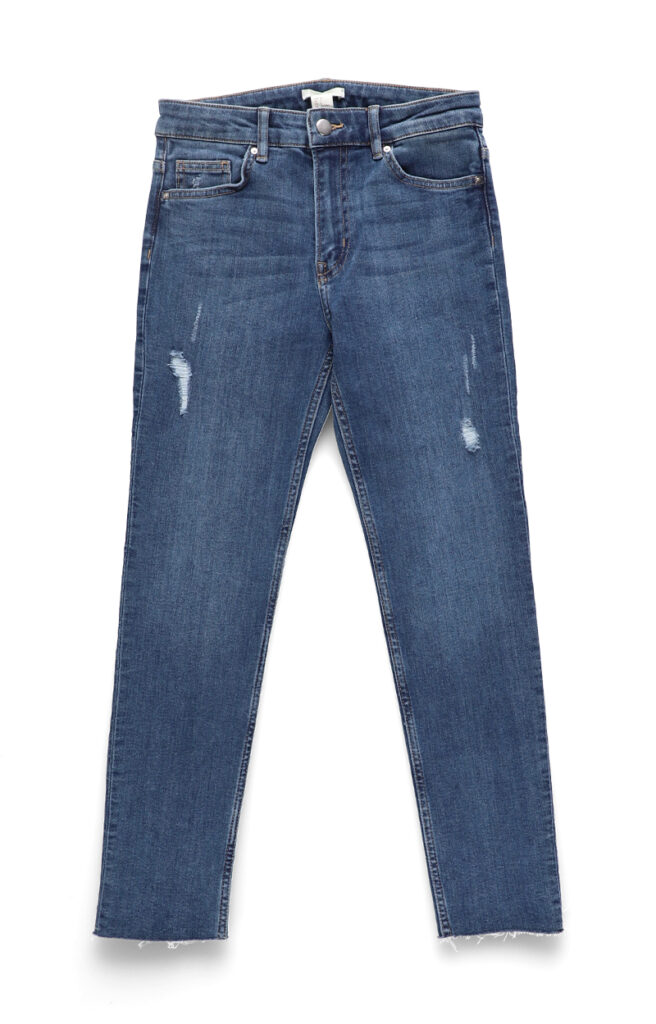
When shooting packshots, your clothing will need to be presented as close to reality as possible. Preparations will bring you to iron the piece of clothing and stretch it carefully on the photographed surface – any creases will be unwanted and unprofessional here. You will want to hide all labels and price tags and cut the unorderly looking threads. For lint removal, take a special tape roll and use it right before the session.
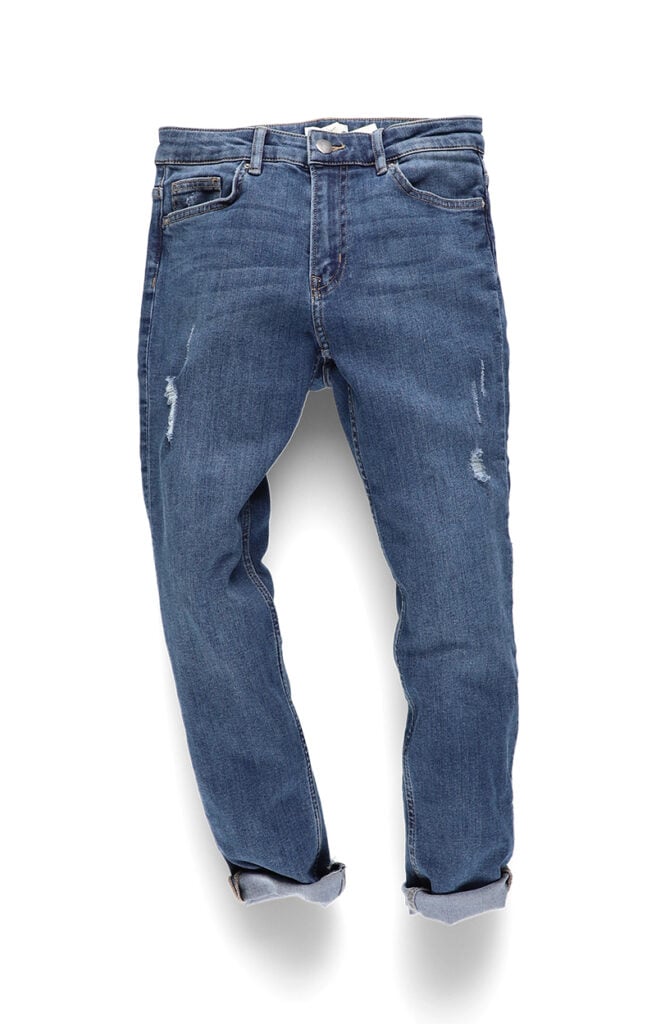
An ideal packshot might do the job for a main auction photograph simply by presenting all the details of the product. However, will it be enough to draw the attention of your customer and make them have a closer look at the following shots?
For this you can refer to still life photography, where you will have more freedom to go further with clothing preparation. Try to attach additional, eye-catching effects. Lay out the piece in a natural, folding way, just as it would cover a body. Add a few supporting accents such as a cute gadget in the corner or a glimpse of the wood texture of the table.
As a next stage, you proceed to light the product. Photographic creativity and a little experience will be welcome to produce ideal packshots and stills.
Lighting – show the texture!
TIP: How do you light a flat lay photo?
Lighting will be the parameter you might struggle the most with, as it directly and visibly influences the look of the photograph. Getting it right, or in-line with your goals, will be the key to quality flat lay photography. In most cases, you will have natural daylight at your disposal and several options to provide additional lighting from lamps.
Daylight and still life
Daylight, although better when diffused, will be the creative solution, good for still life photographs. Mind that its temperature changes together with time of the day. Make the best use of this by pairing warm light with warm colors for coziness and homeliness effect. Colder light and colder colors will get you closer to sharp and expressive fashion.
However, not to distort colors, it would be advised to apply the impression of warmth or coldness in post-production and rather photograph with neutral light. You can use a big window with diffuser panels, so that you produce subtle, natural shadows. Simple white curtains will do. What is important here, will be the color of the diffuser – white is the only that does not distort light.
Lamp light and packshots
For packshot photography of flat lay clothing, you should use plenty of artificial light adjusted to neutral color temperature (around 5500 K).
Lamps dedicated to photography or video will do a good job, both as strobes and as continuous light. Their light will be best diffused with the use of photographic diffusers and softboxes. This will help you to achieve low-contrast shadows, which will not divert the attention of the viewer and make cutting in post-production easier.
Remember to light the product equally, as this will prevent deep shadows and expose all of the details.
Packshot photographs are often required on big selling platforms such as Amazon. You will find guidelines as to what and how to photograph in their tutorials and, in case of Amazon photography, in our dedicated guide.
Showing the texture
Clothing belongs to the difficult category of products where the customers lay much emphasis on the feel and touch in their buying decisions. To maximally expose the texture and provide quasi-sensory information, flatlay clothing photography has to handle the light correctly.
It is important to keep the shadows soft and detail-rich, which is achieved through various levels of light diffusion. It is exactly the shadows that will inform customers on how the material creases and whether it is rather rigid or soft.
The light that shows the texture will have to be applied from the side, at an angle. The play of light and shadow will underline the weave of the textile and the little grooves between the threading. It is important to point the lamp not at a straight angle (90 degrees), which means that it is not placed in the same line as the camera. You can try a slightly wider angle from above or from the side of the item. The example below shows how a professional solution, a flat lay photography table from Orbitvu, lets you approach the lighting of your clothes.
Capturing Flat Lay Clothing Photography Images
During the photo session you will need to stick to the basic recommendations of product photography. They will refer to choosing the field of view, camera settings, and will stay relative to the product type you choose. We have written extensively on the ways and shortcuts to taking perfect packshots in our complete guide to product photography and one dedicated solely to camera settings.
First, to shoot flat lay clothing, make sure your focal length is above 35 mm. This will let you avoid distortion in the corners of the photo and keep the right proportions of the item.
Second, pay attention to the camera settings triad of shutter speed, aperture, and ISO speed. With your camera immobile on a tripod or mounted at a flat lay photography table, you will be able to better adjust these three parameters.
The lowest possible ISO speed (ISO 100 or ISO 200) should be paired with mid-range aperture values (f-stops between f/11 and f/18). This way you will avoid noise and operate at the highest sharpness level of the lens. The tripod will allow the application of lower shutter speeds, which in turn may expose beautiful soft shadows on the creases of the material.
Finally, don’t forget to set the manual white balance with a grey card, so that your camera renders the colors in the most faithful way. A short instruction video for this setting is available here.
Post-production
The key question you will answer at the stage of post-production is whether you need to cut the product from the background or not. Also, you will consider the color palette of the image.
It is generally advisable to remove the background from a packshot to reduce the possible lens-induced effect of darker corners of the photo. Software such as Adobe Lightroom will be helpful to remove the effect, should you resign from background removal.
By cutting the product, you will also avoid contrast issues resulting from the whitening of the background to pure RGB(255,255,255). The effect you will be aiming to avoid usually manifests itself as a foggy whitish look on the glossy surfaces (and clothes may well have plenty of shine!) or a lack of border between the item and the background. Cut it before adjusting contrast levels and the issue stays irrelevant.
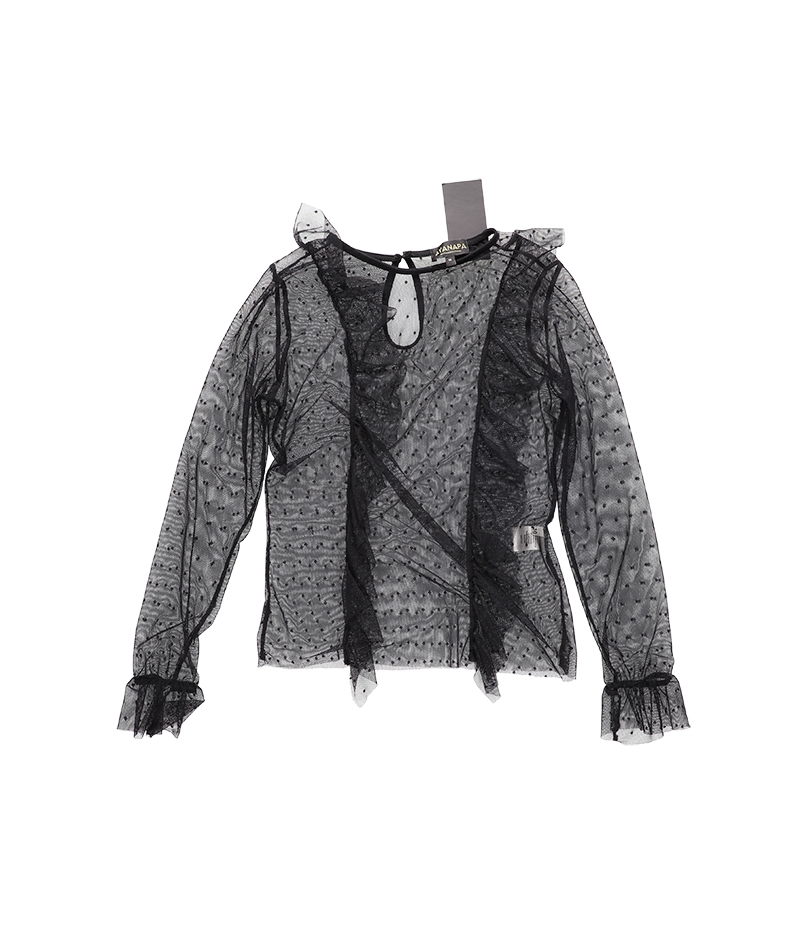
Good contrast
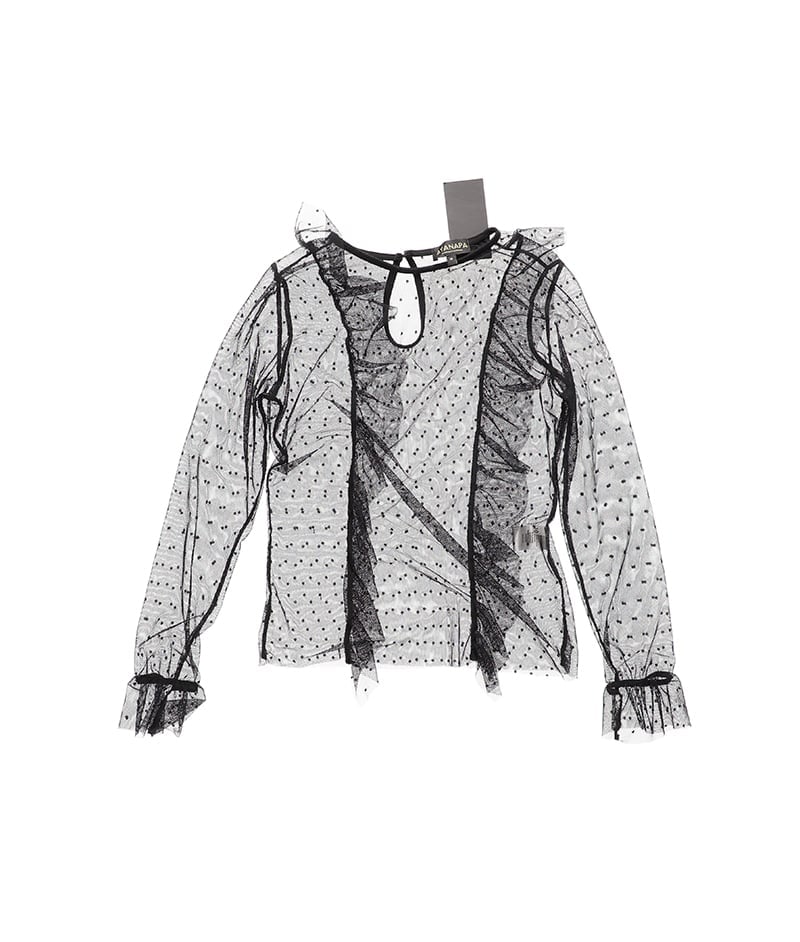
Bad contrast
A properly cut piece of clothing will have smooth edges and no imperfections in border delineation between the background and the item. Automated technologies might help you to achieve this much quicker than a manual Photoshop lasso-tool session.
With the intelligent masking technique, the background can be removed in seconds, still leaving you a level of control over the mask borders.
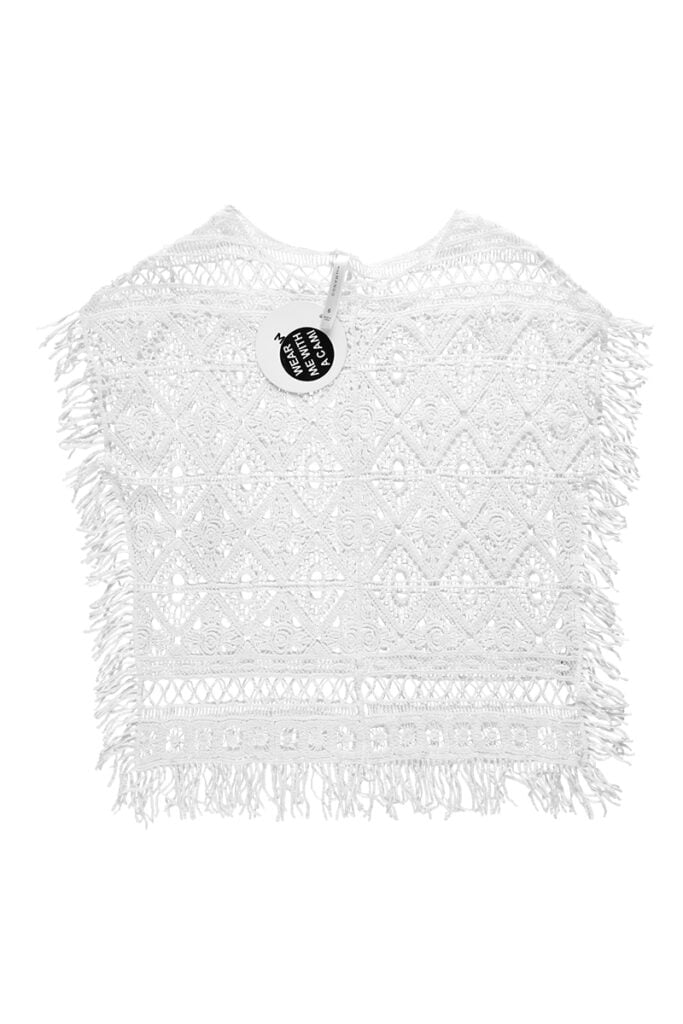
The item photographed
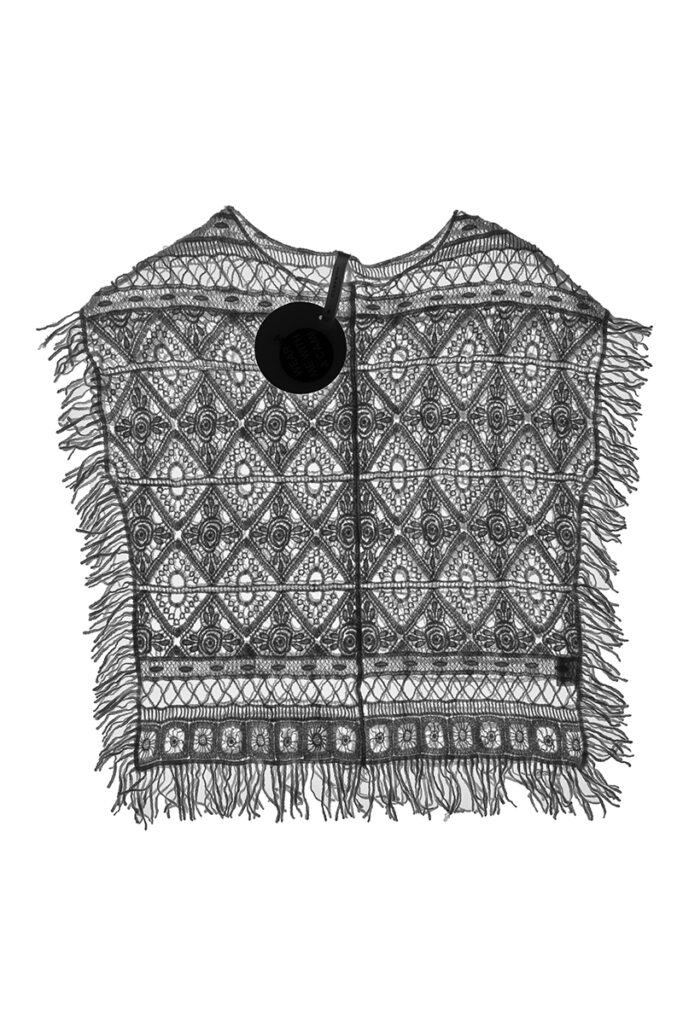
The mask used in intelligent masking
The decision as to color tones will be dependent on the fine balance between faithfulness to reality and the standout-effect you want from your photos. A balanced, faithful coloring is recommended.
To achieve it, you will need to coordinate light, camera settings, and post-production with the final effect always in mind. Light color temperature, camera white balance, and effects such as vibrance and saturation from the editing software will be important all the way.
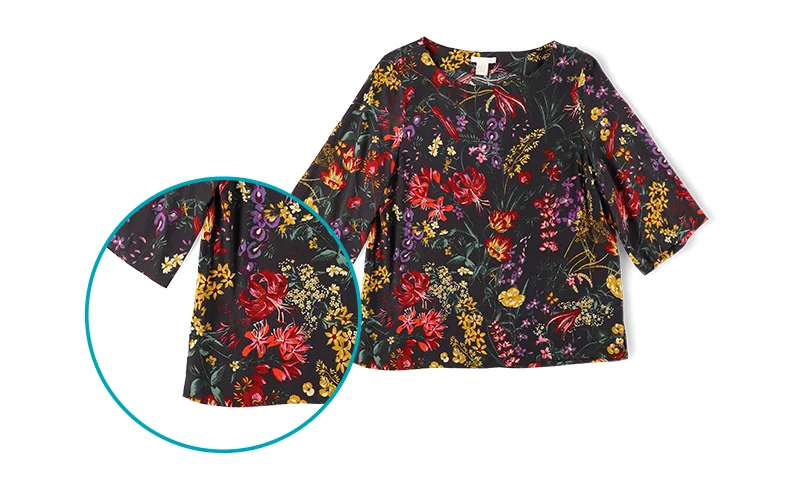
Correct color palette
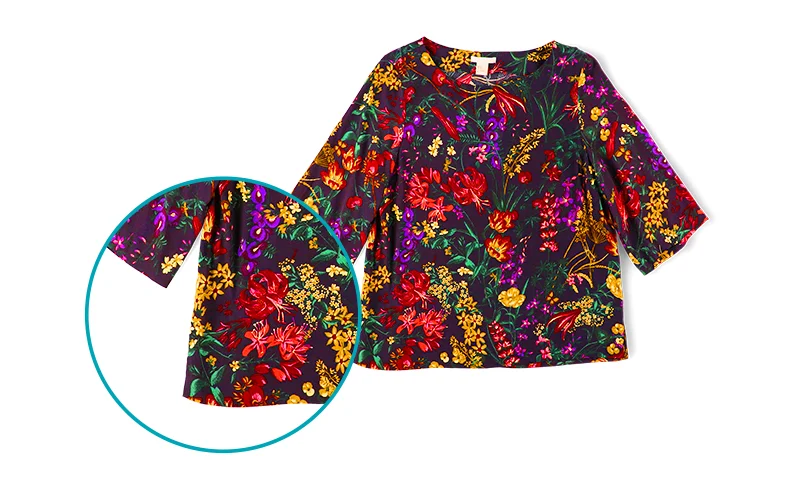
Incorrect color palette – too saturated
Final thoughts
Flat lay photography is a great, simple idea to present your clothes. The multiple shots you prepare cover the piece in full extension and provide the customer basic information as to color, shape, and functionality.
However, the best effect can be achieved by pairing flat lay photography with presentation on models. More information, especially size and proportion, is conveyed through this combination, which directly leads to increased buying confidence.
In your e-commerce, you might take the path from cheaper flat lay to more expensive model photography gradually. Your good company will always be studios and photographic equipment. The question whether to apply various levels of automation will surely appear as the time and money costs grow.
With the knowledge and experience in product preparation, light, and the session itself, you will be better equipped to make use of modern photographic conveniences such as streamlined workflows or automatic cutting of the background.
With this manual as a starter or a roundup of what you’ve already learned, keep practicing and feel free to ask us questions on flat lay and automation solutions.
Contact us
Contact us
Got questions? We'd love to hear from you. Send us a message and we will respond as soon as possible.
Products
Products
Articles you may also like
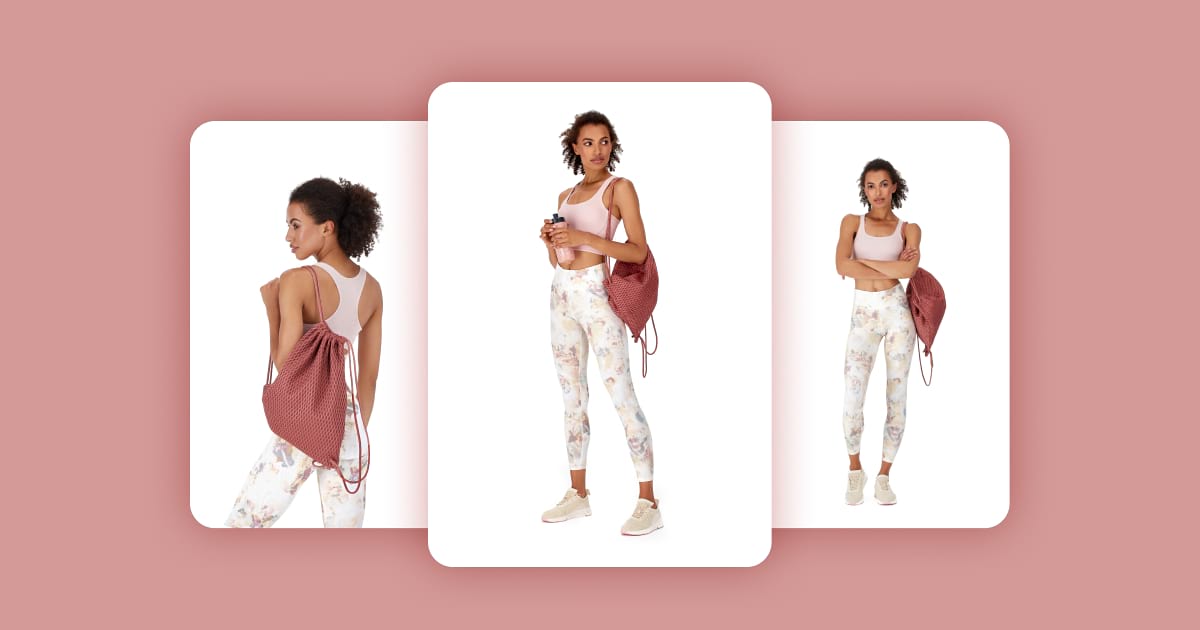
Model photography is simply more than just photography. With the first session you arrange, you are in for a world of extra-p...

See the power of product photography automation for yourself – after all seeing is believing! Orbitvu USA will open their Atl...

Whether you are new or already a practitioner in jewelry photography, you may already know that it is one of the most difficu...


