July 23, 2026
What is Orbitvu's AI OCR, and how does it work?
Meet Orbitvu's AI OCR: extract labels, part numbers, and product data straight from your images and turn it into structured metadata inside Orbitvu Station.
The right lighting can boost ecommerce product sales. Set up your product photography lighting with these helpful tips and start selling now.

Table of contents
Product photography is about more than getting a decent picture. The goal is to get the right objectives for taking these photos. Lighting is crucial in product photography as it can dramatically affect the clarity, mood and overall product presentation.
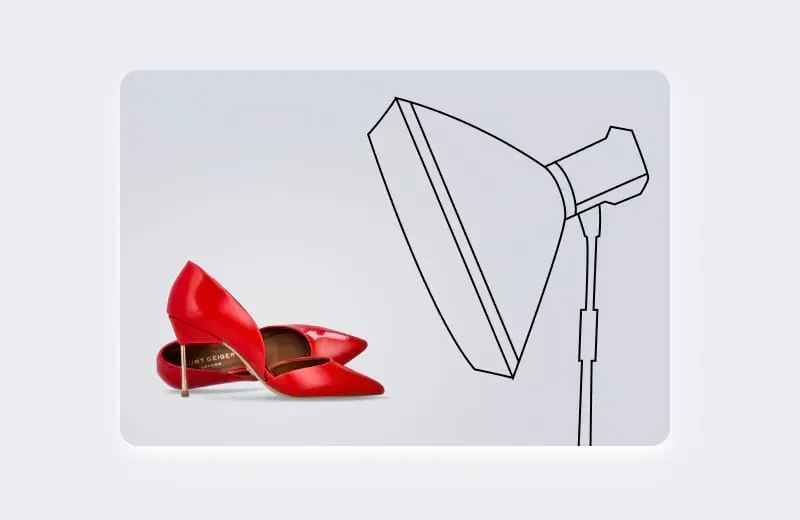
Three crucial components of a lighting setup for product photography are a light source, a reflector and often a diffuser to even out illumination.
It is essential that photographers understand and master lighting equipment to achieve their desired creative vision and produce high-quality images. There are endless ways in which you can position lighting for various effects. Which of these techniques you use depends on the artistic outcome that you are after. There is also the option of lighting automation, which will shorten the time you spend on setup and the time you spend to get your photos ready for publishing.
The best product photography lighting depends on the type of product you are photographing, the location and the photography gadgets you have on hand. Generally, your choice of lighting source will be between natural and studio lights. There are, however, various adjustments you can make. Each of these offers different advantages and suitability for an array of products, outcomes and shooting environments. These lights and adjustments include:
Lighting equipment lets photographers control lighting direction, intensity and quality to get the right shots. Equipment you will need to support your lighting setup includes modifiers, light stands, control accessories, background support systems and power sources. If you are setting up a product photography session in a studio, get the following equipment:
Product photography can ensure sales, as 70% of consumers will buy products with decent, reliable photography. The way that you position lights can add more of a three-dimensional look to the products you are photographing. With the right placement, you can highlight product features and add the right atmosphere or mood to the entire shoot.
The central lighting positions you will use include side, back and front lighting, but you can add many more angles and combinations of these to your setup. One example is an accent light, which highlights product details, like logos and textures. It will sit at a higher angle than your other light sources, directing right at the area you want the light to accent.
Placing the lighting sources at a 90-degree angle from the camera gives you side lighting. It creates strong shadows on the sides of the product to emphasize depth and texture for drama or more dynamic visuals. Products like fabrics, jewelry or sculptures with intricate details or textures benefit the most from intense side lighting.
When you position a light source behind the product, facing the camera, you create a halo effect around the product's edges. The luminous glow that follows separates the product from the background. Backlighting or rim lighting creates depth by highlighting the edges of the product. But it can also add transparency to products with reflective or translucent surfaces, like glasses. You can use this lighting position to highlight a product's outline or silhouette to make it stand out against the background.
Positioning a light source in front of the product, facing the camera evenly, illuminates the product's whole surface, minimizing shadows and offering maximum visibility of its details. This technique showcases colors, features and shapes with intense accuracy and clarity. E-commerce images that display products in a minimalist, straightforward manner will often use this lighting technique.
Remember to focus on more than optimal illumination while preparing for a product photography session. It is important to take test shots and make adjustments before you start and on the go. Follow these steps to set up your next photoshoot:
Adjusting your setup may include moving lights around, switching the angle or increasing the lights' height. Moving the reflector changes the angle at which light bounces back onto the product. So start with the reflector facing your light source directly and then play around with the position until you find the right aesthetic.
When you are happy with your lighting setup, double-check your camera settings to get the best quality images. These settings will include shutter speed, ISO and aperture, which will ensure optimal image quality. Test your setting by taking multiple shots from different angles and make minor adjustments to your lighting and composition as you need to.
For small to medium-sized products, set up a table with a shiny white acrylic plate in your studio. The reflective surface gives extra light reflection from the bottom. Put a similar plate vertically behind the product, backlighting it with a softbox for even background lighting. Add another, larger light above the product for general illumination that lowers the contrast of your photos, whether you are photographing a shiny, dark or white product.
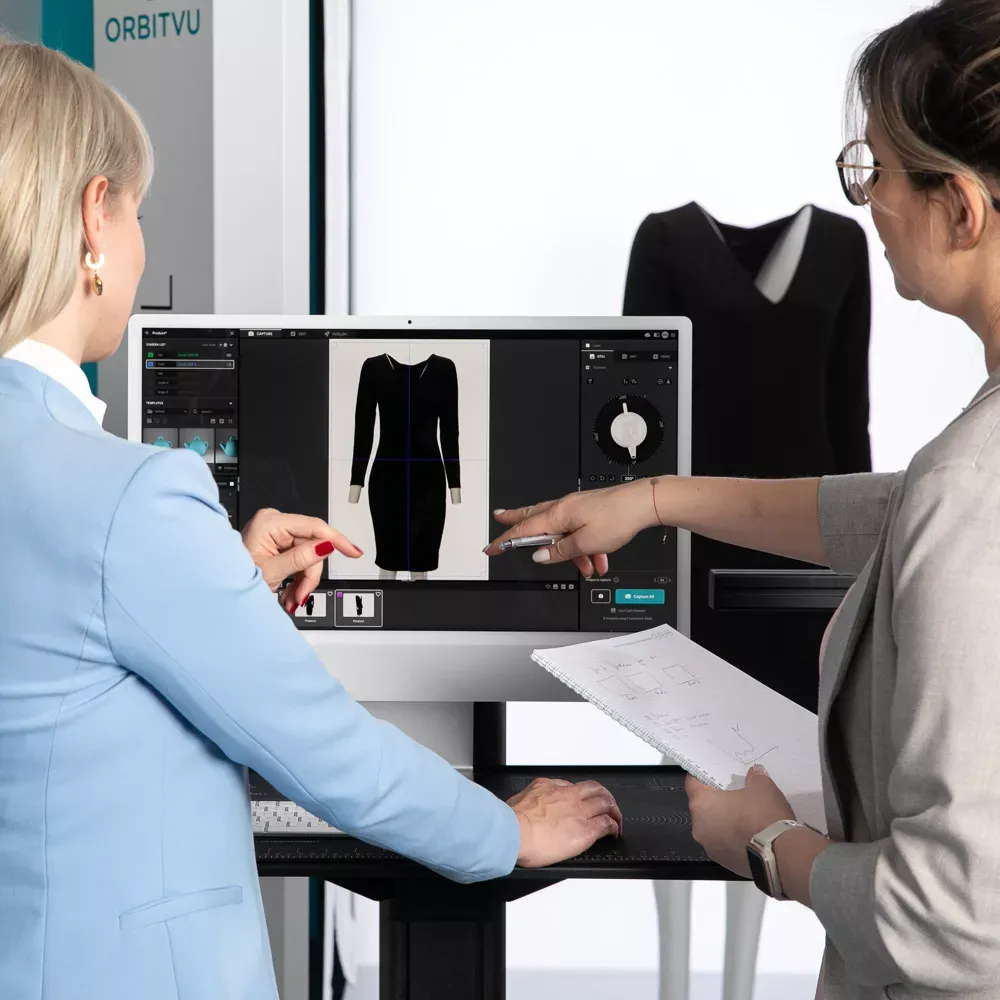
In product photography, especially for e-commerce purposes, shoppers want to see all product angles, essentially mimicking holding the product in their hands. When you have a solution that combines image capture with light control and post-production as a bonus, you have a streamlined way of creating product photography. Some lighting benefits to look forward to when you use automation software include:
You can opt for the best of both worlds with automated photography solutions. With the Obitvu Product Photography Systems, you get LED continuous light with a CRI 98 rating and temperature of 5500K. You essentially get a controllable natural lighting setup with consistent color accuracy. This takes away the pressure of playing around with lights, giving you a streamlined process with more time to be creative. Orbitvu offers solutions for:
Experimenting with lighting setups and techniques can help you get the perfect look for your product photography. Play around with lighting angles and distances with intensity adjustments. The key is to practice and exercise patience or to find an automated photography product that helps to improve the caliber of your images.
We offer comprehensive photography solutions, which include powerful software. Orbitvu Station is an e-commerce photo editing software with hardware integration. It automatically helps with background removal, does the image post-production and helps you publish it on various platforms. Streamline your product photography with our solutions today or contact us for a quote.
Use the form to tell us what you are planning and what kind of product content workflow you need.
July 23, 2026
Meet Orbitvu's AI OCR: extract labels, part numbers, and product data straight from your images and turn it into structured metadata inside Orbitvu Station.
July 15, 2026
Meet Orbitvu's AI Masking: automatically remove the background from product photos in high resolution, right inside your Orbitvu Station workflow - no design skills needed.
July 14, 2026
Meet Orbitvu's AI Retoucher: automatically remove reflections, correct colors, and clean up imperfections right inside your Orbitvu Station workflow.