Top 5 product photography tips to help you sell in 2021!
93% of consumers consider visual appearance to be the key deciding factor in a purchasing decision; therefore, for eCommerce businesses, high-quality product photography is key for sales. Here’s five great product photography tips and tricks this Halloween to make sure you look like a professional product photographer in 2021. These 5 product photography tips and tricks are typically found on photography blogs, however many don’t take automated product photography into account so we’ll discuss how investment in this option would scarily be the best photography trick this Halloween for professional higher-quality product photography for 2021 and beyond.
PRODUCT PHOTOGRAPHY TIP 1: USE PROPER LIGHTING
For high-quality product photography, your photo studio lighting set-up is the key; and it is the place you should start as this will determine how everything else on the product shoot goes and what product images you are able to create. We can not emphasize the importance of this product photography tip. Think about it without proper light, neither your product nor your background is going to appear how it does to you in person. According to Tony Northrup from the Digital Photography School: “A white background without light doesn’t appear white in the photo, it appears grey.”
Artificial v Natural Photography Lighting
Two options have typically been used as a product photography light source: artificial lighting and natural lighting. The discussion around which is better has and always will be a controversial discussion amongst our photographer friends. However, it ultimately comes down to the type of product photo that you are creating and knowing how light works so you can make the right choice to get the job done. The product that you are photographing, the volume of product you need to shoot, the purpose of the product photo, and the platform on which you’re advertising or presenting your product will help you decide which product photography lighting setup to go for.
Natural Product Photography Lighting
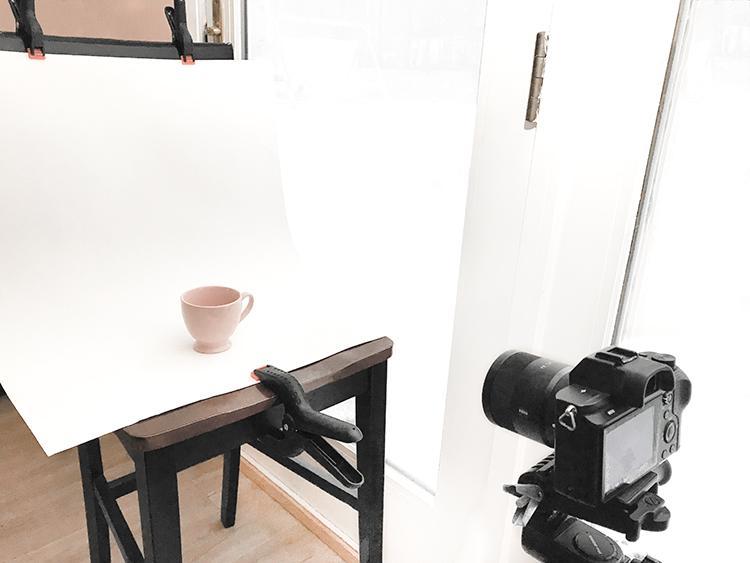
In our experience from working with many types of product photographers, most started out in photography using natural light. It requires minimal gear and is therefore a good starting point in the product photography learning process. However, with natural product photography lighting you are at the mercy of time of day and weather; so if you have a high-volume of product to shoot, relying on a natural light set-up will not allow you to shoot high-volume and will not allow product photographers to produce consistently high- quality images with the same look and feel.
Artificial Product Photography Lighting
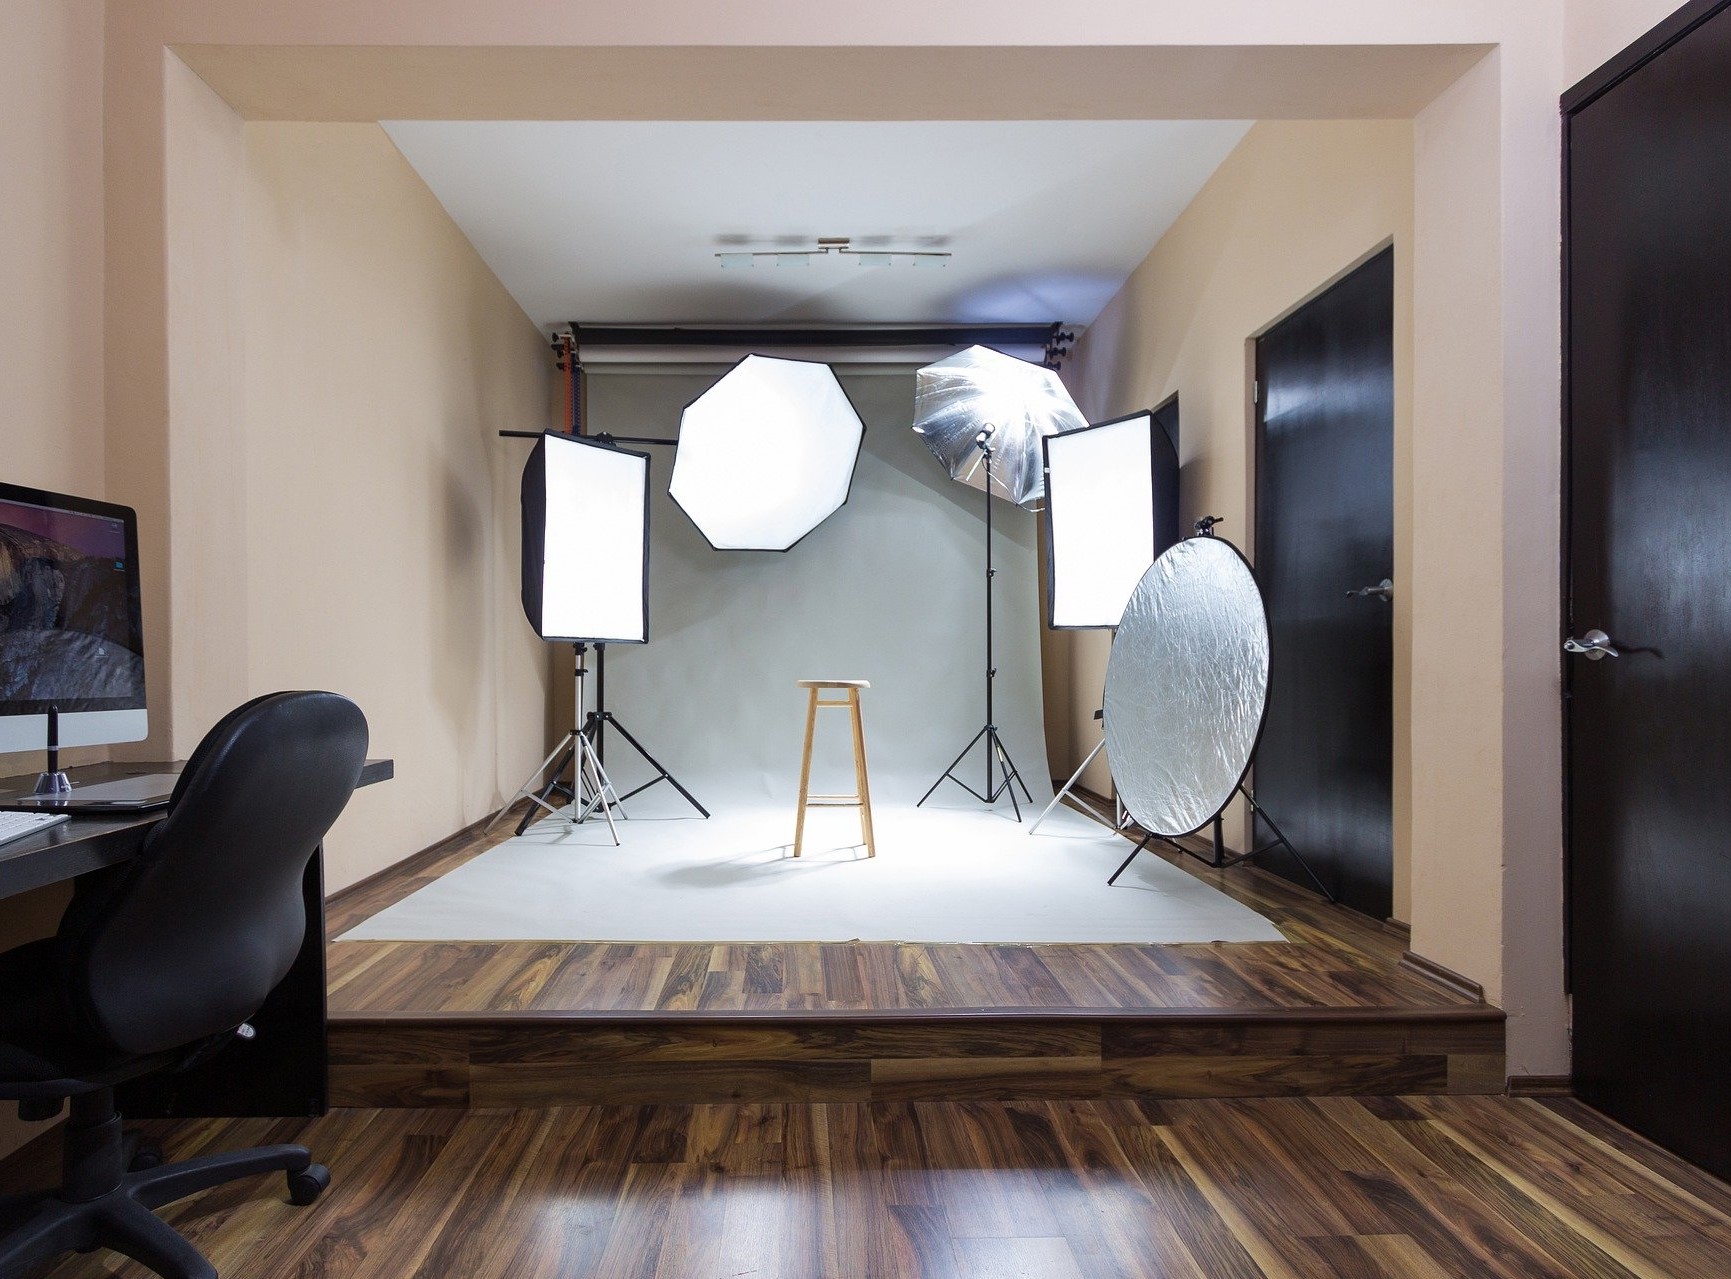
The use of artificial light as a light source in a product photography studio typically involves building a studio lighting set-up using strobes and other types of lights, stands , reflectors and diffusers. This can be laborious to set-up and when combined with fighting daylight to change setup as the shoot day progresses, it becomes a lot of hard work.
If this is the way you go, you’ll need at least a set of two continuous lighting kits to allow for more versatility with artificial lighting setups. Most studio photographers start out using Fluorescent lighting kits as they are generally easier to find and do not overheat. LED lights are a safer option to tungsten lighting because they do not overheat as much. Regardless of which color balanced bulbs you use for your studio lighting, remember to set your camera’s white balance to Auto or specifically according to the type of bulb you’re using to make sure you get accurate colors. You will then need an adjustable power kit, to control how much the amount of light that is emitted. This will allow you to manually manipulate your light and saves you having to adjust the light by changing the bulbs manually.
An alternative is using Speed Lighting Kits, which are external flash units that can be used with umbrellas and soft boxes to disperse light. Speed lights are a great alternative as they are very lightweight for setting up quickly and are portable so are effective for mobile photo studios.
The last option is to use Moonlight Strobe lighting kits. Mono lights are self-contained strobe units that include power sources, reflectors and stands. There is no need for an extra power generator because all of that is contained in the head of the lamp. Each strobe mono light should be 150+ watts so that they are powerful enough to light your products.
There are many types and ways to use artificial lighting and there are many starter and advanced-level kits you can research and invest in. It is recommended if you are going to invest in artificial lighting kits, we recommend that you buy at least two light sources so that you have ample light when you need it. Having a set of two lights will allow for more versatility in your lighting setups and, allow you to be more creative.
Automated Studio Product Photography Lighting
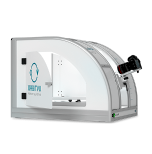
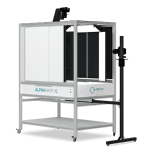
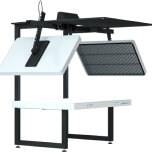
Orbitvu’s automated product photography solutions provide the best of both worlds when it comes to product photography lighting. Automated product photography solutions allow photographers to photograph products anytime of the day right from their in-house studio, and consistently produce large volumes of high-quality images. This is because the LED continuous light used in all Orbitvu Product Photography Systems is a daylight (CRI 98) with temperature 5500K! Therefore, this is a great way to get a natural lighting set-up and the best thing about that is you can control it! This helps even the less skilled photographer with achieving consistent color accuracy in shooting product images and/or video. Each product photography system comes with its own set of unique light zones that users can customize. This allows photographers to control the lighting they use to capture a product photo with the click of a button. This flexibility allows photographers to go beyond standard ecommerce product photography for your online store and be more creative to capture a product photo or video for social media or an editorial piece as seen in this video.
PRODUCT PHOTOGRAPHY TIP 2: USE SIMPLE PROPS
When it comes to product photography props, do not get overly ambitious! Props are nice and can help brighten product images for your shoppers and give context to your product. However, our product photography tip for using props is to keep the focus of each product photo to the product. Therefore, err on the side of light when it comes to props: keep them simple, aligned with the color scheme, and relevant to your product.
When it comes to selecting props for a product shoot, the best way to keep it simple is by looking to maintain “transparency” with your customers. Photographing additional items with the product, that would not be included in a sale, might confuse the shopper and cause disappointment when they don’t get those additional items they had seen while purchasing. Therefore, it is important to show only what you are selling to the customer and not anything that they will not get at the time of delivery.
Let’s look at a couple of examples.
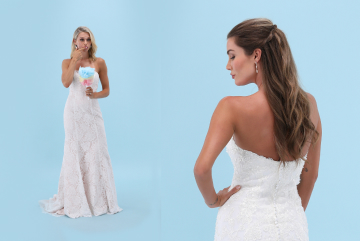
Bridal Gown for a Halloween Wedding
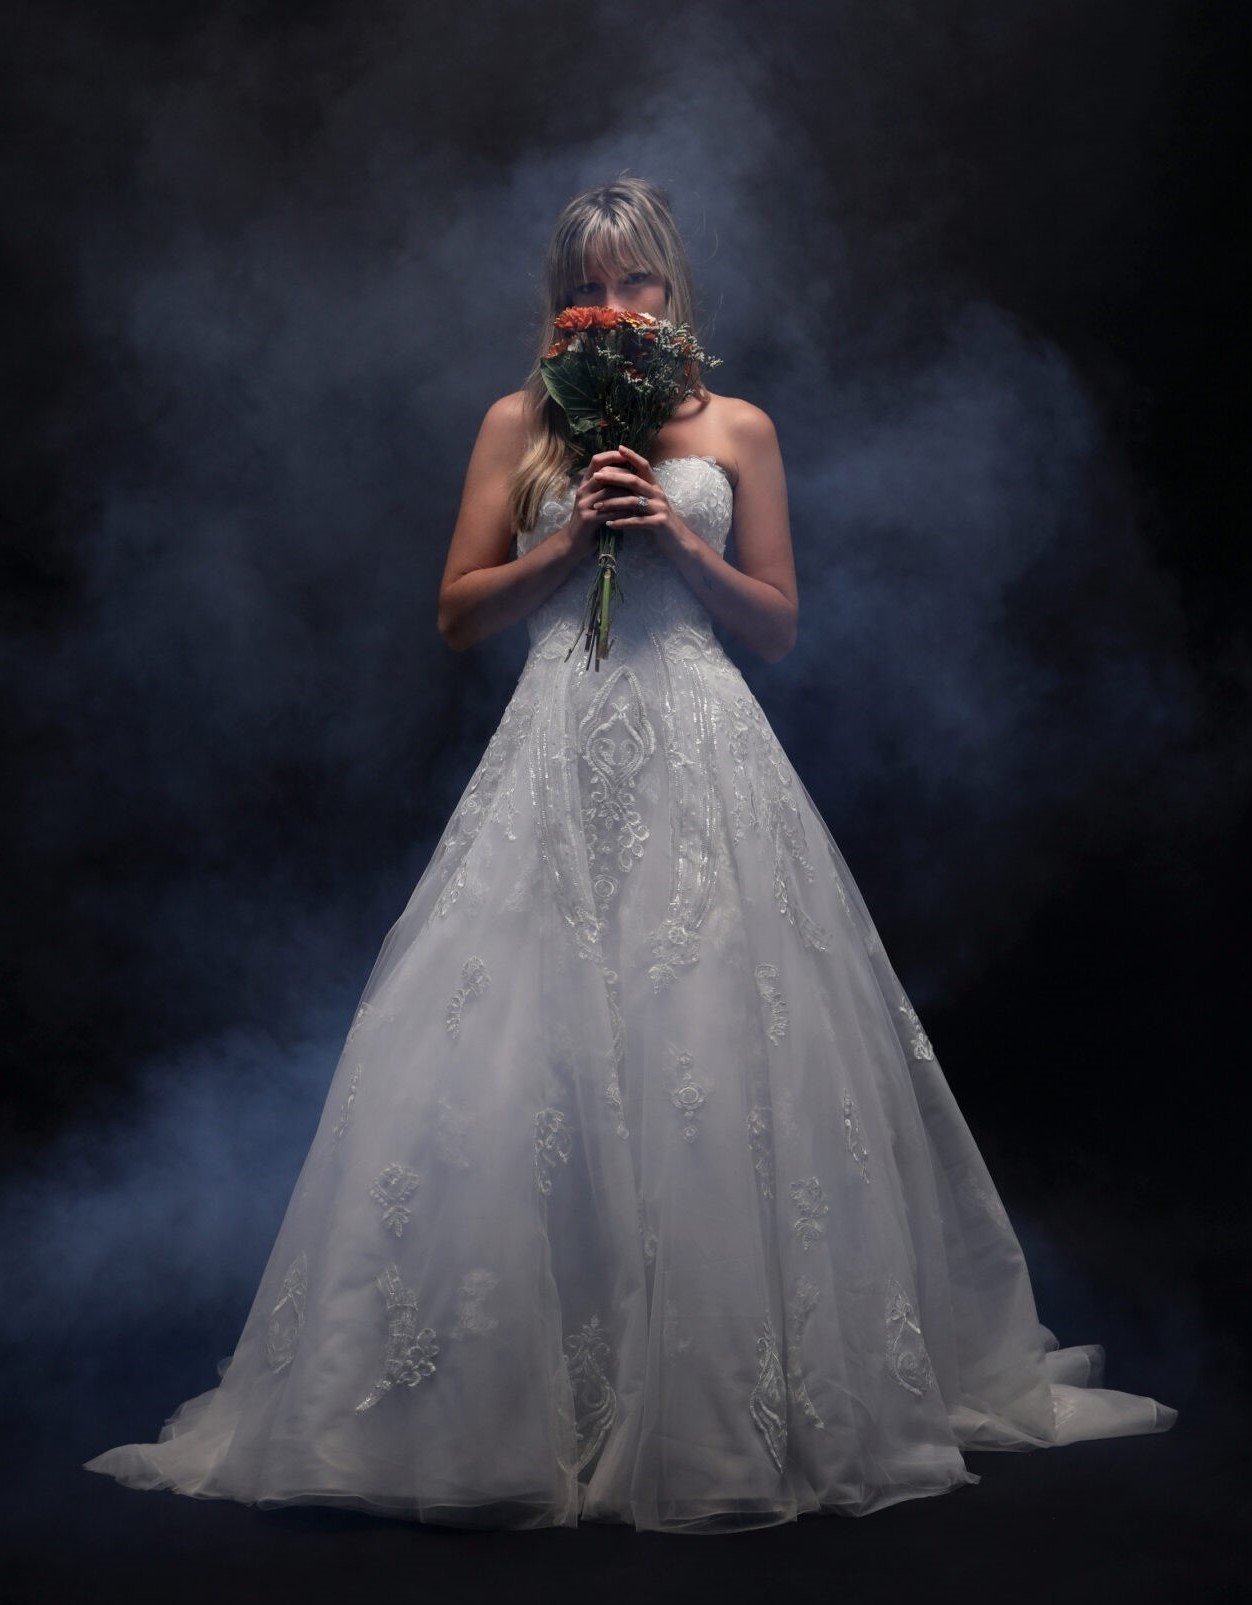
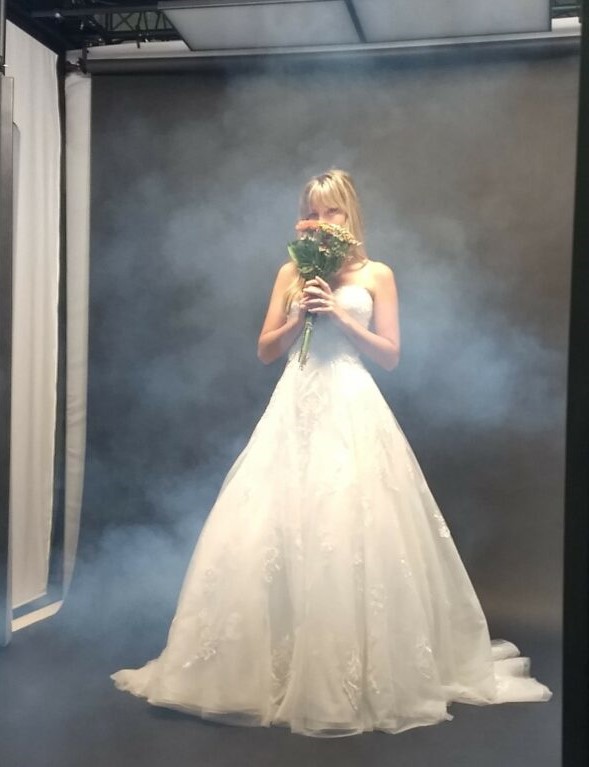
The creative team at Carrafina during a product (bridal gowns) photo shoot used a bouquet of flowers, in this case Mums were perfect for the season and a smoke machine against a black drop were perfect for capturing a bridal gown on-model for a Halloween themed wedding.
Wine eCommerce Photography and Valentine Photography Shoot
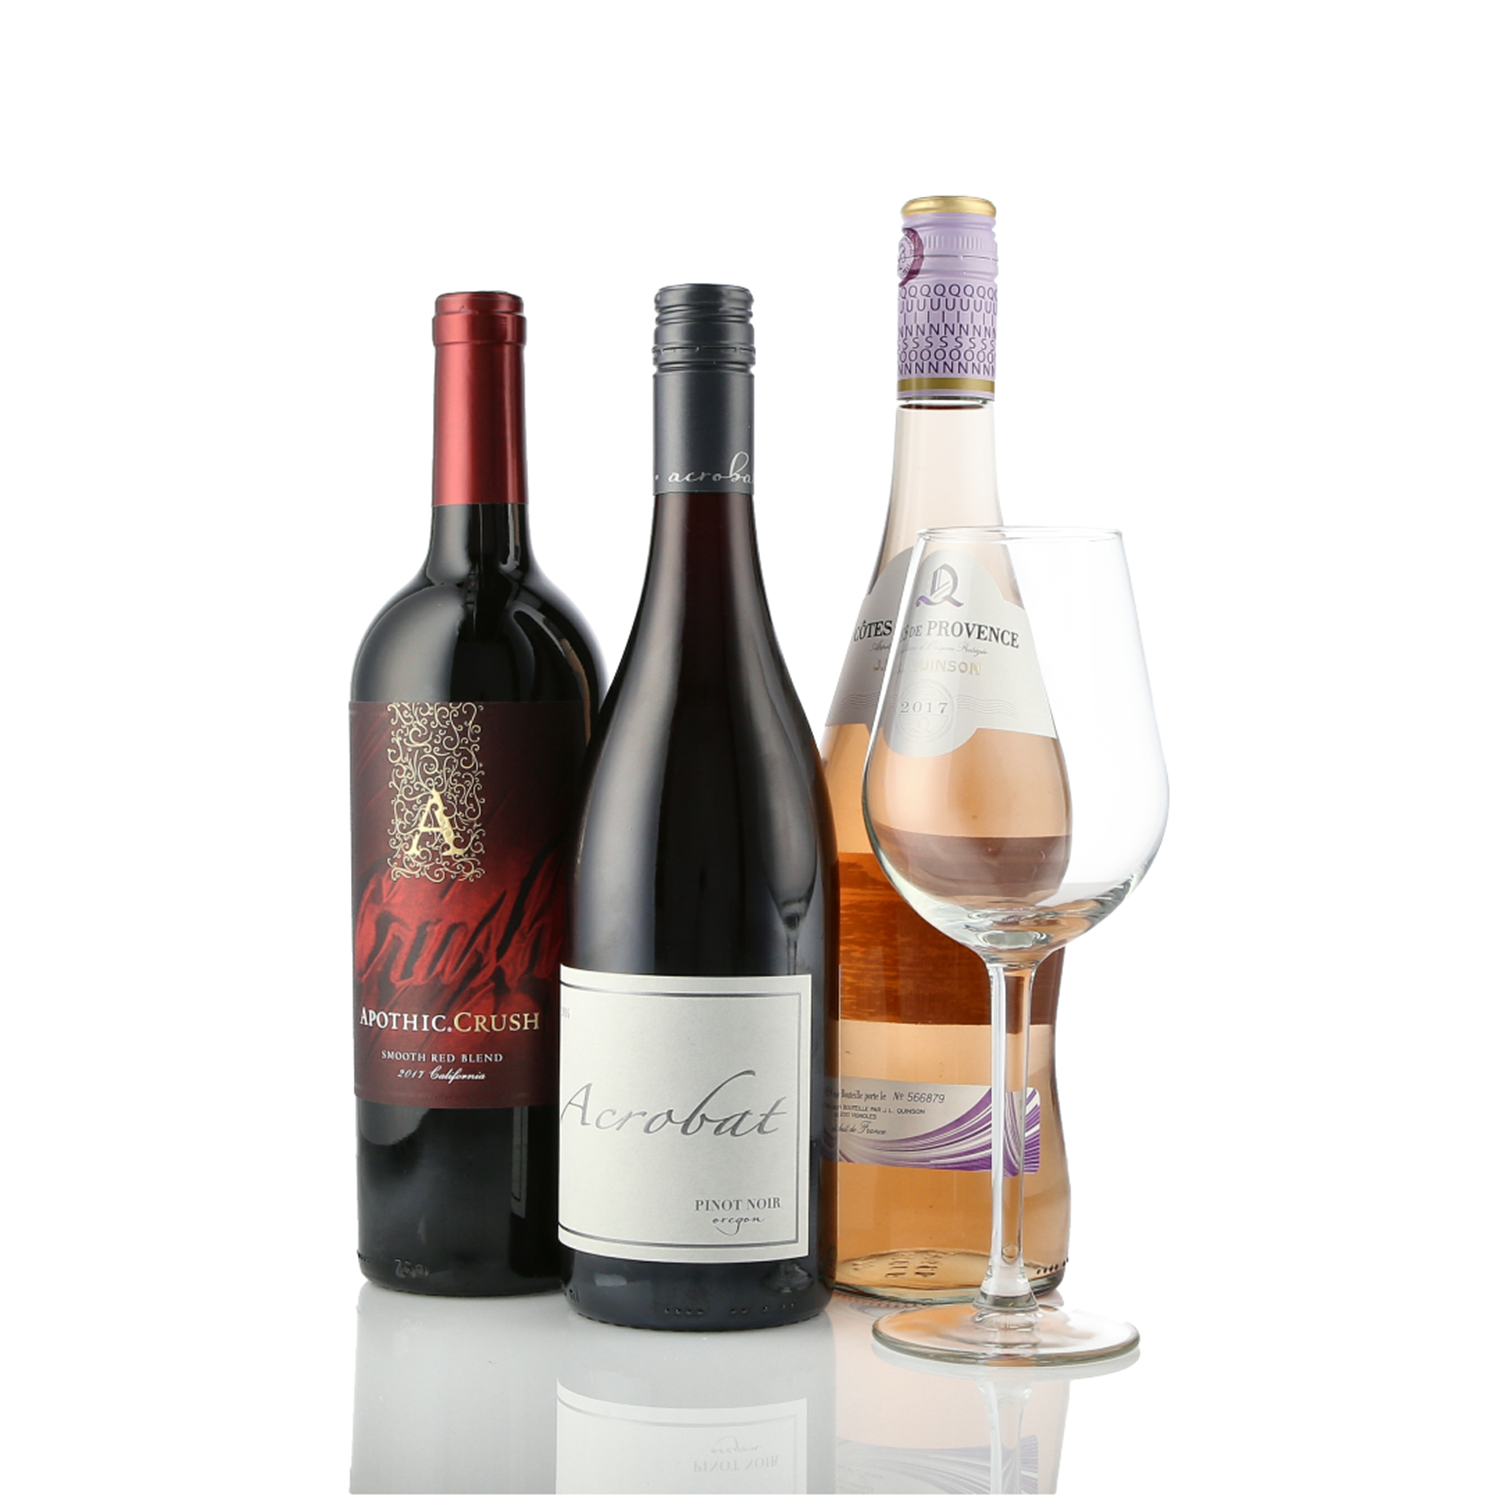
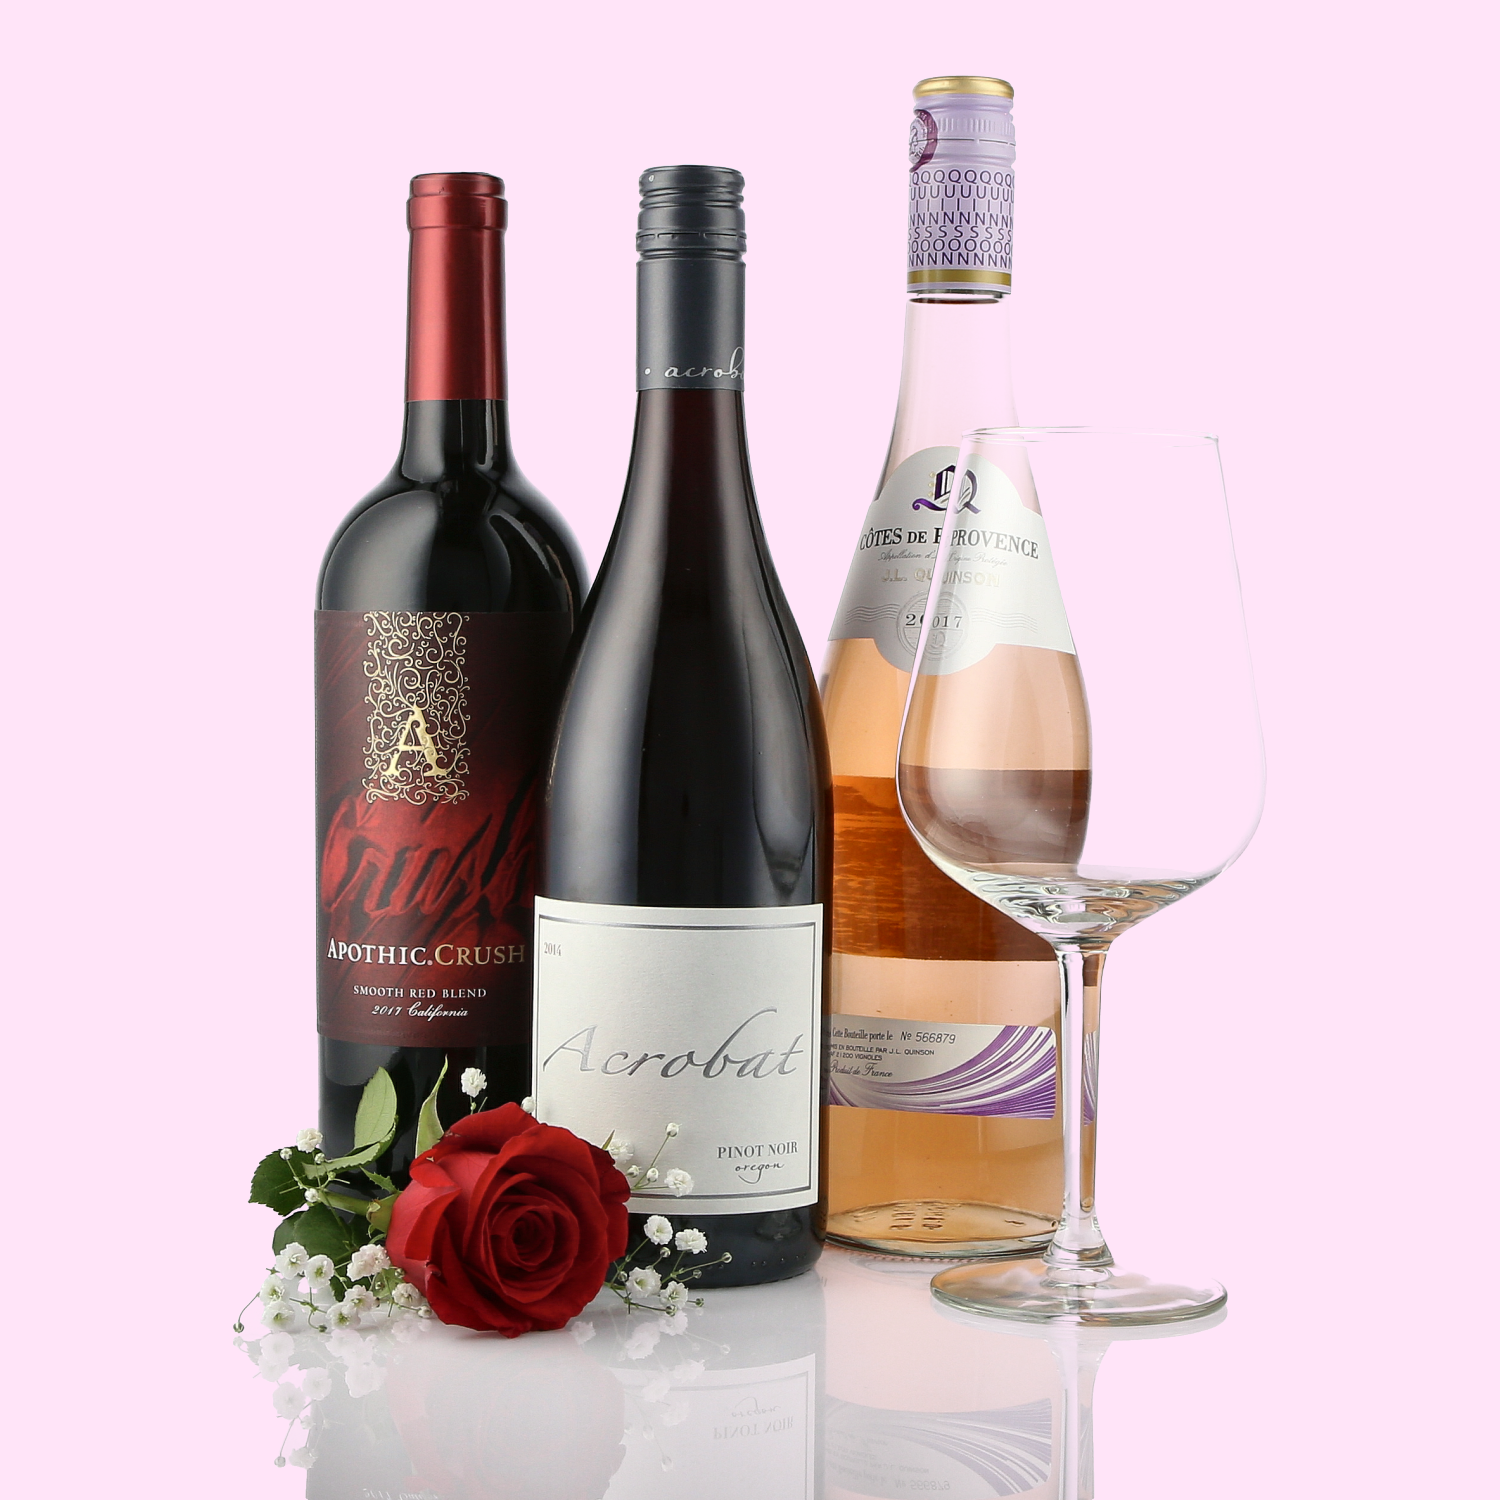
Let’s look back at the wine example photoshoot we did during our Automate to Elevate episode: Automation Without Limitation . The first image shows a product grouping image using just a wine glass as a prop. This is a great photograph to show a product category on your website. If you wanted to then use that same product group image for a google ad campaign or a social media post for Valentines day you can change the background color accordingly, because the background is removed during the capture process of the image. It is easy to do and in this case we changed it to a beautiful valentine pink. During the shoot, since valentines was around the corner we then also added another prop that relates to valentines, in this case a rose. However, the image without the rose and just the changed background color would have also been sufficient too for many if you were using the image at a later date for a campaign.
PRODUCT PHOTOGRAPHY TIP 3: WHEN IN DOUBT, STICK TO A WHITE BACKGROUND
One of the best product photography tips we have learned is: keeping your background plain and simple ensures the product/products you are trying to sell do not get lost in the shot.While light colors like pale blue, pink, and yellow can often work well, product photographs with a white background are always a great option to ensure your product is the star against a crisp and clean background – besides most online e commerce marketplaces such as Amazon and Google actually require this for an e-Commerce product image to be placed on their platform, therefore it’s easier to just capture the product photographs against a white background!
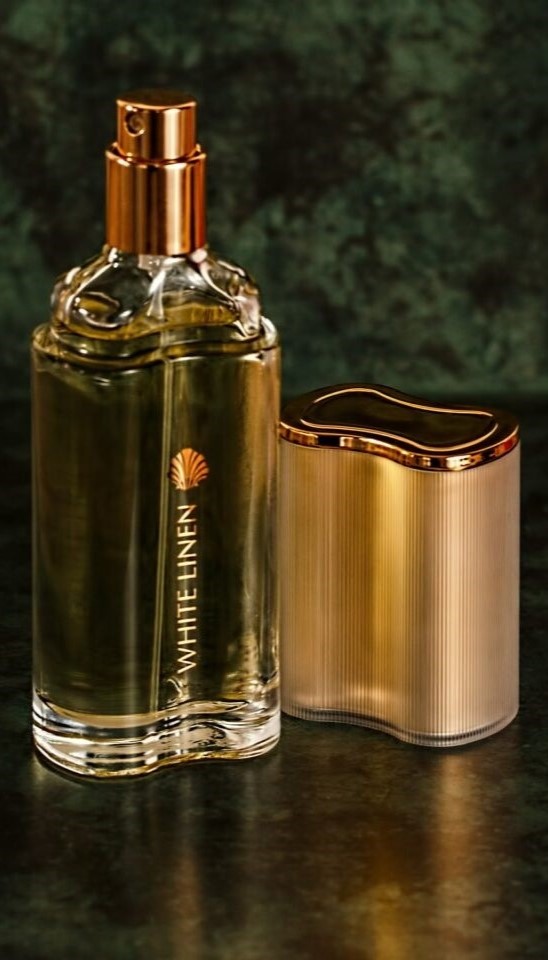
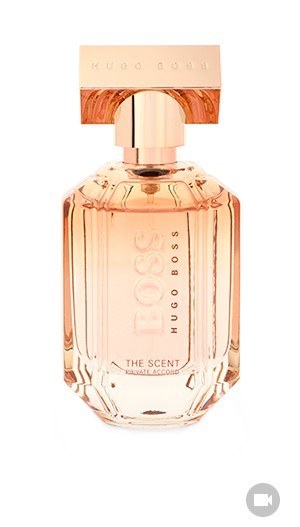
For example, let’s take a look at these two fragrance product photos and compare. In the first photo the fragrance bottle and the liquid color merges in with the dark green marbled background, so you can’t accurately make out the color of the bottle or the liquid inside. The second image is clear and crisp so you can clearly see what the bottle and liquid will realistically look like.
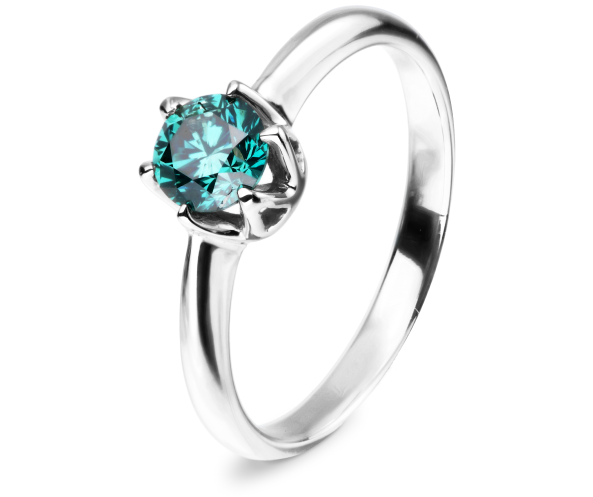
More Sample Professional Product Photos for eCommerce – across all industry types
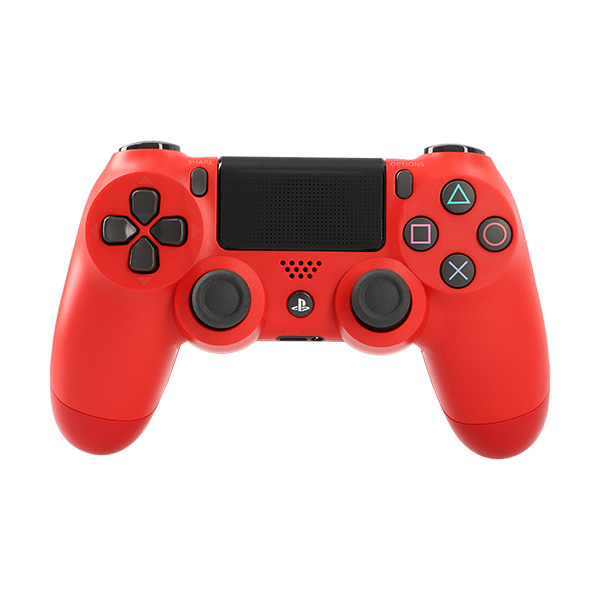
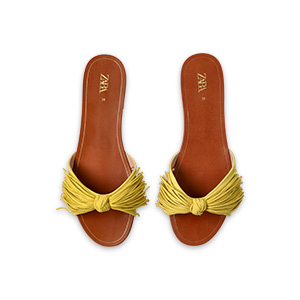
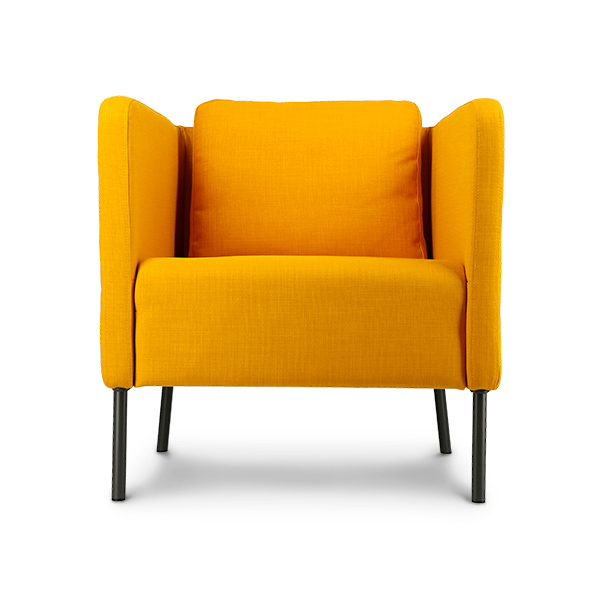
Change background colors easily with automated product photography
To take it a step further Orbitvu’s background removal tool: IQ-MASK, is a great way to easily change background colors right from the editing software tools in Orbitvu Station, as seen in the video clip below. This makes it simple to create product photographs for social media and other marketing communications. Alternatively, you can shoot product photos using a colored backdrop as seen in Carrafina’s product photography shoot above for Halloween marketing activities.
PRODUCT PHOTOGRAPHY TIP 4: CAPTURE PRODUCT DETAILS
The truth is you can try describing the details of your product in words as much as you want in the product description field of your product page, but there is no guarantee that doing so will truly get the message across to your prospective customers. Studies show that 93% of people need visual guides to help them absorb information.
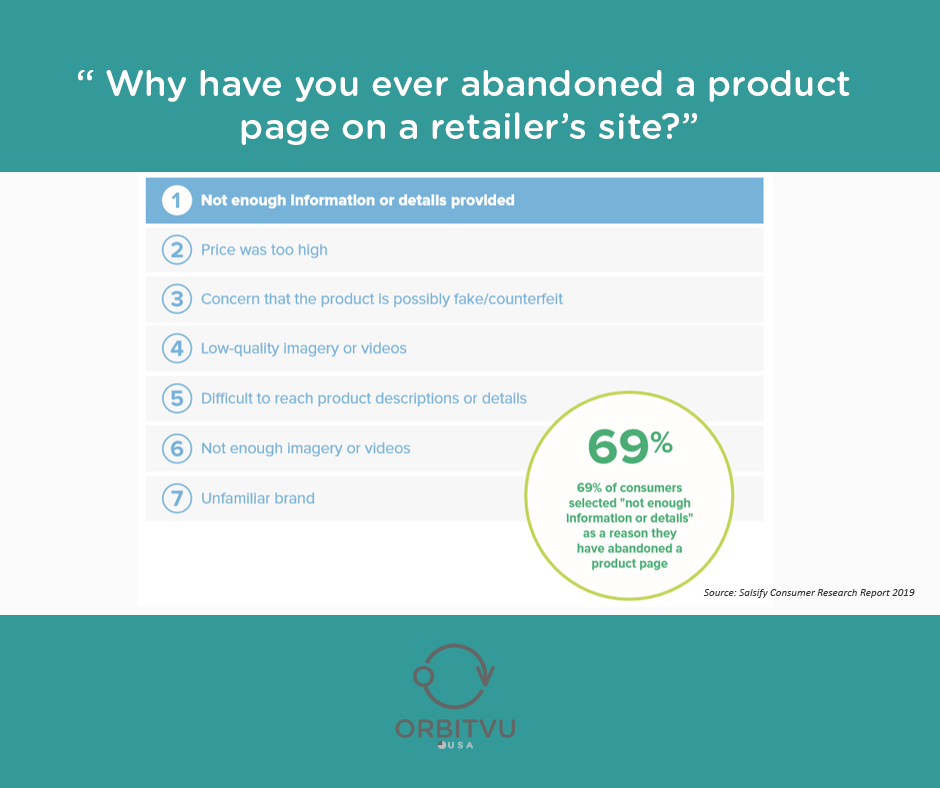
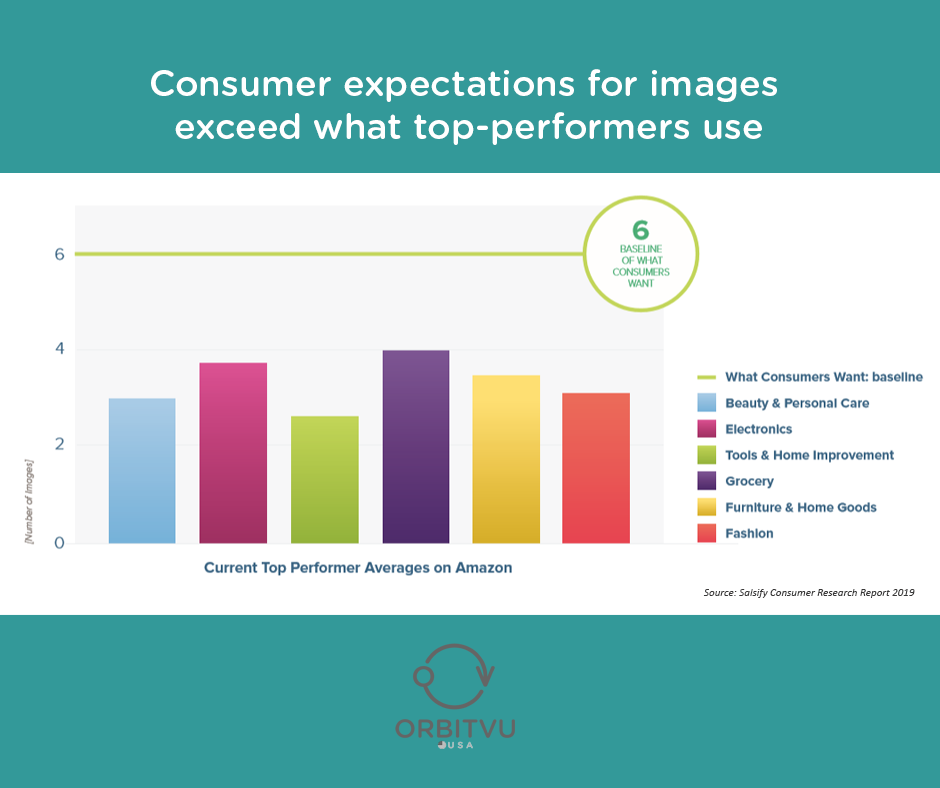
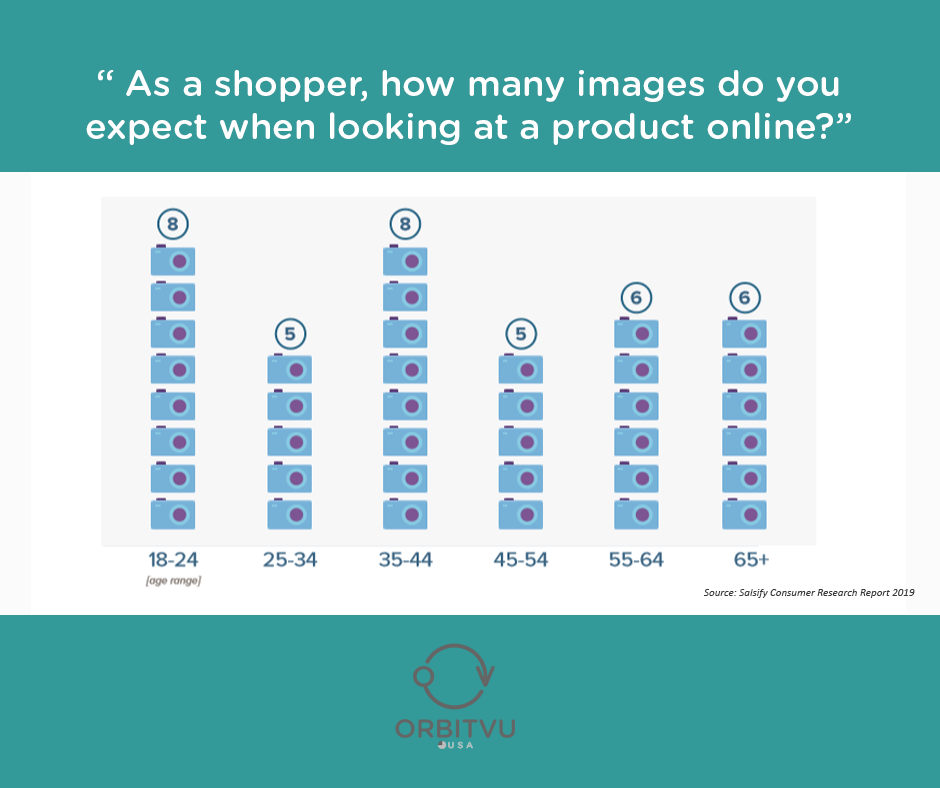
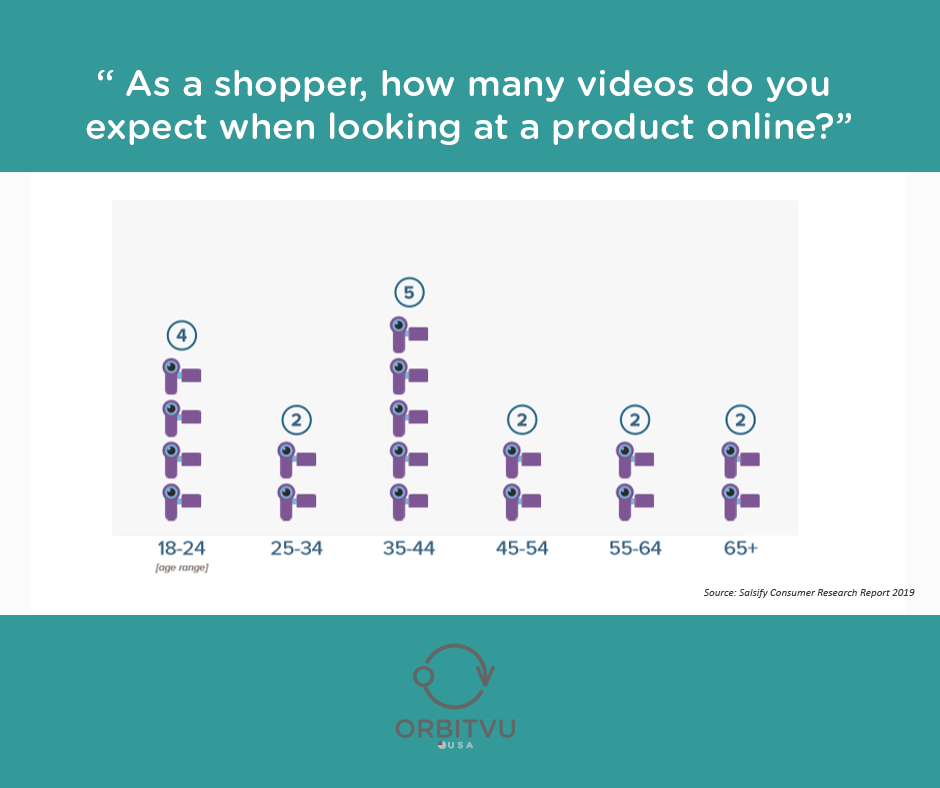
Further, according to a Salsify Research 2019 report, 69% of consumers surveyed cited “not enough information” as a reason they have abandoned a product page, other reasons included low-quality product images or video, and not enough product images or videos. Even top-performing pages fell short on consumer expectations for product photography. Consumers want on average 6 product photographs regardless of what industry your business is in. The research also highlighted:
- Shoppers expect between 5 – 8 product images when looking at a product on Amazon or other e-tailer.
- Shoppers expect between 2-5 product videos when looking at a product on Amazon or other e-tailer
- Shoppers aged 18-24 and 35-44 are the most demanding age groups when it comes to rich media expectations.
So, to ensure your shoppers get an accurate idea of your product offering – our fourth product photography tip is: take the time to photograph the best details in your product shots – from capturing still product photos from different angles to zooming in to capture a specific product feature or creating a 360-spin product presentation or product video – leave nothing to the imagination and consumers can make a better buying decision, and this in return will lower your businesses product return rates. Doing this using traditional photography set-ups is time consuming and take up a lot of the budget – therefore investment automated photography is one of great tips as it allows you to efficiently create product imaging content for your online store efficiently and cost-effectively
Shoot Multi-Angle Product Photos
The goal of product photography is to visually answer any questions that your prospective customers may not get the answer to from the product description on your website. So showing different angles of your product using your camera will provide customers with different perspectives to see key features of your product. The ultimate goal would be shoot your product from every angle, giving customers a 360-degree view of your product, to mimic the product in hand, and turning it around to look at the details just as if they were shopping in-store. The images below will give you some ideas.
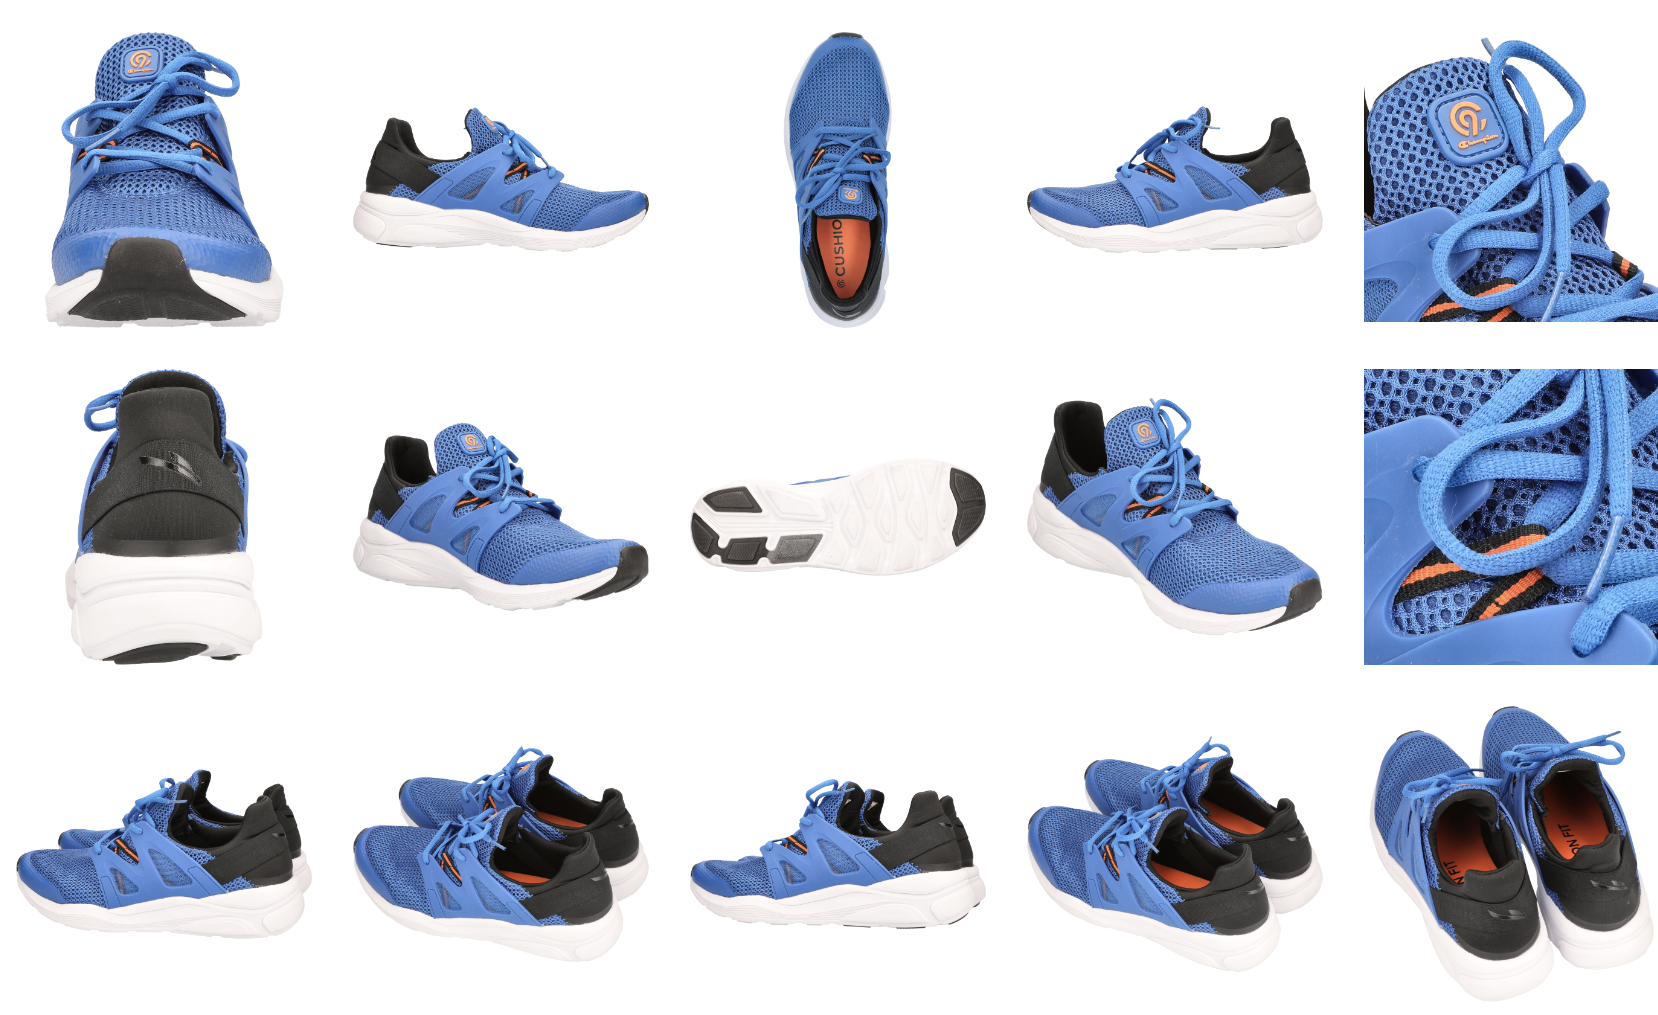
These are the main camera angles and positions you should be aware of and experiment with in your photo shoot:
- Eye-Level: Shows the product exactly the way we see it in reality. This is recommended for your main feature image.
- High Angle: Shows the product from above, as if you’re looking down at it from an angle.
- Low Angle: Shows the product from below, as if you’re looking up at the product.
- Bird’s Eye: Shows the product directly from above, as if you’re standing over the product.
- Slanted: Shows the product from one side, as if you’re looking side-on at the product.
Capturing product details, angles at multiple camera positions can be a time consuming process. The video below from Orbitvu’s blog: The Ultimate Guide to 360-degree product photography, shows how quickly automated photography makes it to do this. In less than 10 minutes, 180 product photos were captured, showing 36 product angles from 5 camera positions with the background removed – now that’s efficiency!
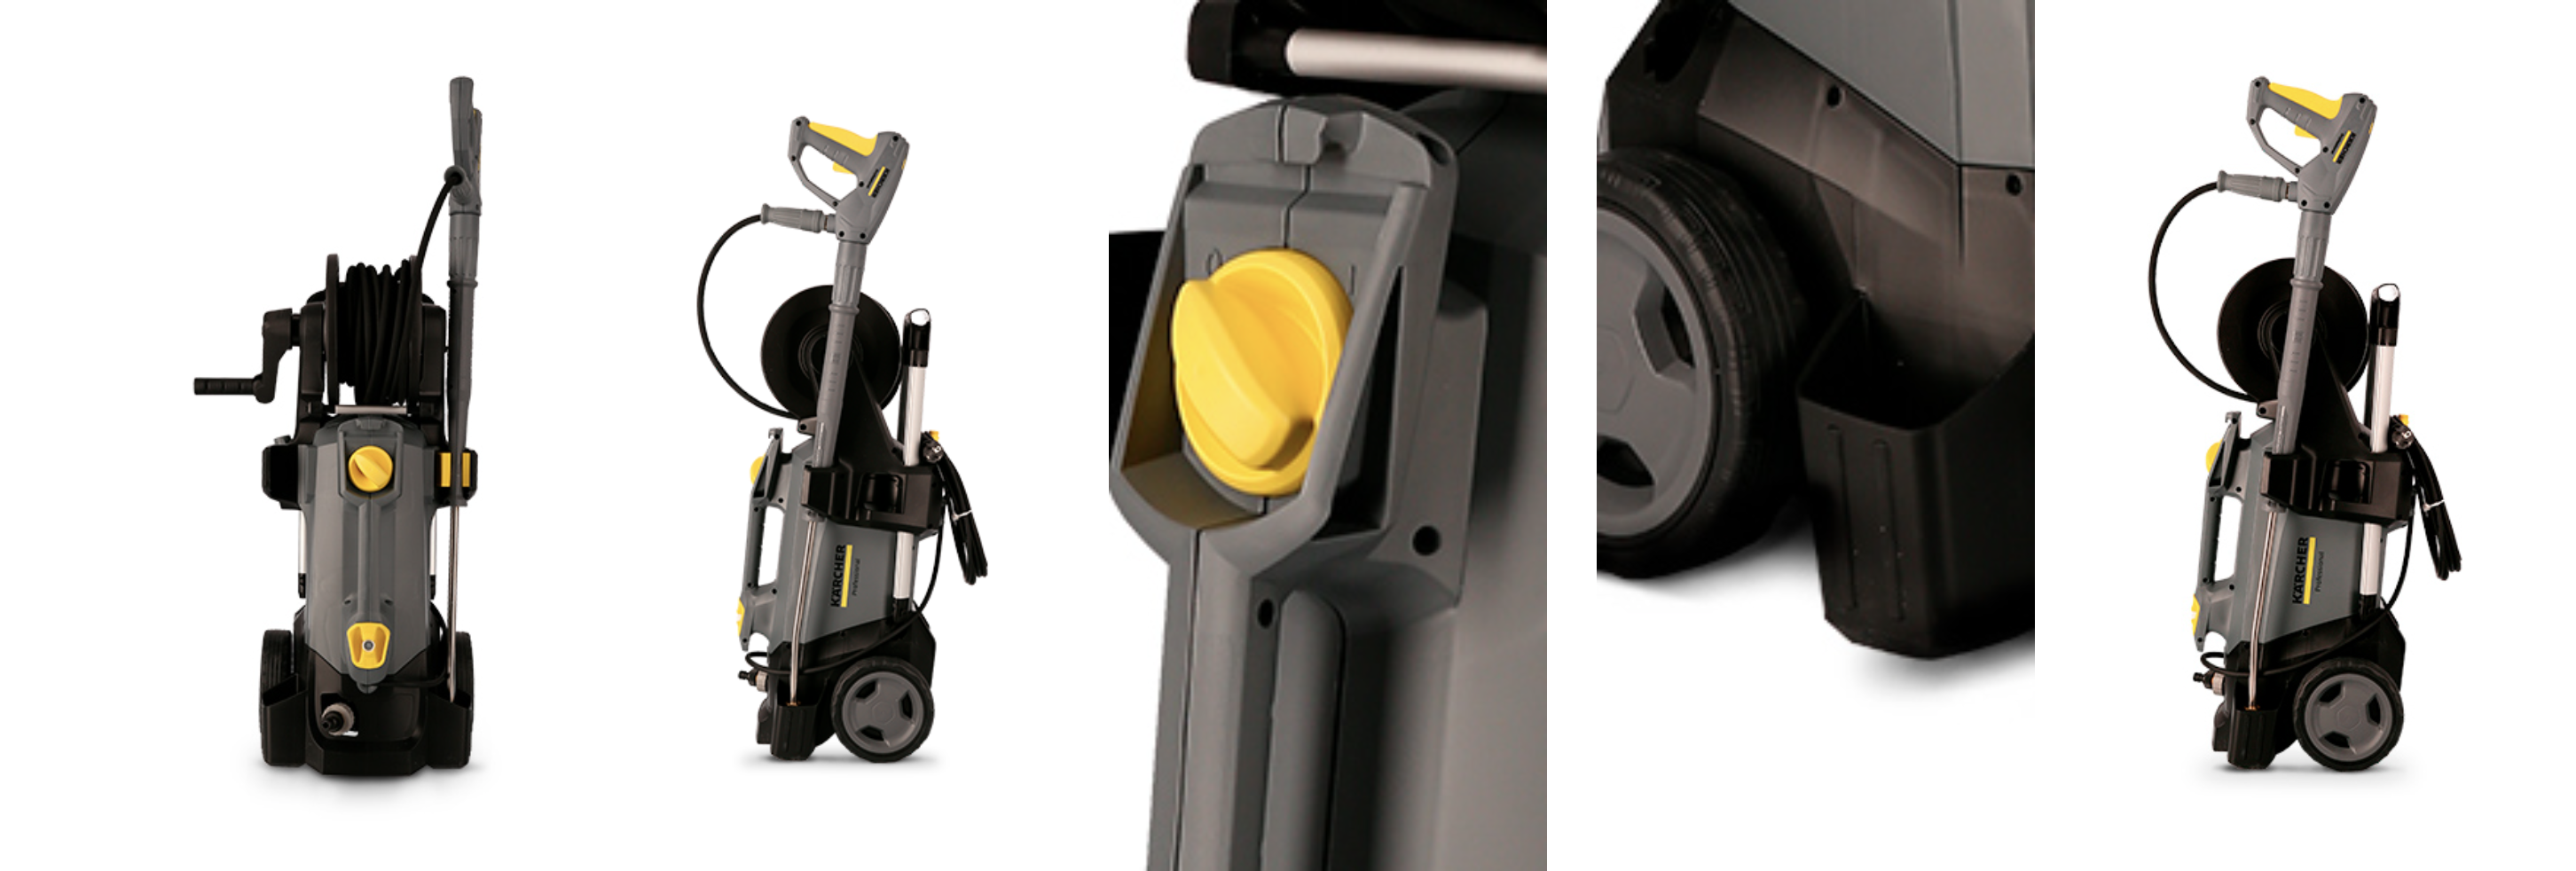
Sample High – Quality Product Detail Photos
For example, if you sell pressure washers you should capture the product to show all its features – wheels, buttons, front and side profiles and maybe even a 360-spin, so customers have a much better idea of the product you are selling and have the information to help them make the decision to buy your product.
PRODUCT PHOTOGRAPHY TIP 5: FOLLOW IMAGE SPECIFICATIONS FOR EACH MARKETPLACE PLATFORM
Other than your own website store there are many other places on the web you will want to display your products for sale. Amazon and Google are the leading search engines consumers use to research and shop for new products, so it would be foolish to not show your product photos on these digital shelves and ignore the tremendous opportunities for e commerce sales they provide. In exchange, you need to make sure you follow some technical platform-specific rules for your product photography.
Since we already addressed Amazon Product Photography rules in an earlier blog , we will focus on the specifications for Google Shopping product photography in this blog, which is less intense.
Google Shopping Product Photo Image Specifications
Example of Google Shopping Product Photos
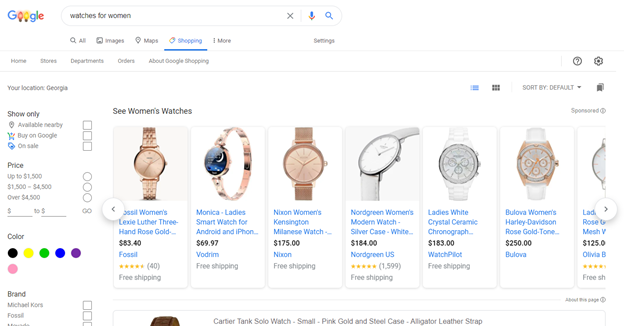
To have your products listed on Google Shopping, make sure your images follow these guidelines and if using an automated photography system keep in mind to save time by building them into the editing software.
- Submit product photos as TIFF (.tif/.tiff), JPG (.jpg/.jpeg), GIF (.gif), PNG (.png), or BMP (.bmp) files.
- No stock photos are allowed. You should accurately portray the product you are selling.
- Do not include promotional text, watermarks, or borders.
- Non-apparel product photos must be min. 100 x 100 pixels in size. Apparel product photos must be min. 250 x 250 pixels in size. You cannot submit an image larger than 64 megapixels or scale up an image.
- Take photos against a white, gray, or lightly colored background is very strongly recommended.
- The image URL must link to the main product image and it must be crawlable.
If you are selling one product on just one of these marketplaces it is pretty easy to shoot photos using a traditional set-up. However, if you have a whole catalog of items that you sell and you want to sell them on multiple online stores, getting quality images will take time. There are many online marketplaces where you can list your products, each with their own image specifications. The use of automated product photography systems in your photo studio, such as those provided by Orbitvu enable you to work individual marketplace product image specifications into your imaging workflow using the editing software, for an efficient photoshoot. With one capture, the Orbitvu photography software lets you export all product photos with one capture, saving you many hours of work, and this lets you get your product to market quickly.
We hope these product photography tips work well for you in creating higher quality images in 2021! We would be happy to help you with your 2021 product photography needs if you dare!
Products
Products
Articles you may also like
In this article, I will help you to better understand the 360 spin technology itself, so you know when and how to present you...
We are very excited to release Orbitvu Station 20.2 “Spinning tractor” 😉 This release brings a bunch of new features includi...
This bridal product photography user story is from the creative team of Carrafina – a private label wholesaler for wedding dr...


