
Table of contents
- Plan the Process in Advance
- Make Sure It Offers Value to Viewers
- Have a Single Focal Point
- Know What Type of 360-Degree Spin Photography to Use
- Get the Right 360-Degree Product Video Equipment
- Prepare and Position the Product
- Adjust the Focal Point
- Adjust the Camera Settings
- Adjust the Turntable Settings
- Start Recording
- Upload the Video to the 360 Viewer Software for Viewing and Editing
- Edit the Footage Into a Single Video
- Optimize 360-Degree Photography for Online Use
- Choose a Platform to Upload Your Video
- Publish the 360-Degree Product Video
- Leverage 360-Degree Product Video Photography Solutions With Orbitvu
Plan the Process in Advance
Rather than an “in the moment” type of process, 360-degree product video photography requires careful planning. It involves allocating time for setting up, shooting, viewing and editing. You may also require someone else to verify whether the product video is good and ready to be published.
Create a style guide explaining which products need spins, how many spins each should have and the necessary camera angles and acceptance criteria. You should also assign different tasks to the relevant people.
Make Sure It Offers Value to Viewers
Why are you making a 360-degree product video? Does it enhance the consumers' experience? A 360-degree video is only beneficial for certain non-flat products, like cars, furniture and clothing. Most two-dimensional items like carpets or mouse pads look best with flat lay photography.
This type of photography will also better show the shape of the product and what the material structure and texture are like with the help of the lighting during rotation. If you're still unsure, consider if the product is something a customer would want or need to inspect by hand in order to make a purchasing decision.
Have a Single Focal Point
It's important to make sure the shot focuses on one item to make the experience immersive. When you display many products or items at the same time, viewers may be uncertain about what the main focus is and they may miss the important features of the product. Instead, make only one product the focus for each 360-degree product video you produce. You'll also need to make sure the angle is right to show off the product's best features, and that the background is free from distracting elements.
Know What Type of 360-Degree Spin Photography to Use

There are various types of 360-degree spin photography that provide more information about a product. Some types of spins are particularly suited to certain types of products. Here's a look at some of the most common 360-degree product presentations.
- Non-interactive animation: This traditional spin is usually in a graphics interchange format (GIF), suitable for sending over email campaigns and certain social media platforms like Instagram or X (formerly Twitter). The file size is normally large and offers lower quality and engagement. While it is less informative than other spin types, it still offers better insight than still images.
- Interactive photography: Interactive spin photography allows you to freely rotate an object with zoom capabilities and drag-to-rotate features. This enables customers to inspect details and hotspots of a product at their own pace online. This type of spin photography also has a large file size and requires a dedicated script, such as a 360-degree image viewer to embed the image on a web page.
- Double-axis 360-degree spin: This type of product photography combines two 360-degree product images, both horizontal and vertical. It usually offers a smaller file size and lower production time compared to spherical and hemispherical spins.
- Multi-row 360-degree spin: The multi-row 360-degree spin or 3D product photography allows you to view a product at many different vertical angles or rows. This is necessary if there are essential features hidden at the top and bottom of the product. The process of capturing the full 3D view is typically complex and requires specialized equipment and software.
- Time-lapse product animation: Time-lapse product animations are suitable for products with moving parts, as they show how a product functions, revealing more critical information about its features. Products that might benefit from this photography include certain kitchenware, furniture and technical equipment.
- Video clip animations: Video clip animations are popular in the fashion e-commerce industry to see clothing in motion and take a look at the finer details of it. These videos are usually interactive and allow users to play, pause and rewind as they please and zoom in for a closer look at the design, fabric and material.
- Virtual product tours: Virtual product tours offer an excellent way to showcase a product during e-commerce or B2B sales presentations. The view stitches together images and videos of a product and displays packshots and hotspots to zoom in on and explain the most important features of the product.
Get the Right 360-Degree Product Video Equipment
After establishing which type of 360-degree spin photography applies best to the product you're filming, it's time to take inventory and ensure you have all the necessary equipment to make your product video.
360-Degree Turntable
The turntable is the surface you will place the product on for filming. Make sure you have a turntable that operates smoothly, preferably motorized and comes with turntable software that is able to control the camera, post-produce the 360-degree spin and export web-ready spins. The turntable should also be large enough to hold the product, whether it's a handbag or a mannequin.
Camera
Your camera needs to be compatible with the turntable software. Use a camera with good quality, such as 4K resolution. It's also best if it is mirrorless and has exposure simulation in Live View and an electronic shutter without vibrations. Getting a geared camera head with angle positioning will allow you to easily repeat camera positions for a variety of products.
Tripod or Column Stand
Make sure you have a heavy and stable tripod or column stand to secure your camera. Column stands offer a faster and easier way to position the camera. Additionally, a heavy tripod is more stable and helps ensure that it stays in place even when you bump into a cable or the tripod itself.
Lens
If you have a range of different size products, it's best to get a camera lens that is flexible to cover those sizes. A good zoom lens includes a focal length of between 40 and 100 millimeters for easier framing. You may also find that apertures of around f/4.0 might be suitable. Additionally, small products like small earrings may require a macro lens.
Lighting
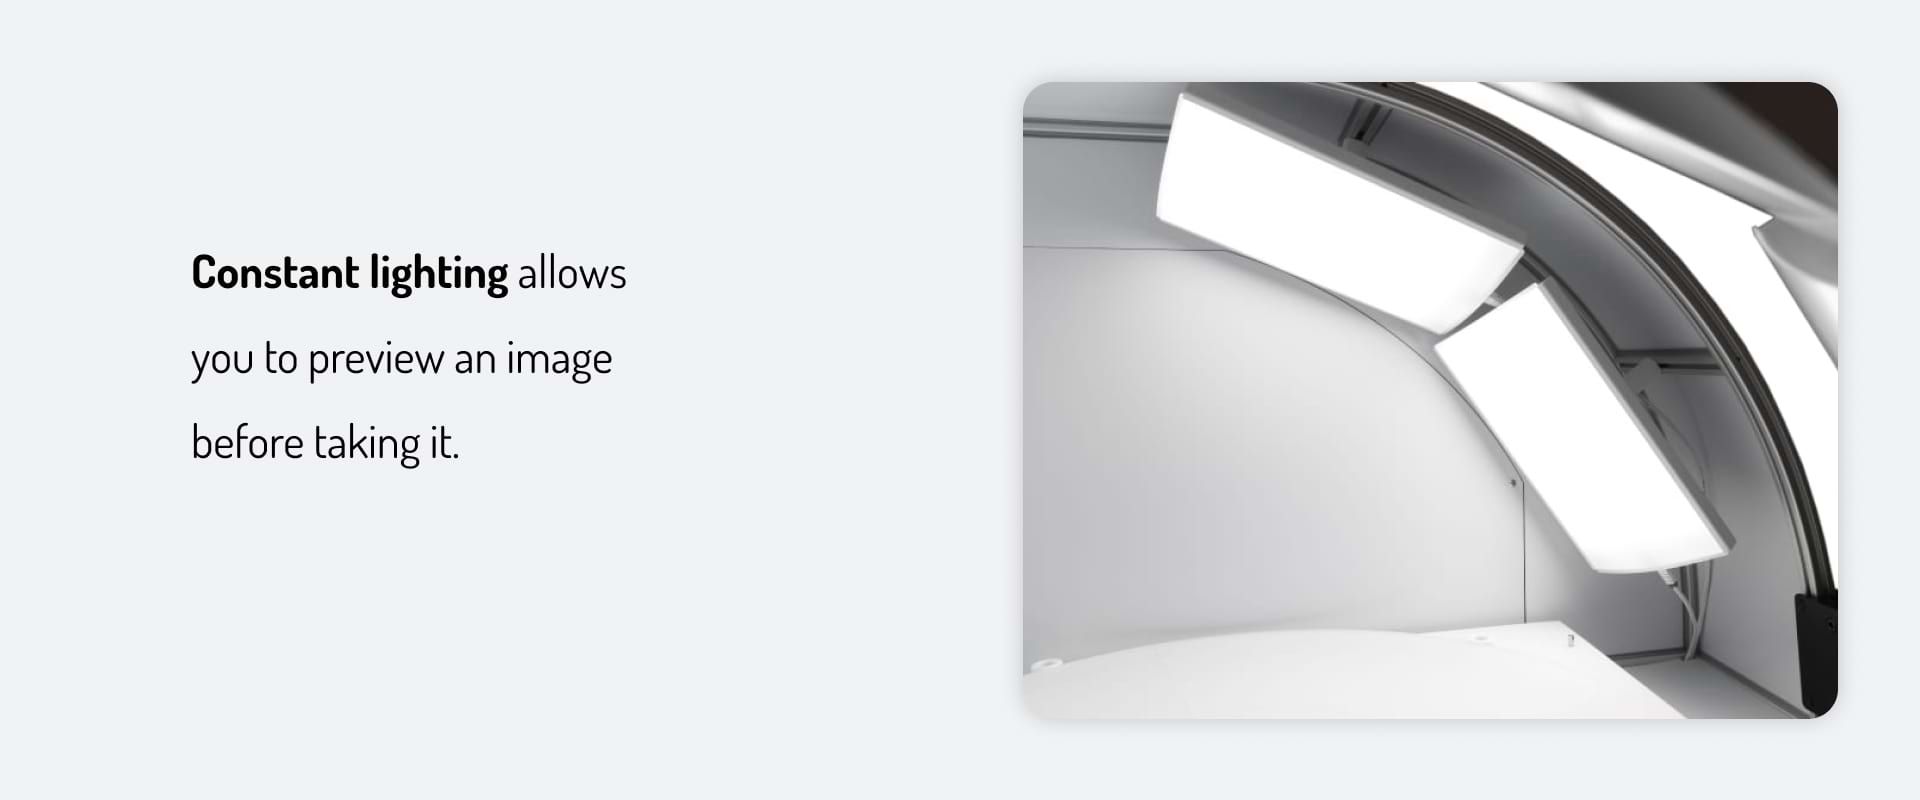
You will typically need to choose between flash and constant lighting. While flash lighting will only allow you to see the results after you take a picture, constant lighting allows you to preview an image before taking it. You can either use a rail ceiling suspension with pantographs or a light stand for each lamp to keep them in place.
Background
Most e-commerce stores choose a white or black background to provide the best contrast for their products, but companies might also use color backgrounds to correspond to their branding. One of the best options is an industry-standard paper background. These are typically cost-effective and easy to attain, and you can replace them whenever needed.
360-Degree Software
The process will be easier if you get 360-degree software that can control the camera and turntable. This will allow you to control the rotation, set up the camera and download images remotely from the software. You'll also need software to batch process images and 360-degree object stitching software to develop and view web-ready spin photography. It may help to get one application with all these capabilities.
3D Gear
3D gear is an extra equipment piece that you can add to the 360-degree turntable. This may come in the form of a multi-camera 3D rig or robotic arm. 3D robotic arms typically take longer to capture a 3D spin, while 3D rigs may be faster because they include numerous cameras to take pictures with.
Workstation
You'll need a Windows or Mac OS workstation compatible with your turntable software. Make sure to check with your suppliers about whether they provide this compatibility between 360-degree photo equipment and workstations.
Prepare and Position the Product
The product should look good on every side. Clean and inspect the product and then place it in the center of the turntable. If a product is symmetrical, it's easy to tell when the product isn't centered correctly. Try putting a marker on the turntable to center the product appropriately. In advanced studios, they usually include laser pointers or backlighted markers with little visibility on the turntable to mark the center.
Adjust the Focal Point
When getting the camera ready, you may find that the image is out of focus. Zoom in so that there is enough white space around the product. Then adjust the focal point as needed through your software that is connected to the lens until it is clear. You may also adjust settings like the frame rate and resolution for even more clarity.
Adjust the Camera Settings

Next, you can adjust your camera settings to influence a smooth filming process and to ensure the quality looks good during filming. You'll typically want to set a lower ISO to get a better-quality image. You can also adjust the white balance and set the color temperature to compliment your lighting.
The shutter speed and aperture may also help you adjust your exposure settings. A higher aperture may be fine if you have more lighting, while lower apertures are suitable with flash lighting or LEDs. You may also need to lower the shutter speed if the picture is underexposed.
Adjust the Turntable Settings
From your software, review your 360-degree rotation settings. Make sure it is set to take a video and feel free to adjust the degrees as needed. Depending on your equipment, you may be able to pre-rotate the turntable and review how the product looks while spinning and whether it was accurately placed in the center. You can also adjust the speed through setting options like step width — the shorter the step width, the faster the rotation.
Start Recording
When you've adjusted the necessary settings, you may begin recording by selecting the start button. If your software, camera and turntable are synced, the start button will allow the camera to start recording and the turntable to begin moving. The rotation may end on its own after rotating for the full rotation degrees you set if your software includes this capability.
Upload the Video to the 360 Viewer Software for Viewing and Editing
If your software isn't linked to the camera and turntable, you'll need to upload the images or video you capture to the 360 viewer software. When uploading, you'll need to select the files you want to upload. You can then view each of them and evaluate how you might need to edit them.
Edit the Footage Into a Single Video
Now you can begin stitching clips and images together. You may also crop and edit pictures to match your vision for the project. Remember to add a title, description and tag to your file to distinguish between files and products. It might help to name files after their unique SKU number. This offers a great way to automate image linking to specific products.
With the right 3D product photography solution, your background might be automatically removed while preserving the natural shadow. You can also use a selection of built-in post-production tools for easier fine-tuning.
Optimize 360-Degree Photography for Online Use
To ensure it is website-ready, you need to check the file size and its compatibility with the website you plan to upload it to. Try to optimize the file to avoid having issues displaying the video or causing the website to slow down. A convenient option is to have viewers click on the images for them to rotate. An interactive version might be best to allow customers to explore the product at their own pace.
Choose a Platform to Upload Your Video
It's important to publish the product video on a platform where consumers will see it. For instance, you might place it on an e-commerce page if consumers mostly purchase these products online. Other times, you may prefer to place it on the website for potential customers to view while reading about the product. You'll also need to ensure that it is correctly optimized for the device people view it on, whether mobile or desktop.
Publish the 360-Degree Product Video
Publishing your 360-degree product video can be fast and easy when you use 360-degree product photography software that helps you export and publish. These features may allow you to publish straight onto certain predetermined online locations.
Leverage 360-Degree Product Video Photography Solutions With Orbitvu
Knowing how to make a 360-degree product video is a critical first step in avoiding larger issues down the line and ensuring the process goes smoothly. Implementing the right 360-degree product photography solution may also help you streamline the process.
Orbitvu offers a range of high-quality and effective devices for automating your 360-degree product photography. These solutions include an e-commerce studio, fashion studio, micro 360-degree photography solution for small items and jewelry, equipment for medium-sized product packshot 360-degree spin and more. To learn more about the solutions we offer, browse our range of products and request a quote with us today.