June 12, 2026
A Complete Guide to Flat Lay Fashion Photography in 2026
Learn how to shoot flat lay fashion photos in 2026: setup, lighting, camera settings, post-production, and marketplace-ready exports.
Discover how to remove the background from product photos with our comprehensive guide on techniques and tools, including automated solutions. Read More!
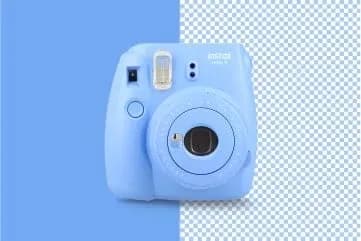
Table of contents
This one trick has proven an extremely useful solution for product and portrait photography. It has recently been automated by the combination of software and hardware. You can now expect an even simpler path to have your product precisely cut and placed on a transparent background. Today, we will analyze the ways to remove the background for product photography and also look at why and where it might be useful to photographers and retouchers.
Product photography | Automated vs Manual - background removal
The first question you will be facing in product photography for business are the requirements of ecommerce platforms. This is often the main reason to start looking at how to remove the background from product photos. Reasons include:
Check Out Our Automated Photo Editing Solution →
Contrast issues at the edges.

Perfectly cut. No contrast issues.
Given the above limitations, removing the background is often the easier path. You avoid contrast problems on the borders, gain multi-colored background options, and can easily place the product in a brochure setup.
The next question is: "how to remove the background in a product photo?". We will guide you through several methods used in professional practice.
So you have chosen background removal as necessary in your product photography process. And you even remember not to use colored backdrops, as it may produce an unwanted halo effect around the edges of the item. What now?
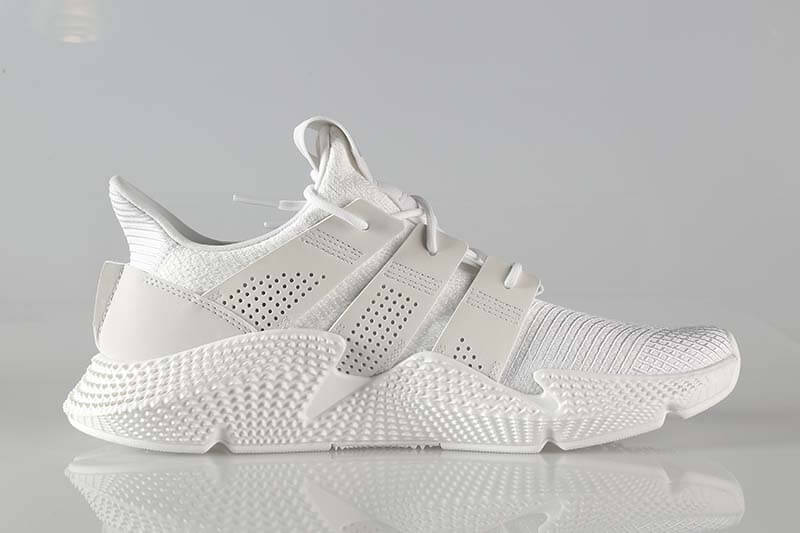
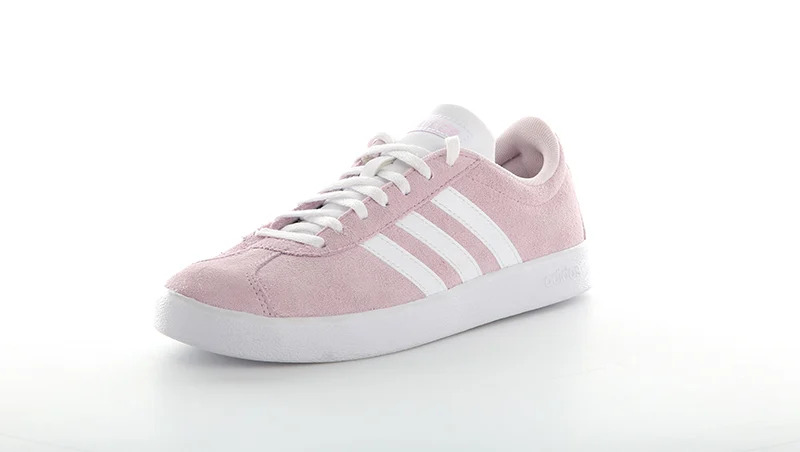
Green backdrop before cutting.
Green aura left after cutting.
Most of background removal happens in the image editing stage. Let’s have a look.
Adobe Photoshop is the most common tool used for product background removal, although open-source programs like GIMP are also available. Manual removal requires editing each file separately, following a strict order of steps for every image.
Final results can be saved in editable formats like .psd or .xcf, while web-ready files usually require .jpg or .png. PNG files allow for a transparent background, which is essential for web overlay effects. Note that manual editing typically prevents batch saving.
To lift the burden of manual editing, you can hire retouching companies (like Pixelz) or use batch photo editors (BatchPhoto, ACDSee). However, moving in-house with automated hardware-software solutions, such as Orbitvu, can offer professional results with significant cost reduction.
Orbitvu’s background removal algorithm works in batch mode, streamlining post-processing and enabling automated publishing to cloud servers or e-commerce platforms.
If you choose the DIY route in Photoshop, your workflow will generally lead to one of two final modes: cutting or masking.
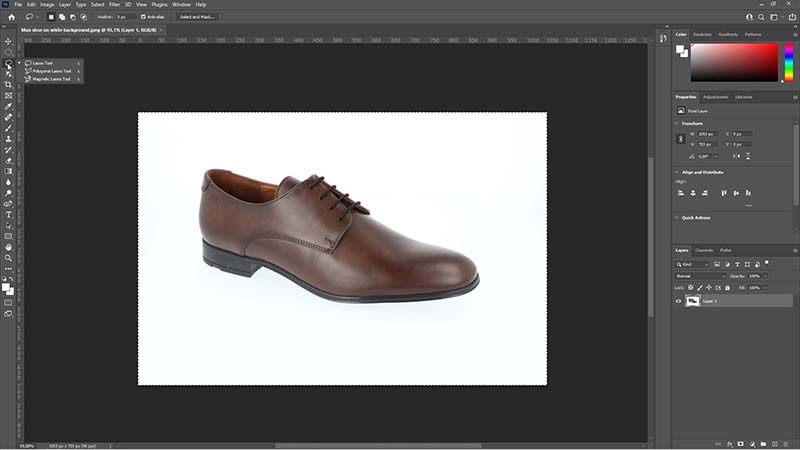
First, select the item using a selection tool until it is surrounded by the "marching ants" dotted line. Then, invert the selection (Select -> Inverse) to target the background instead of the object.
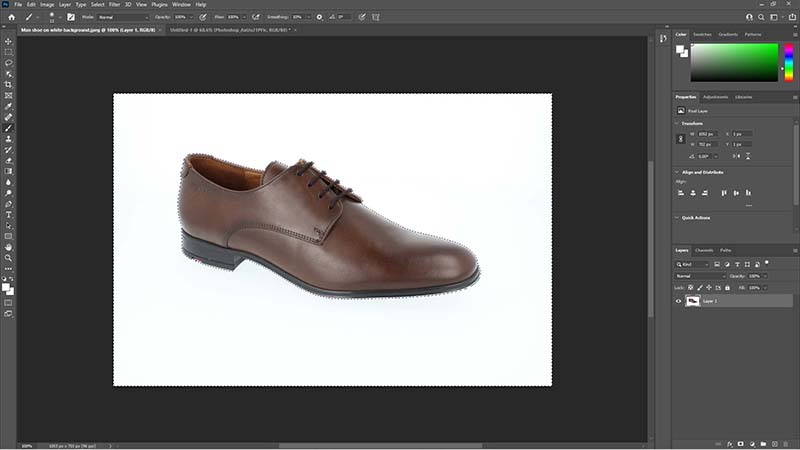
Select the background
Select the whole frame
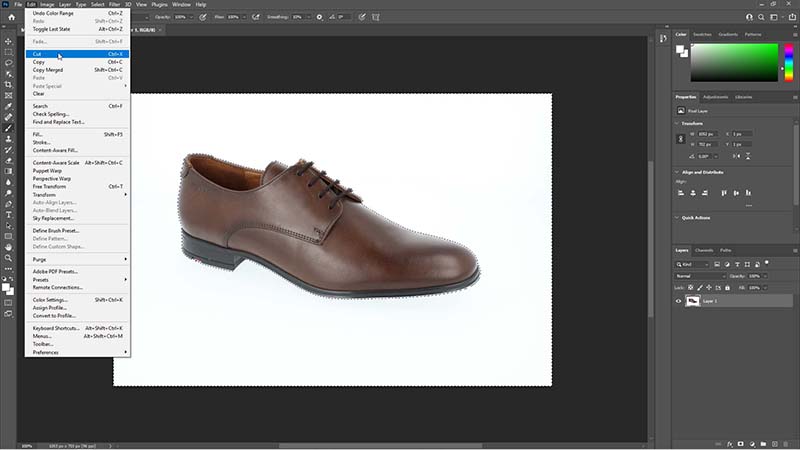
This way you cut...
Masking covers one part of the image while exposing another. It works like superposed sheets of paper; holes in the top layer allow you to see through to the layer below.

Background cut
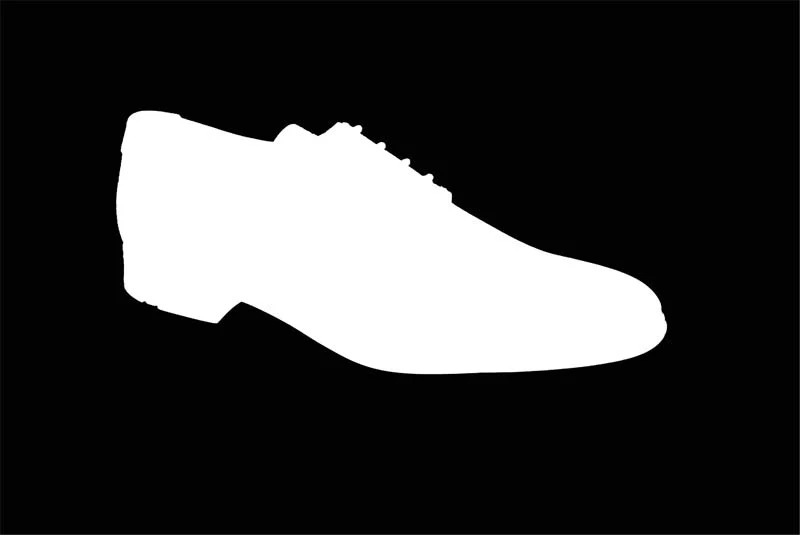
Photoshop mask
The main difference is versatility. Masking is non-destructive; you can restore any part of the background by simply changing your brush color. Cutting is permanent—once you delete those pixels and save, they are gone.
How to remove background - Eraser tool
How to remove background - Masking and unmasking
This is the simplest way to select an area. You create a selection of a given predefined shape: it can be an ellipse or a rectangle. Press and hold SHIFT while selecting to maintain a perfect 1:1 ratio (square or circle).
How to remove background - Rectangular marquee tool
How to remove background - Elliptical marquee tool
A major simplification for selecting areas. After clicking a distinguished object, the selection automatically covers it with high precision. Best for objects with smooth edges and no fine grids or threads.
Works similarly to the magic wand, but allows you to additively select more areas by moving the tool over them. Use ALT to unselect specific parts.
A powerful AI tool in recent Photoshop versions. Simply point to the area where the object is located, and the algorithm calculates the selection automatically.
Magic wand
Quick Selection
Object Selection

Selection tools grouped under the "W" shortcut.
The Pen is a manual tool to create a path that can be transformed into a selection. It is the most precise way to handle rounded objects. After closing the path, right-click and choose "Create a selection" to define the edge sharpness via Feather radius.
Lasso tool
Color range
A specialized function found in Selection -> Select Sky. It uses AI to automatically detect and select the sky, perfect for outdoor product shots.
Photoshop has plenty of available options to select your shape. The question is which method to use and when?
The good practice, and one that saves time, is to start from the simplest selection methods, i.e. the automatic ones. They will most probably fail with objects of irregular and precise edges. It will never be a simple automatic job, if you aim at cutting the background from behind a head of curly hair...
For a start, remember about these two rules:
1. Simple objects, simple selection tools.
If you only wish to select a simple object that is visibly different from a uniform background, you will be satisfied with the results of the Magic wand or Object selection. Should the object be a little more complex, you might use these tools and correct the selection manually.
2. Varied background and irregular object, manual tools.
You will have most problems with the cutting of the background, if the object and the background are similarly colored or the edges of the item are unsharp, finely drawn, or uneven. The Lasso tool, or maybe the Pen, will help to choose which pixels you want out and which you want to keep in the selection.
PRO TIP: How to select and cut hair?
In the newer versions of Photoshop you get the ability to edit the mask at a very precise level. Below is the process step by step:
Removing the background from images
Removing the background from product images is a task that often works as a sad necessity. Noone would try to do it just for the additional effect, if the market requirements were not pressing for crisp, undistracting presentation of items in product photography. Realizing that there is no escape from background cutting can be the first step tointroducing a reliable process with perfect packshots at the end.
You can strive to photograph the products in a way that is background removal-friendly and do it yourself. It would mean using uniform backdrops and even lighting at a slight angle. Then the post-processing in editing software will be easier and less time consuming.
In a different approach, you might feel inclined to use the services of a professional studio and a retouching company. Outsourcing this process would take much trouble out of the way, however you will be left with less control over the process and a bigger burden for the bank account.
Finally, and most conveniently for a modern growing business, you can refer to product photography automation. There will be solutions that connect hardware and software to produce upload-ready, background-free shots in a matter of minutes. Orbitvu studios, available for all sizes of products, can do the job and reduce your money and time expenses at the cost of a single initial investment.
Find out more about the options automation opens and feel free to ask us questions, whether they are about Photoshop editing or recommended ways to spotless product photography.
Happy editing
REMARK: All Ctrl keyboard shortcuts can be replaced with “Cmd” on a Mac computer.
Bikes Product Photography I Automated Background Removal I Bike Studio

Use the form to tell us what you are planning and what kind of product content workflow you need.
June 12, 2026
Learn how to shoot flat lay fashion photos in 2026: setup, lighting, camera settings, post-production, and marketplace-ready exports.
February 18, 2026
Learn how to photograph antiques professionally - from manual techniques and the right gear to automated product photography solutions that save time and deliver consistent results.
February 6, 2026
Discover how automated photography transforms museum digitization, industrial quality control, and product documentation, delivering consistent and scalable results.