July 23, 2026
What is Orbitvu's AI OCR, and how does it work?
Meet Orbitvu's AI OCR: extract labels, part numbers, and product data straight from your images and turn it into structured metadata inside Orbitvu Station.
Elevate your e-commerce presence with stunning website product photography. Our guide covers equipment, techniques and tips for captivating visuals.

Table of contents
Elevate your e-commerce presence with stunning website product photography. Our guide covers equipment, techniques and tips for captivating visuals

In the competitive world of e-commerce, visuals play a crucial role in attracting and engaging potential customers. Your product photography is often the first point of contact between your brand and your target audience, making it essential to creating a lasting impression.
Consumers have come to expect a seamless and visually appealing online shopping experience. As a business owner or e-commerce professional, it's crucial to understand the direct impact of high-quality product photography on your brand's perceived value, customer trust and, ultimately, your sales.
In this guide, we'll explore the intricacies of website product photography, including equipment selection, lighting techniques and editing tips. We'll explore the strategic benefits of commercial product photography for websites and provide you with the knowledge and tools to capture stunning visuals that captivate your audience and drive conversions.
E-commerce product photography is the art of capturing high-quality images of products to showcase them online, typically on a company's website or online marketplace. These photos are crucial in influencing purchasing decisions, as they are often the first thing a potential customer notices about a product.
Studies have shown that visual content is influential in driving engagement and sales. In a survey by Etsy, 90% of online shoppers said that the quality of product photos influenced their purchasing decisions. Products with high-quality photos are more likely to be purchased than those with low-quality or no images. This data highlights the crucial role that high-quality product photography for websites plays in the success of online businesses.
Beyond influencing purchasing decisions, excellent product photography also helps build trust and credibility with potential customers. When a website features clear, detailed images of its products, it demonstrates professionalism and dedication to quality that can set it apart from competitors.
Furthermore, compelling product photography can help reduce product returns and increase customer satisfaction. By providing accurate and detailed visual representations of products, customers can make more informed purchasing decisions and are less likely to be disappointed when their order arrives.
In short, investing in high-quality commercial product photography for websites is a smart business move that can increase sales, customer loyalty and overall success.
You'll need the right equipment to create stunning commercial product photography for websites. While the gear can be extensive, we'll focus on the essentials and some advanced options to take your images to the next level.
At a minimum, you'll need the following:
For those looking to take their website product photography to the next level, there are several advanced tools and accessories to consider:
When selecting equipment for your e-commerce photography setup, consider your budget, skill level and the types of products you'll photograph.
With the right equipment, you're ready to start capturing stunning e-commerce product photography for your website.
Before you start shooting, take some time to prepare your products. Proper preparation starts with cleaning your products thoroughly to remove dirt, dust or smudges that could show up in your final image.
Depending on the product, you may need to iron or steam clothing items to remove wrinkles. Arrange your products in a way that showcases their best features and aligns with your brand's aesthetic. Consider using props and accessories to add context and visual interest.
When setting up your shoot, choose a background that complements your product without distracting from it. A simple, neutral background is often best and allows the product to be the focus of the image. White, gray or black backgrounds are popular choices. You can also experiment with different colors and textures to create a unique look.
If you're just starting out with product photography for your website, you can use several DIY tips and techniques to capture great photos without spending a fortune.
One simple trick involves using a white poster board as a backdrop for your product photos. A white poster board creates a clean, seamless look that emphasizes your product. To add visual interest, you can also experiment with different-colored poster boards or textured backgrounds like wood or fabric.
Another affordable lighting option is to use lamps or clamp lights with daylight bulbs. Position the lights on either side of your product at a 45-degree angle to create even illumination and minimize shadows. You can also use a white foam board as a reflector to bounce light back onto the product and fill in any dark spots.
If you're shooting products on your smartphone, there are a few additional tips to keep in mind. First, ensure your phone lens is clean before shooting to avoid smudges or blur in the final image. You should also use your phone's grid feature to help compose your shots and ensure your product is centered and straight. Finally, consider using an app like Lightroom or VSCO to edit photos and adjust settings like exposure, contrast and color balance.
When you're ready to start shooting, follow these step-by-step instructions for capturing great product photos:
When shooting product photos, there are a few common mistakes to watch out for:
Once you've captured your product photos, the next step is to edit them for optimal quality and consistency. Editing your product photos ensures a consistent visual style for your brand. Using the same editing techniques and presets across all your photos allows you to create a cohesive and professional look that helps build trust with potential customers.
Editing can also correct any imperfections or issues with your original photos, such as underexposure, color casts or minor blemishes on the product itself. Carefully editing your photos ensures you present your products in the best light. Well-edited photos also accurately represent the items customers will receive.
Various editing tools and software options exist for website product photography editing, ranging from basic free programs to more advanced paid options. Some popular choices include Adobe Photoshop, Pixlr, Lightroom, GIMP, Snapseed and Canva.
When selecting an editing program, consider your budget, skill level and the specific needs of your product photography. A free option like GIMP or Pixlr may be sufficient if you're just starting out. More advanced users may prefer the additional features and tools of paid programs like Photoshop.
Regardless of which editing software you choose, a few basic techniques can help enhance your product photos:
With more and more consumers shopping on their mobile devices, having high-quality, mobile-friendly product images can significantly impact your e-commerce success. When editing your product photos, always optimize them for mobile.
Ensure your images are sized appropriately for mobile screens. Large, high-resolution photos can slow page load times and frustrate mobile users. Aim for a balance between image quality and file size.
Consider the layout and design of your mobile product pages. Ensure your product photos are edited so they can be prominently displayed and easily viewed on smaller screens, with clear zoom and swipe functionality for customers to get a closer look.
Remember to also optimize your product images for social media. Mobile users may want to share pictures of your product on Instagram, X, Pinterest or Facebook. Your social media team can also share these images as promotional tools to grow your brand presence online. Use editing tools and filters that make your product images aesthetically pleasing for social media.
While using your smartphone and materials like foam boards can work well for those on a budget, there are many benefits to investing in professional e-commerce product photography equipment.
One of the main advantages of professional equipment is the level of quality and consistency that it provides. Professional photography equipment can help you capture stunning, high-resolution images that accurately represent your products. High-quality editing software also ensures your photos have a cohesive look and feel that aligns with your brand.
Another benefit of professional product photography equipment is the time and resources it can save your business. Rather than spending hours trying to manually match the lighting conditions you previously got with your DIY setup, you can use presets to save time and focus on other aspects of your business. This is especially valuable for companies with large product catalogs or frequent product updates.
Professional-looking photos can also help increase your products' perceived value and build trust with potential customers. High-quality, well-lit photos that showcase your products in the best possible light convey professionalism and attention to detail that sets your brand apart from competitors.
Taking product photos can be complicated and time-consuming, especially for companies with large product catalogs or frequent product updates. Automated product photography solutions offer an excellent answer for high-quality, professional, affordable product photos.
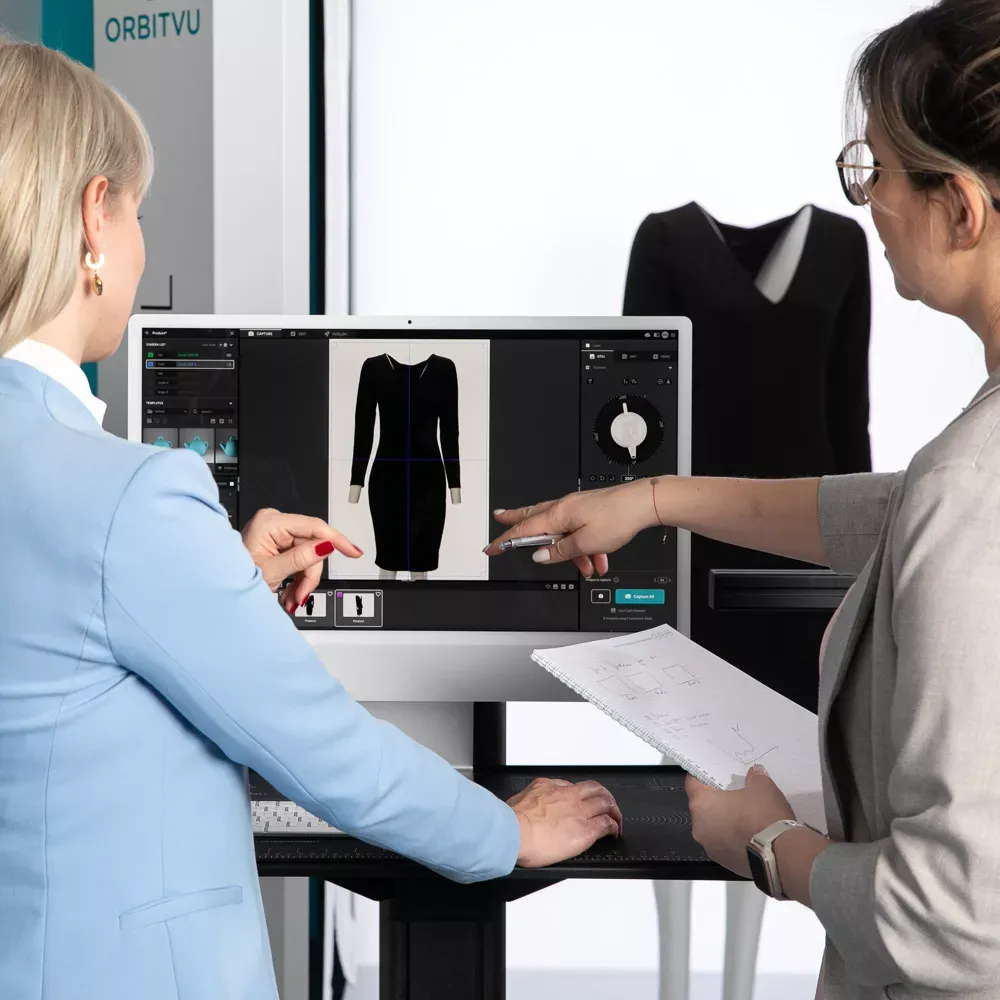
Automated product photography devices like those offered by Orbitvu provide a flexible, scalable solution for businesses looking to streamline their product photography process. These devices allow you to capture high-quality, 360-degree product images in-house without outsourcing. With automated product photography, you can:
High-quality product photography is essential for any e-commerce business looking to attract customers and drive sales. By investing in the right equipment, techniques and editing tools, you can create stunning visuals that accurately represent your products and build trust with potential customers.
If you want to streamline your product photography process and achieve professional-grade results in-house, automated product photography solutions from Orbitvu offer a range of benefits. With 360-degree product views and automated editing capabilities, our devices allow businesses to quickly and easily capture high-quality product photos at scale.
So, if you're ready to take your website product photography to the next level, invest in Orbirtvu's professional automated product photography solutions. With the right tools and support, you can create stunning visuals that showcase your products and drive sales for your e-commerce business.
Contact us today to learn more about automated photography solutions for your e-commerce business.
Use the form to tell us what you are planning and what kind of product content workflow you need.
July 23, 2026
Meet Orbitvu's AI OCR: extract labels, part numbers, and product data straight from your images and turn it into structured metadata inside Orbitvu Station.
July 15, 2026
Meet Orbitvu's AI Masking: automatically remove the background from product photos in high resolution, right inside your Orbitvu Station workflow - no design skills needed.
July 14, 2026
Meet Orbitvu's AI Retoucher: automatically remove reflections, correct colors, and clean up imperfections right inside your Orbitvu Station workflow.